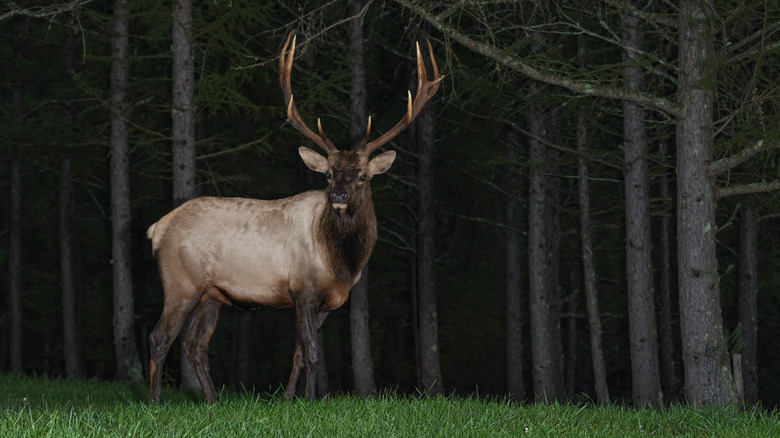
It's no secret that wildlife can be rather mysterious. As a result, the most effective way to see animals naturally is doing so on their terms, which is best done through the use of a hunting trail camera.
Along with being ideal gadgets for hunting season, these battery-operated recording devices offer wildlife experts and landowners a way to track animals passing through. After setting up, you can leave the camera unattended as it employs heat and motion detection technology to capture images of anything that passes it, all without disturbing the natural environment.
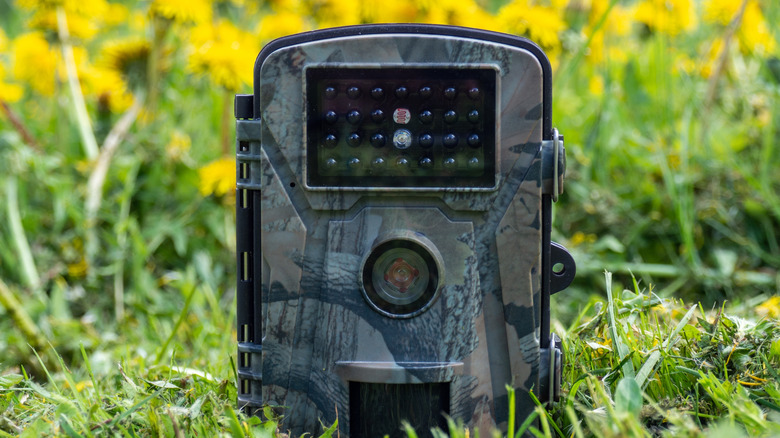
Over the years, hunting trail cameras have evolved in versatility and sophistication, with highly-rated models that seamlessly communicate with smartphones, provide detailed photo information, and use infrared emitters for night viewing. But just as crucial as picking the right camera model is how you use it. Sure, you can strap a camera to a tree, hit record, and hope for the best, but the unpredictability of the natural world and the limitations that come with the technology can lead to lackluster results and time wasted by adopting such an overly simplistic approach.
While not as expensive as other gadgets, a trail camera should still be seen as an investment, so it pays to take the extra time to ensure you're steering clear of the common pitfalls that plague less-cautious users. Here are four of the biggest mistakes made when using hunting trail cameras and the best ways to avoid them.
Read more: 8 Little-Known Amazon Gadgets Worth Trying For Yourself
Poorly Positioning And Securing Your Camera
Proper camera placement can make a world of difference in more ways than one. Of course, where you place your camera will determine the final image. But even beyond this, where and how you position can also effect how secure your device is from damage or theft. A bit of mindfulness in your placement strategy goes a long way in avoiding these problems.
While the height of your target is the ultimate determining factor of how high you mount your camera, as a rule of thumb try to avoid placing it any lower than three feet off the ground, with six to eight feet being the most ideal. Likewise, keep in mind the distance your camera is from where you intend to capture your subject. This can depend on the detection range of your camera's motion sensor which is typically indicated in the owner's manual, but if you're unsure, shoot for positioning the camera at least 15 feet away from what you hope to capture. Wherever you put it, ensure the camera is thoroughly secured with accessories such as security boxes and cable locks.
The direction you place your camera can also have an effect on the image. In many cases, especially for those leaving out cameras overnight, the sunrise and sunset will give you trouble if the lens is pointed in its direction. To combat this, it's recommended to have your camera facing a North or South direction as opposed to East or West.
Placing Your Camera In A High Traffic Area
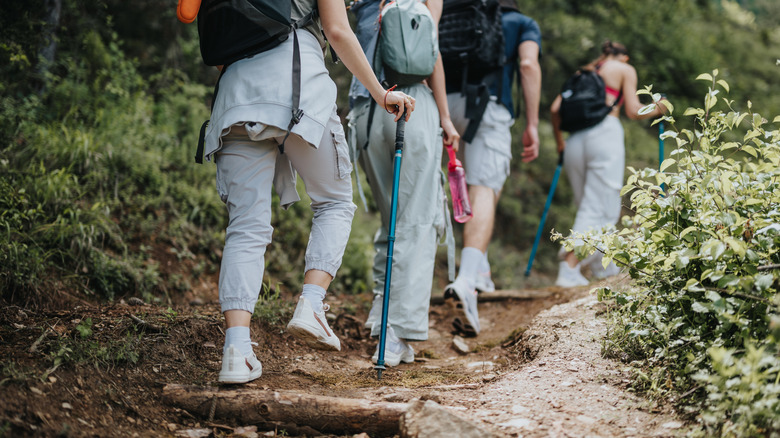
If your camera is consistently disappointing you with the lack of photos, you may want to consider its location. In the same way we generally try to avoid stepping into heavily wooded remote areas, animals view us as threats and likewise do their best to steer clear of spots frequented by humans. So instead of expecting your target to come to you, try finding a way to bring your camera to the target.
While you're unlikely to find the exact area that sees the most animal activity, you can still pick up on environmental details to determine where to put your trail camera. Avoid placing at or nearby areas where people typically congregate such as playgrounds, parking lots, sidewalks, or paved walking trails. Instead, think of spots where animals might appear and remain at for extended periods. Water sources such as remote creeks and lakes are a key spot. If you're lucky enough to find similarly secluded locations where the food of your target is abundant then that can prove sufficient as well. If it's difficult to access such spaces, you can look for crossways and paths that connect paved trails to wooded areas.
Whatever spot you choose, be sure to have an efficient plan for setting up. The longer you stay in a space, more of your smell will be left behind, which might be enough to frighten away your target. Approach from a downwind direction if possible and use accessories such as scent-free gloves when setting up.
Making Poor Battery Choices
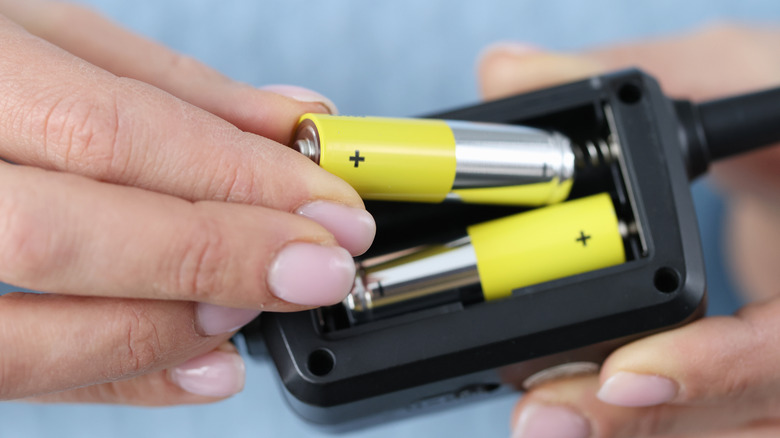
Like other cameras, your trail camera requires batteries to keep it running. However, given the longevity needed for a trail camera to function, you may wonder what kind of batteries will do the trick. However, as tempting as it might be, there's good reason why you may want to avoid certain higher-end options.
Most trail cameras run on standard AA batteries. Investing in a quality set is of key importance with trail cameras as they are often required to be left unattended and run for months at a time. Most experts recommend lithium-based batteries from brands such as Energizer for this reason. Their higher energy density, superior performance in extreme environments, and longer lifespan makes them well-suited for tackling the demands that come with trail camera use.
One variety that many suggest staying away from are rechargeable batteries. Although these seem tailor-made for such a purpose, the cons outweigh the pros in this case. Along with costing more and taking long to charge, these batteries lack the voltage of milliamp hours (mAH) required to power most trail cameras. This will hamper the camera's overall performance and may even have the device shut down completely as it might interpret the low voltage as a dead battery.
Using Improper SD Cards (And Using SD Cards Improperly)

There's no point in leaving your camera out for days just only to have no way to view what it was captured. SD cards are an imperative component of trail cameras as a way to store their contents and transfer them to other devices. This is another situation where you want to be careful with what kind you use and how you use it.
The kind of SD card you use depends largely on the specifics of your camera. But given the conditions that trail cameras are often exposed to, similar aspects such as extreme temperature resistance, enhanced durability, and power failure protection should be among the top traits you seek in an SD card. While the card should have a good amount of storage space, you should do your best to avoid high speed SD cards. Although this varies depending on the camera type, trail cameras typically struggle to save information on these at the same speed as traditional DSLR or point-and shoot-cameras. Try going for UHS Speed class SD cards, as these provide sufficient speeds while lacking the communication problems of higher level SD cards.
Another thing that can mess with your SD card is how its formatted. It's not uncommon for some to view their recordings on a different camera. This is fine, so long as you avoid deleting or altering those files on the other camera. Doing so can negatively affect the file information needed for the camera's contents to be saved. Be sure to always format your card in the trail camera anytime it's been in another device before using it.
Want the latest in tech and auto trends? Subscribe to our free newsletter for the latest headlines, expert guides, and how-to tips, one email at a time.
Read the original article on SlashGear.