Unlock the magic of travel photography! Tips to capture memories authentically. Read on for expert advice
Namaste, wanderers! So, you've planned your chutti (holiday), packed your bags, and are all set
to explore new places? Fantastic! But before you jet off, let's talk about capturing those memories in a way that truly reflects the essence of your travels.
After all, a photograph is more than just a click; it's a portal back to a moment in time, a story waiting to be retold.
Research destination landmarks for great photos
Before you even book your tickets, do a little homework. Research your destination. What are the iconic landmarks? Are there any unique cultural events happening during your visit?
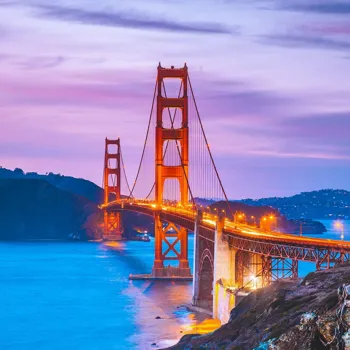
Knowing these things beforehand will help you plan your shots and ensure you don't miss out on any amazing photo opportunities. Think about the kind of story you want to tell with your photographs. Do you want to focus on the landscapes, the people, the food, or a combination of everything?
Choose the right gear for travel photography: smartphone for casual, dedicated camera for pro shots
Next, consider your equipment. You don't need to lug around a truckload of lenses and gadgets. A simple smartphone camera these days is often more than enough for casual travel photography.
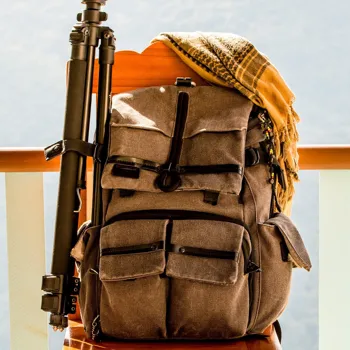
But if you're serious about getting professional-looking shots, a dedicated camera with a good zoom range and a wide aperture lens will be a worthwhile investment. Don't forget extra batteries and memory cards!
There's nothing worse than running out of juice or storage space in the middle of capturing a breathtaking sunset. Also, remember to clean your lens regularly to avoid blurry or smudged photos.
Photography relies on light for impactful shots; utilize golden hour for best results
Light is everything in photography. It can make or break a shot. The golden hour, the hour after sunrise and the hour before sunset, is generally considered the best time to photograph because the light is soft, warm, and flattering.
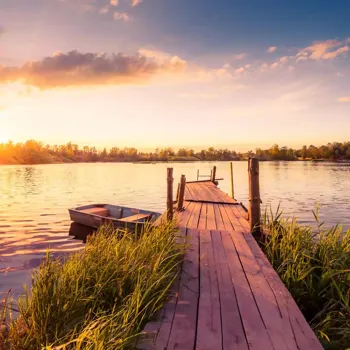
Avoid shooting in harsh midday sunlight, as it can create strong shadows and wash out colors. If you have to shoot during the day, try to find shade or use a diffuser to soften the light. Experiment with different angles of light.
Shooting with the light behind you can create a bright, evenly lit image. Shooting with the light to the side can create dramatic shadows and highlights.
Mastering different lighting techniques for stunning photos
Pay attention to the direction of the light. Backlighting, where the light source is behind your subject, can create beautiful silhouettes and rim lighting effects. Side lighting, where the light source is to the side of your subject, can create more dramatic shadows and textures.
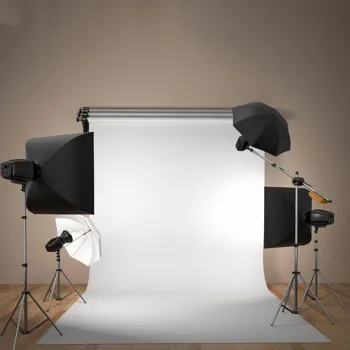
Front lighting, where the light source is in front of your subject, can create a more even and flattering light. Learn how to read a light meter. Most cameras have a built-in light meter that can help you determine the correct exposure for a shot.
Understanding how to use the light meter will help you avoid overexposed or underexposed images.
Composition tips: Rule of thirds and leading lines for better photos
Composition refers to the way you arrange elements within the frame. A good composition can draw the viewer's eye and make your photos more visually appealing.
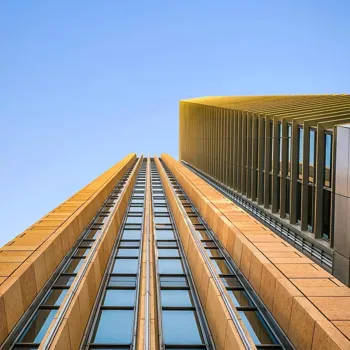
The rule of thirds is a classic composition technique that involves dividing your frame into nine equal parts with two horizontal lines and two vertical lines. Place your main subject along one of these lines or at the intersection of two lines for a more balanced and interesting composition.
Leading lines are another powerful tool for creating a sense of depth and guiding the viewer's eye through the image. Look for natural lines in the scene, such as roads, rivers, or fences, and use them to lead the viewer towards your subject.
Experiment with diverse perspectives for unique photos
Experiment with different perspectives. Don't always shoot from eye level. Try getting down low or climbing up high to find a more unique and interesting angle. Fill the frame. Get closer to your subject to emphasize its details and remove distractions from the background. Use negative space.

Leave some empty space around your subject to create a sense of calm and balance. Pay attention to the background. Make sure the background is not distracting or cluttered. A simple, clean background will help your subject stand out. Simplify the shot by removing less important elements.
Travel photography: Capture people, culture with respect and authenticity
Travel photography is not just about landscapes and monuments; it's also about the people you meet along the way. Interacting with locals can add depth and authenticity to your photographs.
Take the time to learn a few basic phrases in the local language and show genuine interest in their culture and their lives. Always ask for permission before taking someone's photo. A simple “May I take your picture?” can go a long way. Be respectful of cultural norms and traditions.
Avoid taking photographs of people in sensitive situations, such as religious ceremonies, without their permission.
Capture candid moments for authentic travel photos
Capture candid moments. Some of the best travel photos are those that capture people in their natural element, going about their daily lives. Don't be afraid to strike up a conversation with your subjects. A brief chat can help you build rapport and capture more genuine emotions.
Observe their gestures and expressions. Pay attention to the subtle details that reveal their personality and character. Be patient. Sometimes it takes time to capture the perfect moment. Don't be afraid to wait and observe before taking your shot.
Photography post-processing: enhance photos without overdoing edits
Post-processing is the final step in the photography process. It involves using software to adjust the color, brightness, contrast, and sharpness of your images. While post-processing can enhance your photos, it's important not to overdo it.
The goal is to make your photos look their best, not to create something that is completely artificial. Start with small adjustments. Make subtle changes to the color, brightness, and contrast until you achieve the desired effect. Pay attention to detail.
Zoom in on your photos to check for any imperfections, such as dust spots or blemishes.
Crop, sharpen, be consistent, use presets for photo editing
Crop your photos to improve the composition. Cropping can help you remove distractions from the background and focus attention on your subject. Sharpen your photos to add clarity and detail. However, be careful not to oversharpen your photos, as this can create unwanted noise and artifacts.

Be consistent with your editing style. Choose a consistent editing style and stick to it to create a cohesive look across your portfolio of travel photos. Use presets. These are pre-defined settings that can be applied to your photos to quickly achieve a certain look or style.
Travel photography is about capturing raw moments, not perfection
Not every photo you take will be a masterpiece. That's okay! The beauty of travel photography lies in capturing the raw, authentic moments that tell a story. Sometimes the most compelling photos are the ones that are a little blurry, a little overexposed, or a little unconventional.
Don't be afraid to experiment. Try new things and push your creative boundaries. Learn from your mistakes and keep practicing. The more you shoot, the better you will become. Remember, photography is a journey, not a destination.
Enjoy the process of capturing the essence of your travels, and don't be too hard on yourself if your photos aren't always perfect. The most important thing is to capture memories that you will cherish for a lifetime.
AI Generated Content. Glance/InMobi shall have no liability for the content