Heat the Milk
To start crafting your chocolate popsicles, gently heat the milk. The key is a low heat, as this process shouldn't involve boiling or scorching the milk. It
should be warm enough to help the other ingredients blend well, but not so hot that it changes the texture. This initial step prepares the base for the creamy texture of the popsicles. Ensure the milk is consistently heated before proceeding to the next step to ensure the perfect popsicle base.
Mix Cocoa, Sugar
In this step, the dry ingredients come together. You’ll need to carefully combine cocoa and sugar. The exact quantities of cocoa and sugar will determine the richness and sweetness of your chocolate popsicles. A well-mixed combination of cocoa and sugar will result in a smooth, consistent texture that is vital for a pleasant popsicle experience. The balance of the cocoa's bitterness and the sugar's sweetness in this step will create the perfect flavor profile.
Combine with Milk
Now, combine the sugar and cocoa mixture with the warmed milk. Gently stir to make sure all the cocoa and sugar dissolve completely into the milk. At this stage, the mixture should be smooth, with no lumps or undissolved particles. This step is vital for ensuring a consistent texture, which is key to a great popsicle. This ensures that the flavor is evenly distributed, leading to a more enjoyable treat.
Add Chocolate, Vanilla
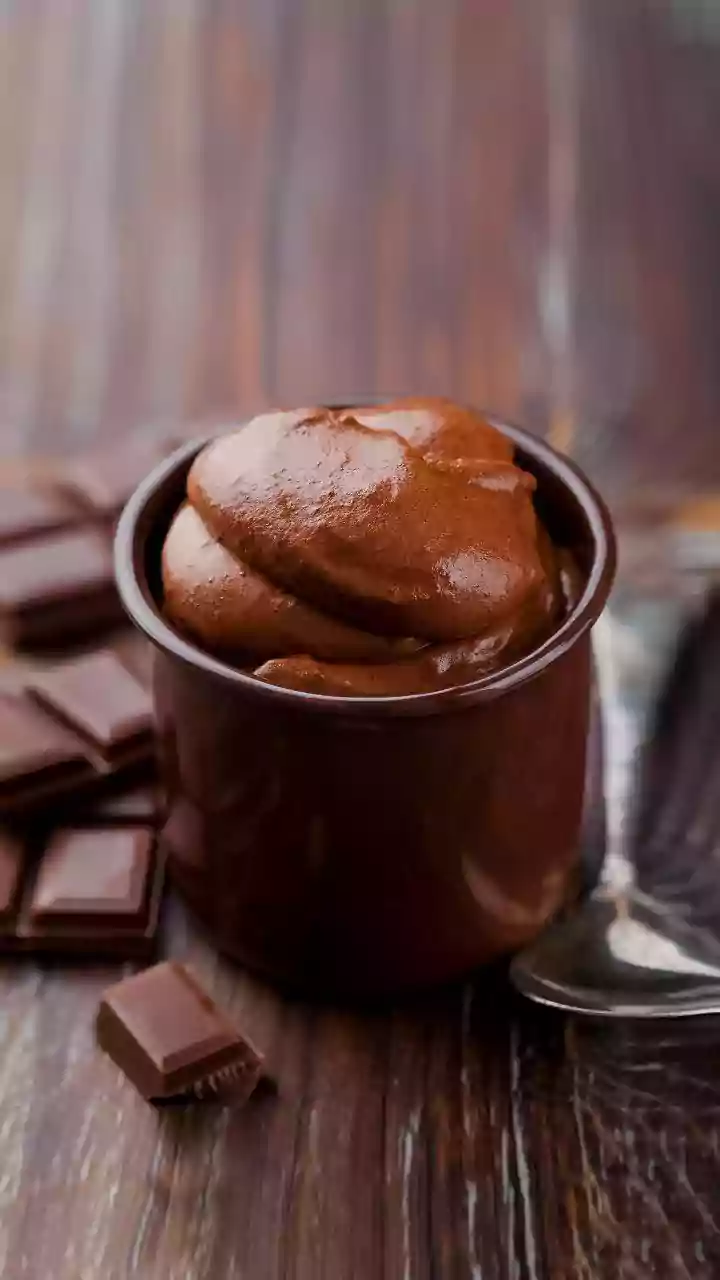
Enhance the mixture by adding melted chocolate and vanilla. The melted chocolate infuses the base with a rich, deep chocolate flavor, while a dash of vanilla boosts the overall taste. Stir gently until the chocolate is fully combined and integrated with the milk mixture. Ensuring the chocolate is fully melted and mixed well prevents the formation of clumps and promises a consistently smooth and delicious final product. The vanilla extract will round out the chocolate flavor.
Pour into Molds
Once the mixture is perfectly blended, it's time to pour it into popsicle molds. Make sure to fill each mold up to the indicated level, leaving a small space at the top to account for expansion during freezing. If you have a mold with sticks, insert them into the mixture as the molds are being filled or after the mixture is poured into the molds. This step sets the stage for the frozen treat's ultimate form. Pour slowly to avoid spills and ensure the mixture is evenly distributed.
Freeze the Popsicles
The filled molds should then go into the freezer. The freezing time will vary, but a few hours are typically sufficient. A key factor is ensuring the popsicles are completely frozen and solid. During this time, the mixture will transform into the solid form, taking the shape of your molds and locking in all the delicious flavors. The duration of freezing directly affects the consistency of the final product, resulting in a firmer, more refreshing treat if frozen correctly.
Unmold & Enjoy!
Once frozen, it's time to unmold the popsicles. Run the molds under warm water for a few seconds to loosen the popsicles, making sure they don't melt too fast. After loosening the popsicles, gently pull them out of the molds. You can now enjoy the fruits of your labor! These homemade chocolate popsicles are a perfect treat for any occasion, offering a blend of flavors and textures that are sure to delight.


