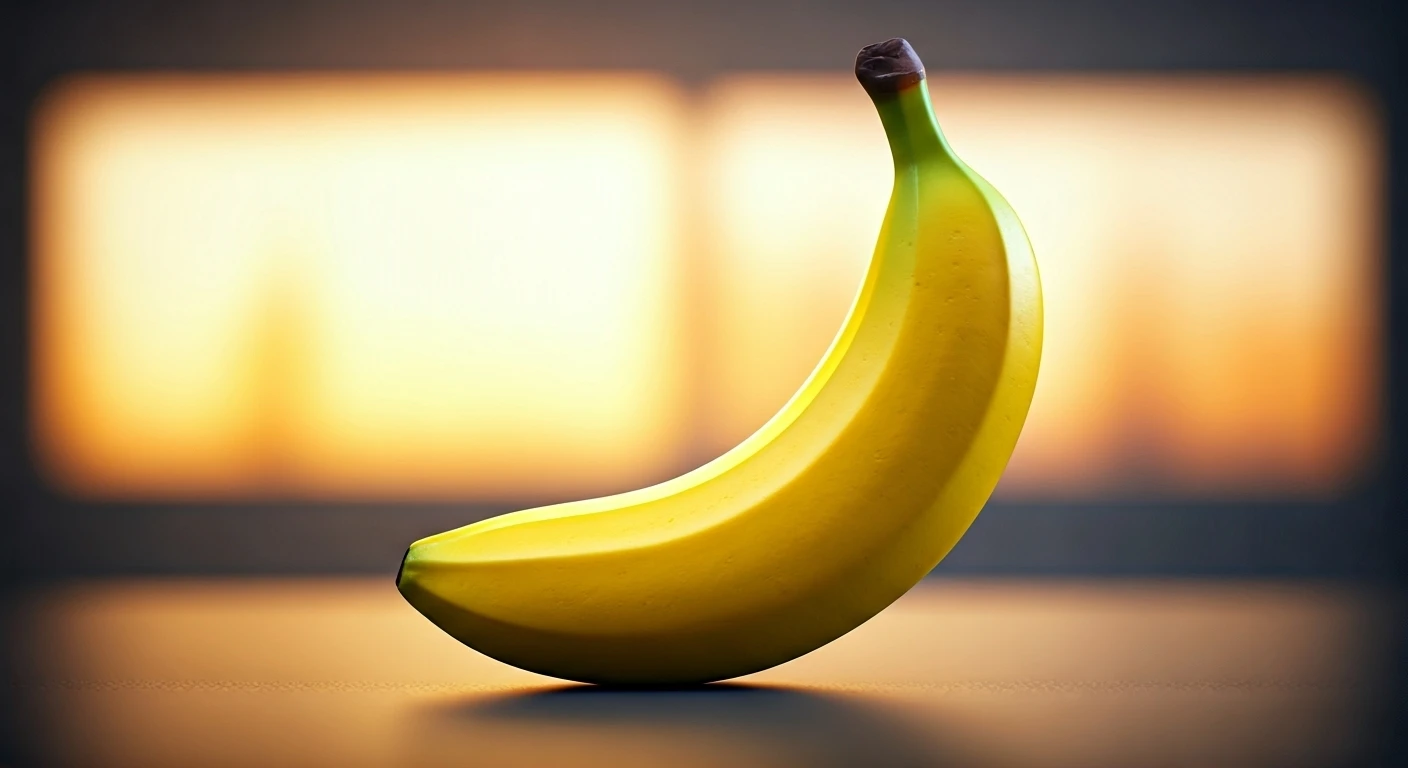

Nano Banana's Rise
The 'Nano Banana' trend has rapidly gained popularity online. It uses a combination of readily available tools to bring your digital photos into the physical
world. The trend involves using specific prompts to generate 3D models. The ease of use and the creative possibilities have led to a surge in participation. Individuals and communities are sharing their creations and the prompts. The allure of transforming static images into tangible objects has made it a favorite. This trend invites everyone to explore the intersection of digital art and physical objects.
Crafting 3D Figurines
Creating 3D figurines from photos is a straightforward process, thanks to a few key prompts. These prompts act as instructions that the technology interprets to generate the 3D model. Begin with a clear description of the subject in your photo. Then, specify the desired style, such as 'miniature' or 'tiny figurine.' Add details about the material, like 'ceramic' or 'plastic.' Include details like 'banana' to add a quirky element and make the model visually appealing. You can then specify the pose to create a dynamic model. You may include any accessories for added flair. Lastly, you can add descriptive details for textures. These prompts will allow you to create unique and personalized 3D figurines.
Prompt 1: Subject Focus
Your first prompt should focus on the subject of your photo. Start by clearly identifying the central element. For instance, if the photo features a pet, the prompt could be: 'A tiny figurine of a fluffy cat.' This prompt sets the foundation. It guides the system to understand the main object to be transformed. Make the subject clear and concise, specifying the type and general characteristics. This prompt provides the system with the information needed for a solid starting point. The clearer the subject description, the more accurate the resulting 3D figurine will be, which is the foundation of your model.
Prompt 2: Style and Size
Next, incorporate details about the style and size of your figurine. Keywords like 'miniature,' 'tiny,' or 'nano' will guide the generation of the desired scale. To add a particular artistic touch, include terms like 'cute,' 'cartoonish,' or 'realistic.' The system uses this to shape the overall look and feel of the figurine. Specifying the style will help you achieve the desired aesthetic. Experiment with different styles to see what best fits your photo's subject matter and your creative vision. Varying the style and size adds personality to the figurine and determines the visual tone.
Prompt 3: Material Choice
Specify the material you want the figurine to appear to be made of. Options include materials like 'ceramic,' 'plastic,' 'wood,' or 'metal.' It can also include any element that will make the figurine unique. This step influences the texture and appearance. It is necessary to make the figurine look real, giving it a certain finish or feel. Consider what material would best complement your subject. The material selection can add depth and visual interest. For instance, a 'wooden' finish gives a rustic feel, while 'ceramic' can make it look more elegant.
Prompt 4: Quirky Elements
Add a touch of whimsy and interest by incorporating quirky elements. Introduce unexpected details that will make the figurine fun and engaging. The use of 'banana' is a playful element in this trend. This can add a touch of the unexpected and make the figurine memorable. For instance, including a small accessory or a unique pose can elevate the figurine's character. Creative details can provide an opportunity to make the figurine truly unique. Embrace the unexpected and let your imagination run wild. The results will be rewarding, and the process will be engaging.
Prompt 5: Posing and Action
Direct the position and movement with details on the pose you desire. This will add a sense of movement and life to the figurine. Specify the angle, such as 'standing,' 'sitting,' or 'jumping.' By detailing the action, you create a dynamic figurine that captures the essence of your image. For example, 'a cat leaping in mid-air' sets a lively tone. The system uses these commands to give the figurine a sense of energy. This step is important to make your figurine more compelling and interesting, making the final piece more attractive.
Prompt 6: Accessories Details
Enhance the figurine by detailing accessories to add additional personality and visual interest. Accessories can give the figurine depth. You can be as creative as you want. Make it more appealing. Specify the addition, such as a hat, a scarf, or any other item. The details will influence the character and style of the figurine, adding depth to the overall design. Experiment with adding accessories to the figure. Accessories will enable you to add elements that make the figurine more engaging. The details will make the overall presentation more creative and detailed.
Prompt 7: Textural Details
Add details regarding the texture. Specifying the finish of your figurine will make the figurine appear real. This step adds a layer of realism to the 3D model. Keywords such as 'smooth,' 'rough,' 'shiny,' or 'matte' can guide the textural characteristics. By including these descriptors, you can control the overall look of the finished product. A 'smooth' surface can offer an elegant appearance, while 'rough' textures might add a sense of ruggedness. Experiment with these settings to achieve the desired finish. These are details that can enhance the look of the finished model.