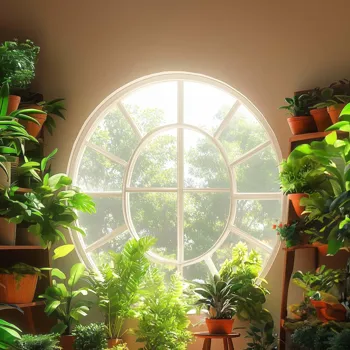
Discover the secrets to a flourishing indoor garden in India! Learn 8 essential tips to impress with your green haven
Namaste, gardening enthusiasts! Want to bring a touch of the outdoors inside and impress
everyone with your green thumb? Growing an indoor garden in India can be incredibly rewarding, adding freshness, beauty, and even clean air to your home.
However, it's not always a walk in the park (pun intended!). Factors like sunlight, humidity, and the right type of soil play a crucial role. Fear not! We've compiled eight essential tips that will help you create a thriving indoor garden that will leave your friends and family in awe.
Let's get started and transform your home into a green haven! It's easier than you think, just follow these simple suggestions!
Location, Location, Location: Understanding Sunlight
The secret ingredient to a happy indoor garden is sunlight, my friends! Plants, just like us, need sunshine to thrive. Before you even think about buying those cute pots and filling them with soil, take a good look at your home and identify the spots that receive the most sunlight.
South-facing windows are generally the best because they get the most sun throughout the day. East-facing windows provide gentle morning light, which is great for many leafy greens.
West-facing windows offer strong afternoon sun, which can be good for flowering plants, but be careful as it can also be intense and burn the leaves. The most difficult are north facing windows, they get the least light.
If you only have a north-facing window, dont give up hope, the placement of your plant can really help. Always keep in mind that some plants need direct sunlight, while others need indirect light. Direct sunlight means the plant is exposed to the sun's rays for several hours each day.
Indirect sunlight means the plant gets bright light, but is shielded from the direct sun. Understanding the light needs of your chosen plants is crucial for their survival and flourishing.
One major thing to remember is to keep rotating your plants every week or so.
This is especially important for plants that are placed near a window. The side of the plant facing the window will naturally grow towards the light, and if you don't rotate it, it will become lopsided.
Rotating your plants ensures that all sides get equal exposure to sunlight, resulting in more even growth. If you have a dark corner you want to brighten up with plants, invest in a good quality grow light.
Grow lights mimic natural sunlight and can provide the necessary light for plants to grow even in the absence of natural light. They come in various types and sizes to suit different needs and budgets.
Remember to do your research and choose a grow light that is appropriate for the type of plants you are growing. By taking the time to understand the light requirements of your plants and providing them with the optimal amount of light, you'll set your indoor garden up for success.
A little bit of sunshine, a lot of patience, and some careful planning will get you results in no time.
Don't worry if you don't have a naturally sunny home. These days, we have access to really great artificial lighting solutions.
These grow lights can be easily bought from online websites and come in various sizes and for different purposes. If you are working on a budget, try to maximize the amount of light in your room.
Use light colored wall paints, this can help reflect the light that is already in the room, making it brighter for your plants. Also, you can place mirrors near the plants to reflect even more light towards them. Also, different plants require different levels of sunlight.
Do your research to find plants that suit your location and the lighting in your home. For example, snake plants and ZZ plants are great for low light conditions, whereas herbs like basil and mint need a bit more direct sunlight.
You can also use a light meter to measure the light intensity in different areas of your home if you want to be super accurate. Sunlight, as we know, is the key ingredient for a happy and thriving indoor garden.
Remember that adjusting to less or more light can result in plants feeling a little overwhelmed. This is perfectly normal, and your plants just need some time to settle in. Try not to worry too much about this process.
If you spot leaves starting to brown, consider moving your plant to a different location with less direct sunlight. Some plants will also shed their leaves due to shock. You can remove them and allow the other leaves and the plant to continue growing and developing.
This process may take a few weeks, so be patient. Plants might also have special light requirements throughout other stages, such as the plant growing and flowering. Again, do your research and find out if you need to change anything to allow the plant to thrive during certain phases.
Once you understand light and its impact on your indoor garden, you have already sorted half the battle!
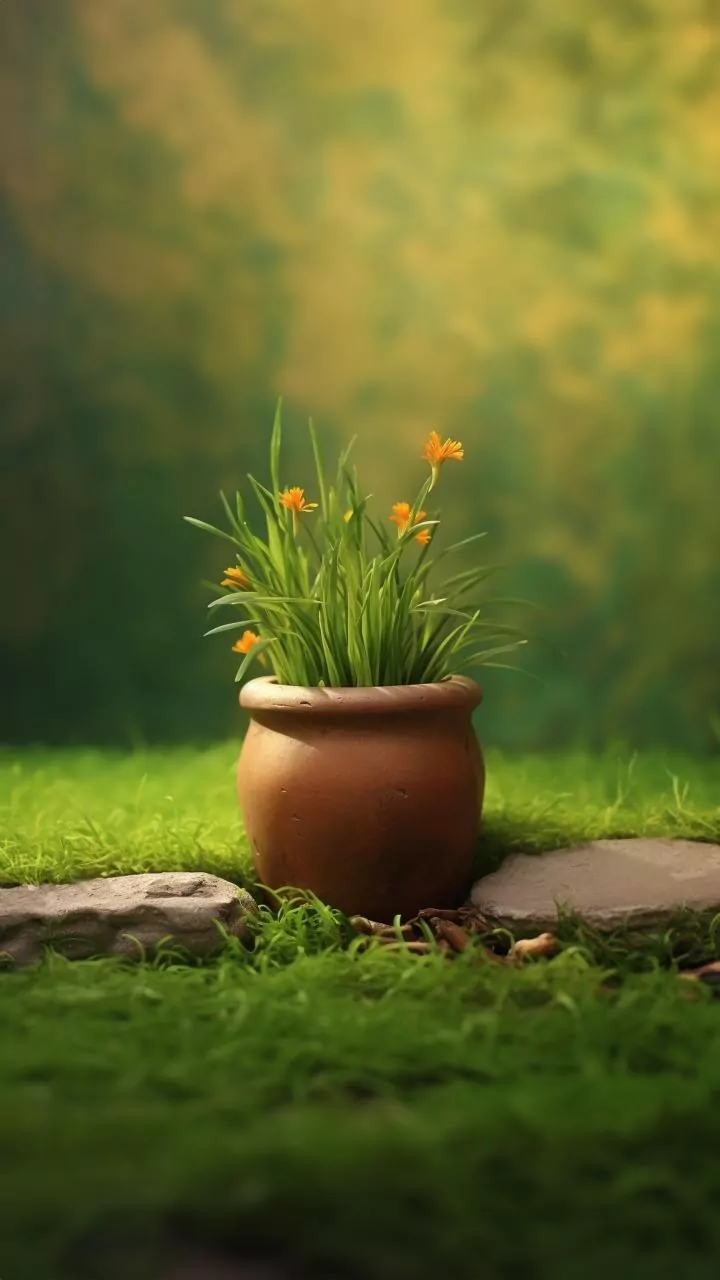
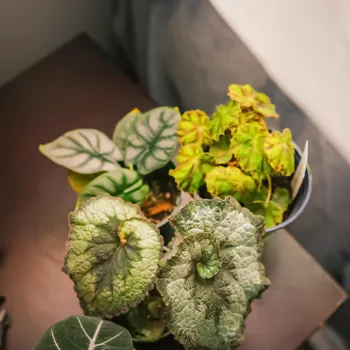
Potting Perfection: Choosing the Right Containers and Soil
Now that you have figured out light, next comes deciding what to plant your little green friends in . The right pot and soil are essential for drainage, aeration, and providing nutrients to your plants.
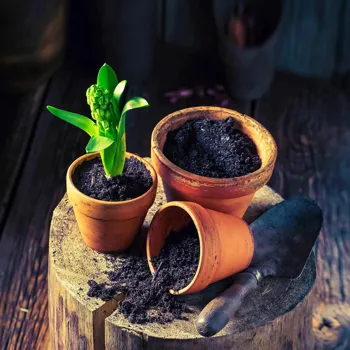
Terracotta pots are excellent because they are porous, allowing the soil to breathe and preventing waterlogging. Plastic pots are also a good option, especially if you tend to overwater, as they retain moisture for longer. Make sure whichever pot you choose has drainage holes!
This is absolutely crucial to prevent root rot. If your pot doesn't have drainage holes, you can drill them yourself or place a layer of pebbles at the bottom to improve drainage. Size matters!. Choose a pot that is appropriately sized for your plant and allows for future growth.
A pot that is too small will restrict the roots, while a pot that is too large can lead to waterlogged soil.
Once you have your pots, you will need to find the right soil. The soil is the plants source of food, so this is something to really figure out.
Don't even for a second think about using garden soil in your pots. One of the biggest mistakes that new gardeners make is using regular garden soil for their indoor plants. Garden soil is often too dense and heavy and doesn't drain well, leading to root rot.
Instead, use a well-draining potting mix specifically designed for indoor plants. These mixes typically contain a blend of peat moss, perlite, and vermiculite, which provide good aeration and drainage. You can buy these mixes at any nursery or garden center.
You can also make your own potting mix by combining equal parts of peat moss, perlite, and vermiculite. For plants that prefer acidic soil, like azaleas and camellias, use a potting mix specifically formulated for acid-loving plants.
Add compost and manure to enrich the soil and provide essential nutrients.
If you are unsure about how to make your own blend of soil, you can buy it from the store. However, make sure that its the right soil for your plant. Some plants prefer specific soil.
Cacti and succulents thrive in sandy soil that drains quickly, while herbs prefer well-draining soil that is rich in organic matter. Remember to refresh your soil regularly. Over time, the nutrients in the soil will get depleted, and the soil can become compacted.
It's a good idea to repot your plants every year or two with fresh potting mix to provide them with the nutrients they need to thrive. When repotting, choose a pot that is slightly larger than the previous one.
Handle the plant carefully to avoid damaging the roots, and water the soil thoroughly after repotting. Its also good to clean your containers to prevent diseases spreading.
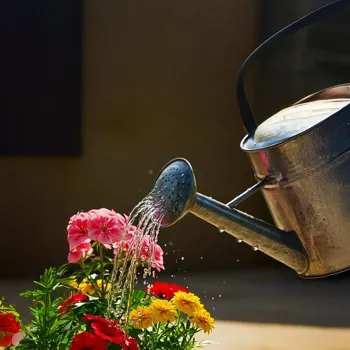
The Watering Way: Finding the Right Balance
Watering is an art, not a science my friend, and it's one of the most essential skills for any indoor gardener. Overwatering is a very common problem and I see so many people struggle with this even veteran gardners can struggle to find the sweet spot of water.
Overwatering can suffocate the roots and lead to root rot, while underwatering can cause the plant to wilt and dry out. Figuring out just the right amount of water for your plants is something that takes time, and each plant is different.
A good rule of thumb is to check the soil moisture before watering. Stick your finger about an inch into the soil. If it feels dry to the touch, it's time to water. If it feels moist, wait a few more days.
When you do water, water thoroughly until water drains out of the drainage holes.
This ensures that the entire root ball is moistened. Avoid watering the leaves, as this can encourage fungal diseases. Use a watering can with a long spout to reach the soil easily. Different plants have different watering needs.
Succulents and cacti can tolerate long periods of drought, while ferns and other moisture-loving plants need to be watered more frequently. Research the specific watering needs of your plants and adjust your watering schedule accordingly. Consider the time of the year also.
Plants generally need less water in the winter when they are not actively growing. In the summer, when temperatures are higher and plants are growing more actively, they will need more water. Use room temperature water. Cold water can shock the plants, especially tropical varieties.
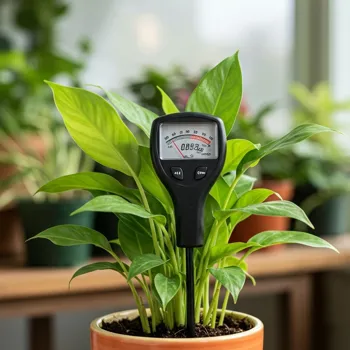
Investing in a moisture meter can also be helpful. These meters measure the moisture level in the soil and can help you avoid overwatering or underwatering. They are relatively inexpensive and easy to use. Don't rely on a set schedule.
Just because you watered your plants every Monday last month doesn't mean they will need water every Monday this month. The weather, humidity levels, and the plant's growth stage can all affect its watering needs.
Always check the soil moisture before watering and adjust your watering schedule accordingly. A self-watering pot can be a great investment for plants that need consisten moisture. There are self watering pots in store you can find, but also online to suit your needs.
They can deliver water to your plants over a long period of time thus saving you the hassle of watering all the time.
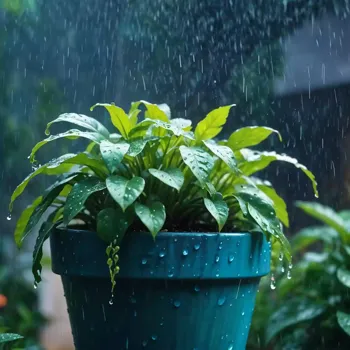
Humidity Happiness: Creating the Perfect Atmosphere
Many indoor plants, especially tropical varieties, crave humidity. The dry air in our homes, caused by air conditioning and heating, can be detrimental to their health. Consider the part of India your plants are from, if they from the mountains, they will need a lot of humidity.
Increasing humidity can significantly improve their growth and overall well-being. A simple way to increase humidity is to group your plants together. Plants naturally release moisture into the air through transpiration, so grouping them together creates a microclimate with higher humidity.
You can also place your plants on a pebble tray filled with water. As the water evaporates, it increases the humidity around the plants.
Misting your plants regularly can also help to increase humidity. Use a spray bottle filled with room-temperature water and mist the leaves lightly.
Avoid misting flowering plants, as this can damage the blooms. If you have a lot of humidity-loving plants, investing in a humidifier might be a good idea. Humidifiers release moisture into the air, increasing the overall humidity level in your home.
If you struggle with watering, consider using a self watering pot. Self watering pots can be especially useful but are not a replacement for physical intervention. You should still keep checking the water levels to make sure there is enough water for the plant! Air circulation is also a must.
Avoid placing your plants near drafts or vents, as this can dry them out. Open a window occasionally to allow for fresh air circulation, but be mindful of extreme temperatures.
If you think the plant you have does not suit the weather in your home, try moving it around and see if you can find a placement for it. There's a good chance your plant will thank you and grow very well once getting accustomed to how well the air is circulating.
Check leaves to spot signs of dryness and make changes accordingly.
Fertilizing Fundamentals: Nourishing Your Green Friends
Just like us, plants need food to grow and thrive. Fertilizing your indoor plants provides them with the essential nutrients they need to support healthy growth, vibrant foliage, and abundant blooms. However, it's important to fertilize correctly, as over-fertilizing can actually harm your plants.
The best time to fertilize your plants is during the growing season, which is typically spring and summer. During this time, plants are actively growing and need more nutrients. In the fall and winter, when plants are dormant, you can reduce or even stop fertilizing.
Use a balanced liquid fertilizer specifically designed for indoor plants. Look for a fertilizer with an NPK ratio (nitrogen, phosphorus, potassium) of 10-10-10 or 20-20-20.
Always dilute the fertilizer according to the instructions on the label.
Over-fertilizing can burn the roots and damage the plants. It's better to fertilize less often with a diluted solution than to over-fertilize. Water your plants thoroughly before fertilizing. This will help to prevent the fertilizer from burning the roots.
Apply the fertilizer to the soil, avoiding the leaves and stems. If you see salts building up on the surface of the soil, flush the soil with water to remove excess fertilizer. Organic fertilizers, such as compost tea and fish emulsion, are also great options for indoor plants.
They provide a slow-release of nutrients and improve the soil health. Repotting is a big factor in how plants grow as well.
Some plants are heavy feeders and need more frequent fertilization than others. Flowering plants, for example, need more phosphorus to support bloom production.
Research the specific nutrient needs of your plants and adjust your feeding schedule accordingly. If your plants are looking pale or yellow, they may be lacking nutrients. This could be a sign that they need fertilizer.
Add a well amount of tea leaves to the bottom of the container before adding your plants. You can also get help from online communities regarding plants. These groups are a great place to share tips and ask for advice!
Pruning Power: Trimming for Health and Beauty
Pruning is more than just snipping off dead leaves! It's an essential practice for maintaining the health, shape, and overall beauty of your indoor plants. Regular pruning encourages new growth, improves air circulation, and helps to prevent diseases.
It can also help to control the size and shape of your plants, keeping them looking their best. Use clean, sharp pruning shears or scissors. This will prevent the spread of diseases. Make sure your tools are always clean. Remove any dead, damaged, or diseased leaves and stems.
These can attract pests and spread diseases to the healthy parts of the plant.
Prune leggy growth to encourage bushier growth. Leggy growth is when the plant has long, thin stems with few leaves. Pruning the tips of the stems will encourage the plant to branch out and become more compact.
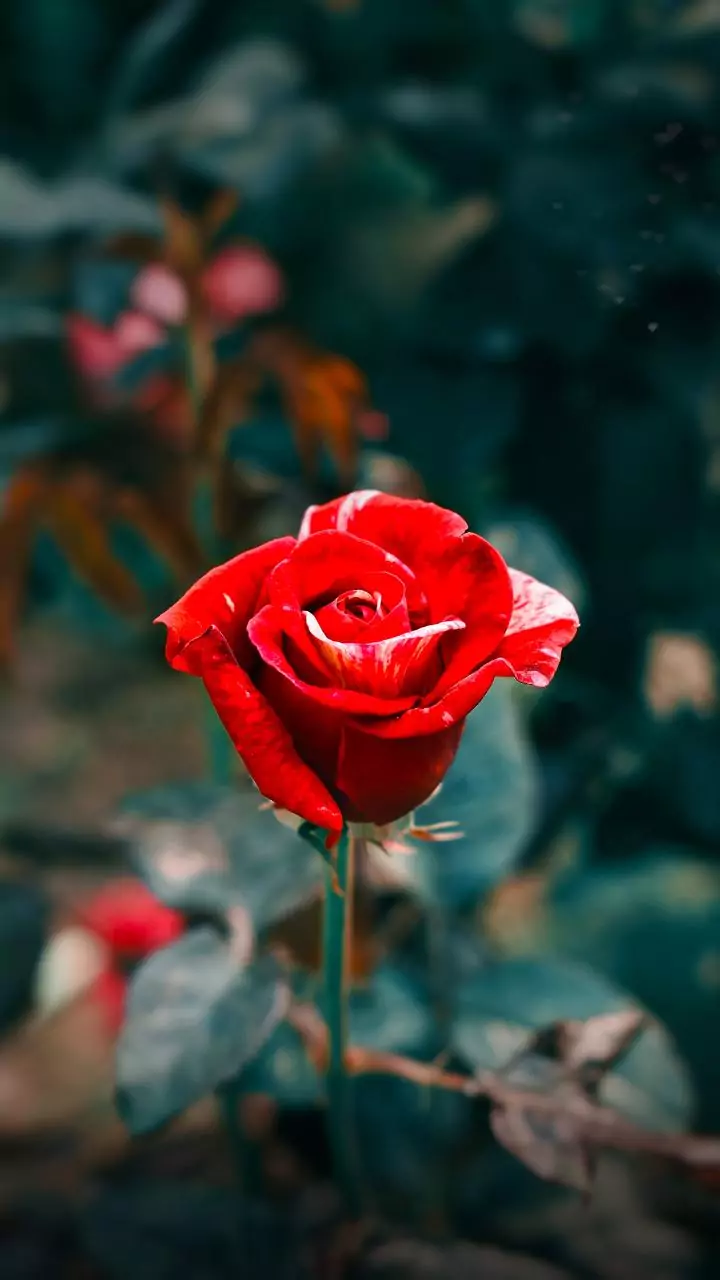
Remove any suckers or offshoots that are growing from the base of the plant. These can drain energy from the main plant. Prune flowering plants after they have finished blooming. This will encourage them to produce more flowers in the future.
Pinching is a form of pruning that involves removing the growing tips of stems. This encourages the plant to branch out and become bushier.
When pruning, cut just above a node, which is the point where a leaf or branch grows from the stem. New growth will emerge from this node.
Avoid pruning more than one-third of the plant at one time. This can stress the plant. Pruning can be intimidating, but don't be afraid to experiment. With a little practice, you'll become a pruning pro!
You can also google videos of how to trim certain plants so you can get more in-depth knowledge. Remember, less is more! It's better to prune lightly and frequently than to prune heavily all at once. Start with small snips and see how the plant responds.
Pruning is a great way to keep your indoor garden looking its best. With a little time and effort, you can create a beautiful and thriving indoor oasis. Now that you know how to prune your plants, you can keep your indoor garden looking healthy and beautiful for years to come.
Pest Patrol: Keeping Unwanted Guests Away
Pesky pests can be a real nuisance for indoor gardeners. They can damage your plants, spread diseases, and even kill them. It's important to be vigilant and take action as soon as you spot any signs of pests. Prevention is the best medicine!
Inspect your plants regularly for signs of pests, such as aphids, mealybugs, spider mites, and whiteflies. Check the undersides of the leaves, where pests often hide. Isolate any plants that are infested with pests to prevent them from spreading to other plants.
Wash your plants regularly with a strong stream of water. This can help to dislodge pests and keep them from multiplying. Insecticidal soap is a safe and effective way to control many common indoor plant pests. Apply it thoroughly to all parts of the plant, including the undersides of the leaves.
Neem oil is another natural insecticide that can be used to control pests. It also has antifungal properties. Diatomaceous earth is a natural powder made from fossilized algae. It can be used to control pests by sprinkling it around the base of the plant or dusting it on the leaves.
If you have a severe infestation, you may need to use a stronger insecticide. Be sure to follow the instructions on the label carefully and use the insecticide in a well-ventilated area. Keep the soil clean, if you spot any mold starting to form in your container, remove and replace the soil.
Encourage beneficial insects also. They feed on pests and other harmful insects in and around your plants. You can keep them around by avoiding using insecticides.
The Art of Observation: Paying Attention to Your Plants
The single most important thing you can do for your indoor garden is to pay attention to your plants. Observe them regularly and learn to recognize the signs of health and distress.
The more you observe your plants, the better you'll understand their needs and the more successful you'll be at growing them. Check the leaves for signs of discoloration. Yellowing leaves can indicate overwatering, underwatering, or nutrient deficiencies.
Browning leaves can indicate sunburn or dryness. Spotting leaves can indicate pests or diseases.
Observe the soil moisture. Is it too wet? Is it too dry? Adjust your watering schedule accordingly. Check the roots for signs of root rot. Root rot is a fungal disease that can kill your plants.
If the roots are mushy and brown, they are likely suffering from root rot. The stems are a big factor, are they tall, thin, and leggy? This can indicate that the plant is not getting enough light. Are they thick and sturdy? This is a sign of healthy growth. Note how fast they are growing as well.
Slow growth can indicate that the plant needs more nutrients or that it is not getting enough light.
Learn the specific needs of your plants. Each type of plant has its own unique needs for light, water, humidity, and nutrients.
The more you know about your plants, the better you'll be able to care for them. And finally, take notes! Keep a journal of your observations, noting how your plants respond to different conditions.
AI Generated Content. Glance/InMobi shall have no liability for the content