Discover the art of crafting Authentic Paneer at home. Elevate your dishes with this simple recipe. Read more for culinary bliss
Paneer, that versatile and beloved ingredient in Indian cuisine, is surprisingly
easy to make at home, fresh and without any of the preservatives you might find in store-bought varieties. Imagine soft, creamy paneer, perfect for your favourite curries, snacks, or even just enjoyed plain.
Forget the hassle of running to the market; with just a few basic ingredients and a little bit of patience, you can whip up a batch of authentic, homemade paneer that will elevate your cooking to a whole new level.
This article will guide you through a simple recipe, ensuring paneer that tastes like it came straight from a professional kitchen. Prepare to impress your family and friends with your newfound culinary skills.
The beauty of making paneer at home lies in its simplicity and the ability to control the quality of ingredients. All you need is full-cream milk and a source of acidity, like lemon juice, vinegar, or curd (dahi).
The key is using high-quality milk, as this directly impacts the texture and the flavour of the final product. Avoid using toned milk, as it won't yield the desired richness.
The process is straightforward: boil the milk, add the acid to curdle it, separate the whey, and then press the solids to form a block of paneer. With practice, you'll be making perfect paneer every single time. It is a very humble dish and is very easy to make.
Ingredients You'll Need
2 litres full-cream milk (ensure it's fresh for best results)
1/4 cup lemon juice (or 2 tablespoons of vinegar, or 1/2 cup of curd)
A muslin cloth or cheesecloth
A heavy object for pressing (like a pot filled with water)
The recipe is very simple and the recipe is very easy to follow and to perform. It should just be followed for great paneer.
Step-by-Step Instructions

Boiling the Milk
Pour the milk into a large, heavy-bottomed pot. Bring it to a boil over medium heat, stirring occasionally to prevent it from sticking to the bottom. Keep a close eye on the milk as it rises to prevent it from boiling over. Once it reaches a rolling boil, reduce the heat slightly.
Curdling the Milk
Now comes the critical part – curdling the milk. Lower the heat to a simmer. Gradually add the lemon juice (or vinegar/curd), a tablespoon at a time, stirring gently after each addition. You'll notice the milk starts to separate into solid curds and a watery, yellowish liquid (whey).
If the milk doesn't curdle properly after adding all the lemon juice, add a little more, a teaspoon at a time, until the separation occurs. Don't add too much acid at once, as this can make the paneer tough. Stir very carefully.
Separating the Curds and Whey
Once the milk has fully curdled, remove the pot from the heat. Line a colander with the muslin cloth or cheesecloth. Carefully pour the curdled milk into the lined colander. The cloth will catch the solid curds while the whey drains away.
Gather the edges of the cloth and gently squeeze out any excess whey from the curds. This step is essential for achieving a firm texture.
Washing the Curds (Optional)
This step is optional but recommended if you've used lemon juice or vinegar, as it helps remove any lingering sourness. Gently rinse the curds in the cloth under cold running water for a minute or two. Again, squeeze out any excess water.

Pressing the Paneer
Tie the cloth tightly into a bundle, ensuring the curds are packed firmly inside. Place the bundle on a flat surface (like a plate or cutting board). Place a heavy object on top of the bundle to press out any remaining whey and shape the paneer.
The longer you press it, the firmer the paneer will be. For a softer paneer, press for about 1-2 hours. For a firmer paneer, press for 3-4 hours, or even overnight in the refrigerator.
Refrigerating and Storing
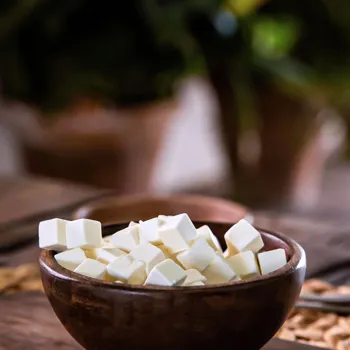
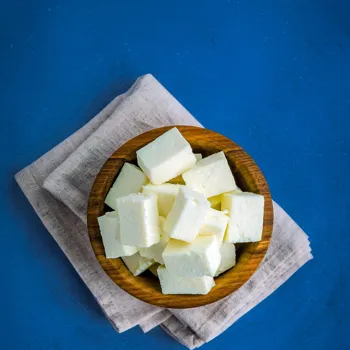
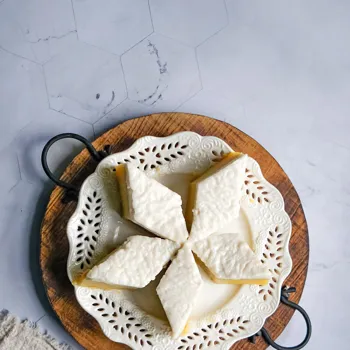
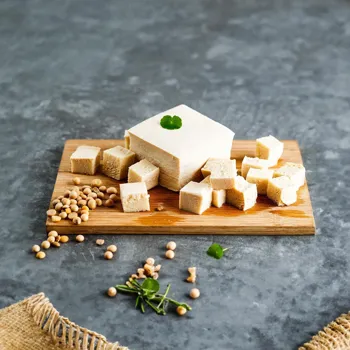
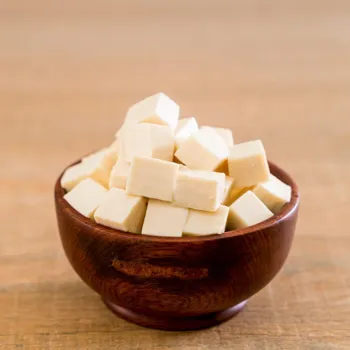
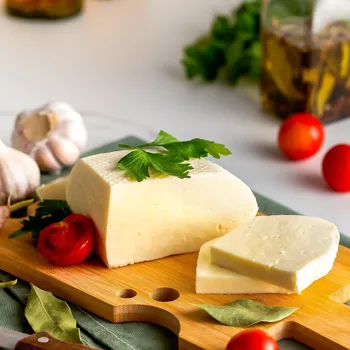
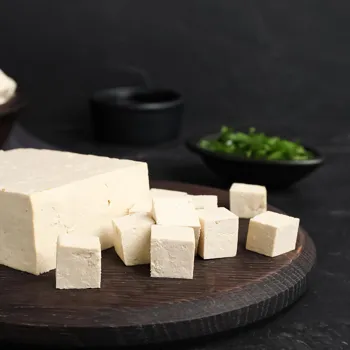
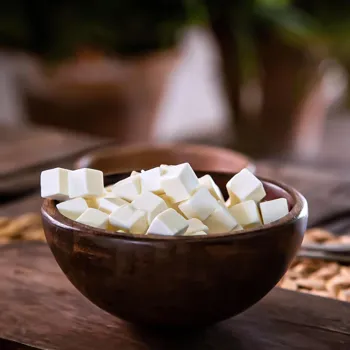
Once the paneer has been pressed to your desired consistency, remove it from the cloth. You'll have a block of fresh, homemade paneer! Cut it into cubes or slices and store it in an airtight container in the refrigerator. Homemade paneer typically lasts for 3-4 days in the fridge.
You can also freeze it for longer storage.
Use Fresh, Full-Cream Milk: This is the most important factor for good paneer.
Don't Overboil the Milk: Overboiling can make the paneer rubbery.
Add Acid Gradually: Adding too much acid at once will result in tough paneer.
Control the Pressing Time: Adjust the pressing time to achieve your desired firmness.
Use a Clean Muslin Cloth: Ensure the cloth is clean and free of any odours.
Ways to Use Your Homemade Paneer
Now that you've made your own paneer, the culinary possibilities are endless! Here are just a few ideas:
Paneer Butter Masala: A classic Indian curry that's sure to impress.
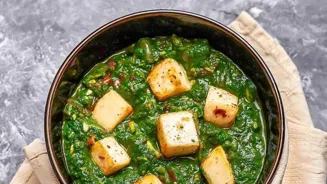
Palak Paneer: Paneer cooked in a creamy spinach sauce.
Paneer Tikka: Marinated and grilled paneer skewers.
Paneer Bhurji: Scrambled paneer with spices.
Paneer Paratha: Stuffed flatbread with a paneer filling.
Paneer Cutlets: Crispy and flavourful paneer patties.
As a Snack: Cubes of paneer sprinkled with chaat masala.
Making paneer at home is something you can be proud of. Not only is it economical as it avoids any preservatives.
Troubleshooting Your Paneer
Paneer is too hard: This could be due to overboiling the milk, adding too much acid, or pressing for too long. Next time, be mindful of these factors.
Paneer is too soft: This could be due to using toned milk, not adding enough acid, or not pressing for long enough.
Paneer is crumbly: This could be due to adding the acid too quickly or using old milk.
Paneer tastes sour: Make sure to rinse the curds well after curdling to remove any lingering sourness from the lemon juice or vinegar.
Milk is not curdling: Try adding a little more acid, a teaspoon at a time. Ensure the milk is hot enough but not boiling.
With these tips and tricks, you'll be making perfect paneer in no time. Enjoy the satisfaction of creating something delicious and healthy from scratch!
Homemade paneer isn't just about saving money; it's about knowing exactly what's going into your food and enjoying the freshest, most flavorful paneer possible. So, gather your ingredients, put on your apron, and get ready to embark on a delightful culinary adventure!