Discover the art of perfecting homemade paneer with these 7 expert tips. Elevate your cooking with fresh, creamy cheese!
Paneer, the quintessential Indian cheese, holds a special place in our vegetarian
cuisine. From matar paneer to palak paneer, and tikkas to koftas, this versatile ingredient elevates any dish it graces.
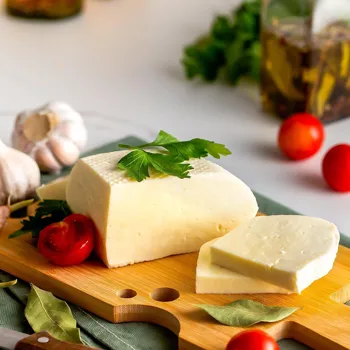
While store-bought paneer is readily available, the taste and satisfaction of homemade paneer are simply unparalleled. Making paneer at home may seem daunting, but with a few simple tips and tricks, you can master the art of crafting perfect, fresh cheese right in your own kitchen.
Get ready to embark on a culinary adventure that will transform your cooking! So, ditch the store-bought blocks and prepare to enjoy creamy, melt-in-your-mouth paneer made with your own hands. The aroma of fresh paneer simmering on the stove is enough to make any foodie's heart sing.
Choose full-cream milk for rich, soft paneer; avoid toned milk for best results
The first and most crucial step is selecting the right milk. Opt for full-cream milk, preferably from a local dairy or a trusted brand. Full-cream milk contains a higher fat content, which directly translates into softer, richer, and more flavorful paneer.
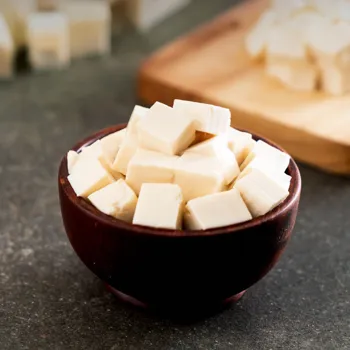
Avoid using toned or skimmed milk, as it will result in a dry and crumbly texture. Always check the expiry date to ensure that the milk is fresh. The fresher the milk, the better the paneer.
Using milk that's nearing its expiry date might lead to a sour taste or prevent the paneer from setting properly. Think of the milk as the foundation of your paneer.
Just as a sturdy foundation is essential for a strong building, good quality full-cream milk is crucial for making delicious, high-quality paneer. Once you've secured the right milk, you're already halfway to paneer perfection!
Remember, the key to a truly exceptional homemade paneer lies in the quality of its primary ingredient.
Choose acid wisely for curdling milk: lemon juice, vinegar, curd diluted with water
Next comes the choice of acid for curdling the milk. Lemon juice is the most popular and readily available option, but you can also use vinegar or even curd. The key is to dilute the acid with an equal amount of water before adding it to the milk.
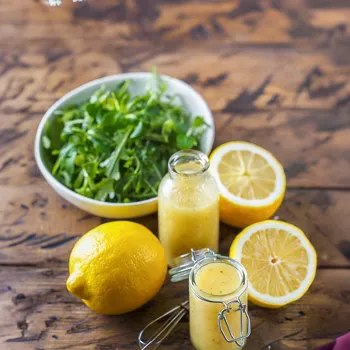
This prevents the paneer from becoming too hard or rubbery. For lemon juice, strain it well to remove any pulp or seeds. The pulp can sometimes impart a slightly bitter taste to the paneer.
When using vinegar, opt for white vinegar, as it has a neutral flavor that won't interfere with the taste of the paneer. Avoid using malt vinegar or other flavored vinegars. If you're feeling adventurous, try using curd. Whisk the curd until smooth and add it gradually to the milk.
Each acid will impart a slightly different flavor profile to the paneer, so experiment to find your preferred taste. Lemon juice tends to give a brighter, cleaner flavor, while vinegar can add a touch of tanginess.
Making paneer: heat milk, add acid gradually, curdle gently, separate whey from paneer
Now, let's move on to the actual paneer-making process. Heat the milk in a heavy-bottomed pot over medium heat. Keep stirring occasionally to prevent it from sticking to the bottom and burning. Bring the milk to a gentle boil.
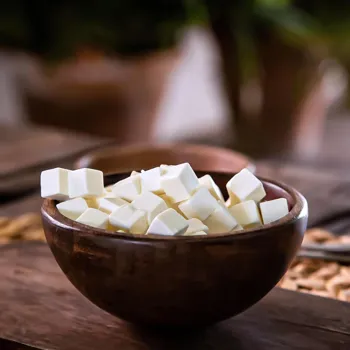
Once the milk starts to boil, reduce the heat to low and gradually add the diluted acid, one tablespoon at a time. Stir gently after each addition. You'll notice the milk starting to curdle, separating into solids (paneer) and whey (the watery liquid).
Continue adding the acid until the whey is clear and yellowish in color. This indicates that the curdling process is complete. Avoid adding too much acid at once, as this can make the paneer tough. Patience is key here.
Allow the milk to curdle gradually, ensuring that the paneer remains soft and tender. The perfect curdling point is when the whey is almost translucent, with just a hint of cloudiness. This signifies that the paneer has been properly separated from the liquid.
Separate paneer from whey by draining curdled milk
Once the milk has completely curdled, it's time to separate the paneer from the whey. Line a colander with a muslin cloth or cheesecloth. Gently pour the curdled milk into the lined colander. The cloth will trap the paneer solids while allowing the whey to drain through.
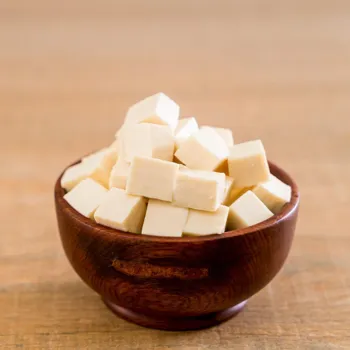
Gather the edges of the cloth and gently squeeze out any excess whey. The more whey you remove, the firmer the paneer will be. Be careful not to squeeze too hard, as this can make the paneer dry. If you prefer a softer paneer, leave a little more whey in.
This step is crucial for achieving the desired texture of your paneer. Experiment with different levels of squeezing to find the perfect balance between firmness and moisture. Remember, you can always adjust the squeezing time to achieve the desired consistency.
The leftover whey is rich in nutrients and can be used in soups, gravies, or even to knead dough. Don't throw it away!
Press paneer in cloth under weight for desired firmness
The next step determines the shape and texture of your paneer. Place the paneer in the cloth under a heavy object, such as a pot filled with water or a stack of books. This will help to compress the paneer and remove any remaining whey.
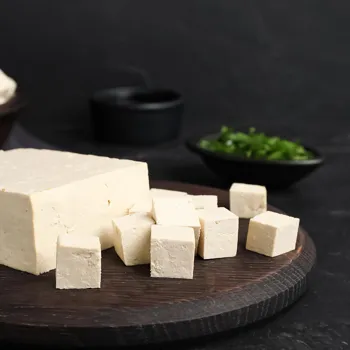
The amount of time you press the paneer will depend on the desired firmness. For a softer paneer, press for about 30 minutes. For a firmer paneer, press for up to 2 hours. You can also experiment with different shapes by placing the paneer in a mold or container during pressing.
This is where you can get creative and customize your paneer to suit your needs. Whether you prefer a perfectly square block or a more rustic, irregular shape, the choice is yours. The pressure from the heavy object helps bind the paneer solids together, creating a cohesive block of cheese.
It also removes any remaining moisture, resulting in a denser and more flavorful paneer.
Soak pressed paneer in cold water to maintain freshness
Finally, once the paneer has been pressed to your desired consistency, remove it from the cloth and transfer it to a bowl of cold water. This will help to cool the paneer quickly and prevent it from drying out. Soak the paneer in cold water for at least 30 minutes, changing the water once or twice.
This step is essential for maintaining the softness and freshness of the paneer. The cold water helps to stop the cooking process and prevent the paneer from becoming rubbery. After soaking, you can store the paneer in an airtight container in the refrigerator for up to 3 days.
Homemade paneer is best consumed fresh, but it can also be frozen for longer storage. To freeze paneer, cut it into cubes and store it in a freezer-safe bag or container. When ready to use, thaw the paneer in the refrigerator overnight.
Now, you have perfect homemade paneer ready to elevate any dish.
AI Generated Content. Glance/InMobi shall have no liability for the content





![[WATCH] 'Real Madrid, Ramadan and rest' - Mohammed Siraj how last-minute World Cup call-up changed February plan](https://g-mob.glance-cdn.com/public/fc/image/ByYT_LEmlrD0.webp)


