


Unlock the secrets to perfect dosas! Learn insider tips for fluffy, crispy crepes. Elevate your dosa game now!
The dosa, that quintessential South Indian delight, is more than just breakfast; it's an emotion.
From the humble streetside carts to the fanciest restaurants, the crispy, golden crepe holds a special place in every Indian's heart.
But achieving that perfect dosa – the one with the right balance of fluffiness and crispness – can be a tricky affair. Fear not, aspiring dosa masters! We've gathered some insider tips and tricks to help you elevate your dosa game and create restaurant-quality crepes in your own kitchen.
Get ready to impress your family and friends with your newfound dosa skills!
Perfect dosa batter: key steps - ratios, soaking, grinding, fermentation
The first crucial step towards a perfect dosa lies in the preparation of the batter. This isn't just about throwing ingredients together; it's about understanding the science behind fermentation.
The ideal ratio of rice to urad dal (black lentils) is generally 3:1 or 4:1, but don't be afraid to experiment to find what works best for your taste. Remember, the quality of ingredients matters. Use good quality rice and urad dal for the best results.
Soak the rice and urad dal separately for at least 4-6 hours, or preferably overnight, to soften them and allow for better grinding. This soaking process is essential for achieving a smooth and fluffy batter. Don't skip it!
After soaking, grind the urad dal first with enough water to form a smooth, airy batter. This step is quite important. Then, grind the rice separately until it reaches a slightly grainy consistency. Remember, the batter should not be too watery.
Both batters are then combined with salt and allowed to ferment.
Fermentation transforms dosa batter into light, airy delight
Fermentation is the magic ingredient that transforms a simple batter into a light and airy dosa. The fermentation process typically takes 8-12 hours, depending on the weather. In warmer climates, the batter will ferment faster. To ensure proper fermentation, store the batter in a warm place.
A good tip is to place it in the oven with the light on or in a cupboard. The batter should rise and have a slightly sour aroma, which means that the fermentation is successful.
After fermentation, some believe it is useful to gently fold the batter rather than stirring vigorously, this helps the preservation of the air formed during fermentation. Before making the dosas, add a little water to adjust the consistency.
The batter should be able to coat the back of a spoon evenly. Ensure there are no lumps. Also, avoid over-stirring the batter after fermentation, as this can deflate it and result in a dense dosa. You want that lovely, airy texture!
A well-seasoned tava is essential for making perfect dosas
Now, let's talk about the star of the show: the tava (griddle). A well-seasoned cast iron tava is ideal for making dosas, as it distributes heat evenly and provides that perfect crisp. However, a non-stick tava can also work well, especially for beginners.
The key is to ensure that the tava is properly heated before pouring the batter. The tava should be hot enough that a drop of water sizzles and evaporates almost instantly. To season a cast iron tava, heat it on medium heat and apply a thin layer of oil.
Let it smoke for a few minutes, then remove from heat and let it cool. Repeat this process several times to create a non-stick surface. Before pouring the batter, lightly grease the tava with oil.
You can use a halved onion dipped in oil for this purpose, which also helps to season the tava and prevent the dosa from sticking.
Master the pouring technique for thin, crispy dosas
The pouring technique is critical for achieving a thin and even dosa. Use a ladle to pour a spoonful of batter onto the center of the hot tava. Immediately use the back of the ladle to spread the batter in a circular motion, starting from the center and moving outwards.
Spread the batter as thinly as possible without creating any holes. The thinner the batter, the crispier the dosa. Don't be afraid to practice your spreading technique! Once the dosa is spread, drizzle a little oil around the edges and in the center.
This will help it cook evenly and achieve that golden-brown color. Cover the tava with a lid for a minute or two to allow the dosa to cook through. This also helps to steam the dosa and soften the inside.
The dosa is ready to flip when the edges start to lift away from the tava and the bottom is golden brown.
Flip dosa for crispiness, customize fillings, serve hot with accompaniments
Use a flat spatula to gently flip the dosa. Cook the other side for a minute or two, until it is lightly browned. If you prefer a crispier dosa, cook it for a longer time. The cooking time will depend on the thickness of the dosa and the heat of the tava.
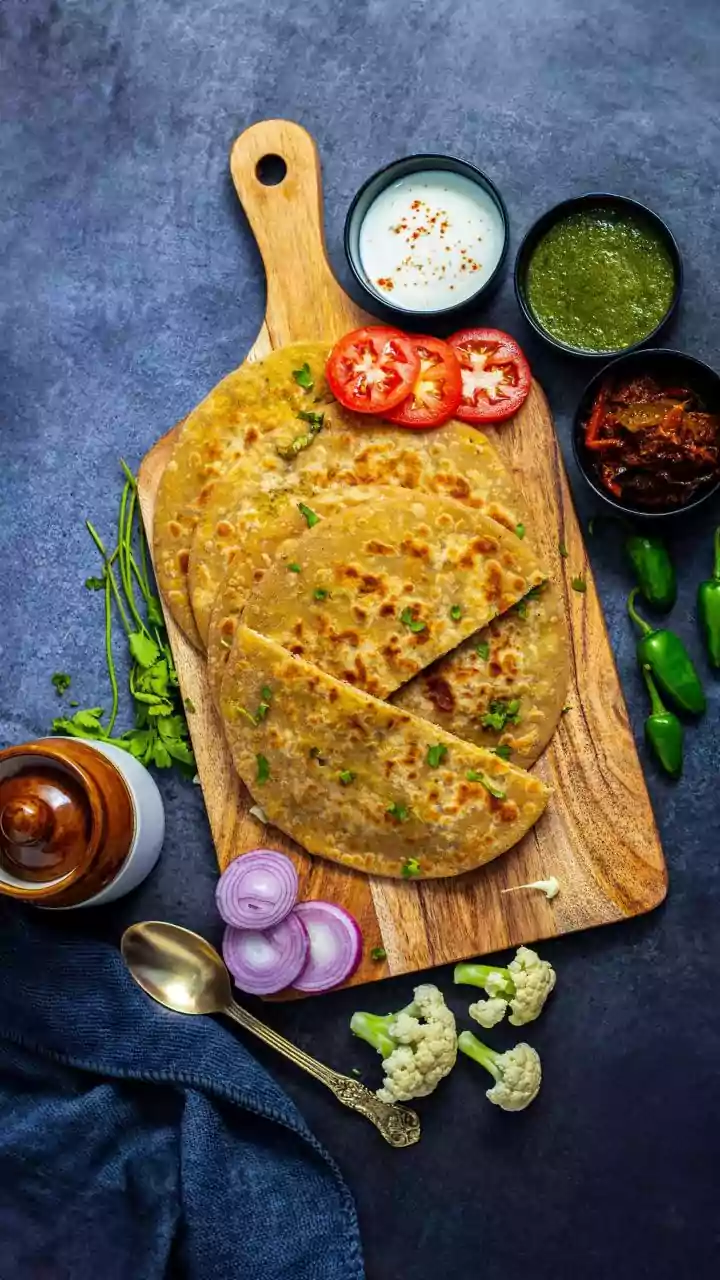
Serve the dosa hot with your favorite accompaniments, such as sambar, coconut chutney, and potato masala. Experiment with different fillings and toppings to create your own signature dosa variations. From cheese and vegetables to paneer and spices, the possibilities are endless!
Clean the tava, and make your next dosa.
Practice makes perfect: master the art of dosa-making at home
Finally, don't be discouraged if your first few dosas aren't perfect. Making the perfect dosa takes practice and patience. Keep experimenting with different techniques and ingredients until you find what works best for you.
With a little bit of effort, you'll be whipping up delicious, crispy dosas that will impress everyone. And remember, even a slightly imperfect dosa is still a delicious dosa! So, grab your ingredients, heat up your tava and get ready to embark on your dosa-making journey. Happy cooking!
You should now be able to create crispy, fluffy dosas in your home. Remember, the key point is to practice.
AI Generated Content. Glance/InMobi shall have no liability for the content