


Discover the art of making authentic paneer at home with our step-by-step guide. Dive into the world of homemade goodness!
Paneer, that soft, milky, and oh-so-versatile cheese, is a staple in many Indian
kitchens. From palak paneer to paneer tikka, this ingredient is the star of countless vegetarian dishes. But did you know that making paneer at home is surprisingly easy?
Forget the store-bought stuff, which can sometimes be rubbery and bland. With just a few simple ingredients and a little bit of patience, you can create fresh, delicious, and authentic paneer right in your own kitchen.
This guide will walk you through the entire process, step by step, ensuring perfect paneer every single time. So, roll up your sleeves and get ready to embark on a culinary adventure! You'll be amazed at how rewarding it is to make your own paneer, adding a touch of homemade goodness to your meals.
Quality full-cream milk key to rich paneer; patience in process is essential
The secret to truly exceptional paneer lies in the quality of your milk. Opt for full-cream milk whenever possible. This type of milk has a higher fat content, which translates to softer, richer, and more flavourful paneer. Avoid using toned or skimmed milk, as they won't yield the same results.
Fresh, locally sourced milk is always the best choice, if available. Before you even begin heating the milk, make sure your workspace is clean and organized.
Gather all the necessary equipment: a large, heavy-bottomed pot, a clean muslin cloth or cheesecloth, a strainer, and a heavy object like a pot filled with water or a stack of books. Having everything within easy reach will make the process smoother and more enjoyable. Remember, patience is key.
Making paneer is not a race, so relax and enjoy the process. The reward of freshly made paneer is well worth the effort.
Boil milk, add acid gradually, observe curdling
Let's get started! Pour the full-cream milk into your heavy-bottomed pot. Place the pot over medium heat and bring the milk to a rolling boil, stirring frequently to prevent it from sticking to the bottom and scorching. Keep a close eye on the milk, as it can easily boil over.
Once the milk has reached a rolling boil, reduce the heat to low. Now it's time to add the acid that will help the milk curdle. You can use lemon juice, vinegar, or even yogurt. For lemon juice, start with about 2-3 tablespoons. For vinegar, use about 1-2 tablespoons. For yogurt, use about 1/4 cup.
Add the acid gradually, stirring gently after each addition. You'll notice the milk begin to separate into curds and whey. If the milk doesn't curdle properly after the initial addition of acid, add a little more, one teaspoon at a time, until you see clear separation.
Separate curds from whey for firm paneer block, drain well
Continue stirring gently until the whey, the watery liquid, is a clear, greenish-yellow color and the curds have completely separated. This usually takes a few minutes. Once the separation is complete, remove the pot from the heat. Now, line your strainer with a clean muslin cloth or cheesecloth.
Carefully pour the curds and whey into the lined strainer, allowing the whey to drain away. Once most of the whey has drained, gather the edges of the muslin cloth and twist it tightly to squeeze out any remaining liquid. This step is crucial for achieving a firm and well-shaped paneer block.
The more whey you remove, the firmer your paneer will be. Be careful not to burn yourself with the hot whey. You can wear gloves for protection if needed.
Shape and press paneer for desired firmness, cut, and use
Now that you've squeezed out the excess whey, you need to shape the paneer. Place the wrapped paneer block on a flat surface. Place a heavy object, such as a pot filled with water or a stack of books, on top of the paneer block. This will help press the paneer into a firm, even shape.
The amount of time you press the paneer will determine its firmness. For a softer paneer, press for about 30 minutes. For a firmer paneer, press for 1-2 hours. You can even refrigerate the paneer while it's being pressed for a more consistent texture.
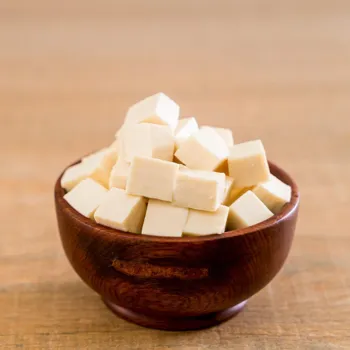
Once the paneer has been pressed, remove it from the muslin cloth and cut it into cubes or any shape you desire. Your homemade paneer is now ready to be used in your favorite recipes!
Store homemade paneer in water, freeze for long storage, thaw before use
To store your homemade paneer, submerge it in a bowl of cold water and refrigerate it. Change the water daily to keep the paneer fresh. Homemade paneer will typically last for 2-3 days in the refrigerator. You can also freeze paneer for longer storage.
To freeze, cut the paneer into cubes and place them in a single layer on a baking sheet. Freeze for about 1-2 hours, or until the cubes are frozen solid. Then, transfer the frozen paneer cubes to a freezer-safe bag or container. Frozen paneer can be stored for up to 2-3 months.
When you're ready to use the frozen paneer, thaw it in the refrigerator overnight. Keep in mind that freezing may slightly alter the texture of the paneer, making it a bit more crumbly.
Versatile paneer adds love to vegetarian dishes
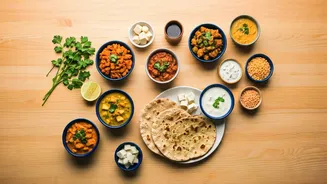
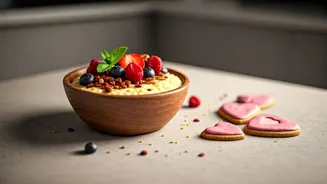
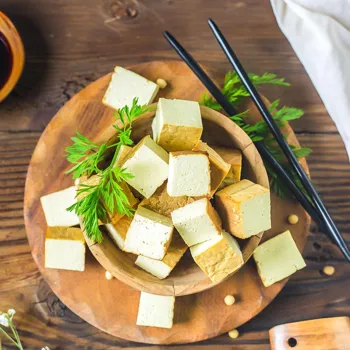
Enjoy your freshly made, authentic paneer in a variety of dishes! From classic curries like palak paneer and matar paneer to grilled appetizers like paneer tikka and paneer shashlik, the possibilities are endless. You can also use paneer in sandwiches, salads, and even desserts.
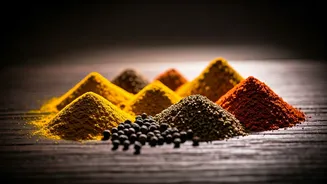
The versatility of paneer makes it a wonderful addition to any vegetarian meal. Don't be afraid to experiment with different flavors and spices to create your own unique paneer creations. And remember, the most important ingredient is love!
When you make paneer with love and care, it will always taste better. Happy cooking!
Making paneer at home enhances cooking experience, ensures quality, and fosters sharing
Making paneer at home is not just about saving money; it's about enjoying the satisfaction of creating something delicious from scratch. It's about knowing exactly what goes into your food and controlling the quality of the ingredients.
It's about adding a personal touch to your meals and sharing the love of homemade goodness with your family and friends. So, embrace the process, experiment with different techniques, and discover the joy of making your own authentic paneer.
You'll be amazed at how much better homemade paneer tastes compared to store-bought, and you'll never go back!
AI Generated Content. Glance/InMobi shall have no liability for the content