

Unravel the secrets to perfecting flaky parathas! Dive into this guide for tips and tricks on mastering this Indian flatbread
Parathas, the quintessential Indian flatbread, are a staple in most North Indian households.
From the simple aloo paratha to the more elaborate paneer or gobi versions, they offer comfort and satisfaction in every bite.
But achieving that perfect flaky, layered texture, the kind that makes your taste buds sing, can often feel like a culinary challenge. Fear not, though! Unlocking the secret to truly delightful parathas isn’t about complex techniques, but about paying attention to some key details.
This guide will reveal the tips and tricks to mastering the art of paratha-making, turning you into a paratha pro in no time.
Perfect parathas require patience in dough preparation for flaky, soft layers
The journey to a perfect paratha begins long before you even roll out the dough – it starts with the dough itself! The right dough is the foundation upon which flaky layers are built. The ideal flour is whole wheat atta, preferably one that's been milled recently.
Fresh atta tends to be more absorbent and yields a softer dough. When mixing the dough, adding a tablespoon or two of ghee or oil to the flour helps create a tender crumb. The water should be lukewarm; not too hot, not too cold.
Knead the dough for at least 8-10 minutes, developing the gluten and creating a smooth, elastic texture. This kneading is crucial – it's what gives the paratha its structure and prevents it from tearing during rolling.
Once kneaded, cover the dough with a damp cloth or cling film and let it rest for at least 30 minutes, or even an hour. This resting period allows the gluten to relax, making the dough more pliable and easier to roll out thinly.
A well-rested dough will result in a softer, flakier paratha that's a joy to eat. Remember, patience is key! Resist the urge to rush the resting process, as it will significantly impact the final outcome of your parathas.
Creating flaky layers in paratha: mastering the rolling technique
The rolling technique is perhaps the most crucial step in creating those coveted flaky layers. The idea is to create thin layers of dough separated by fat, which will puff up during cooking. There are several methods you can use, but the simplest one is the "lamination" technique.
Start by dividing your rested dough into equal-sized balls. Roll out one ball into a thin circle. Now, generously apply ghee or melted butter all over the surface of the circle. Sprinkle a thin layer of dry flour over the ghee.
This flour layer is essential as it prevents the ghee layers from merging together during cooking. Next, fold the circle in half, creating a semi-circle. Apply ghee and flour again, and fold it in half again, creating a triangle or a quarter-circle.
Now, gently roll out this triangle or quarter-circle into a thin paratha, being careful not to press down too hard and squeeze out the ghee layers. Keep rotating the paratha as you roll it to ensure an even thickness. The lighter your touch, the flakier your paratha will be.
Practice makes perfect, so don't be discouraged if your first few attempts aren't perfect.
Choose the right fat for flaky, flavorful parathas; experiment to find your preference
The type of fat you use plays a significant role in the flakiness and flavor of your paratha. Ghee, or clarified butter, is the traditional choice and imparts a rich, nutty flavor that complements the wheat beautifully.
However, you can also use melted butter, vegetable oil, or even a combination of ghee and oil. The key is to use a fat that has a high smoke point, meaning it can withstand high heat without burning or creating an unpleasant taste. When applying the fat, be generous!
Don't skimp on the ghee or butter, as this is what creates those distinct layers. However, avoid applying too much, as it can make the paratha greasy and difficult to cook evenly. The right balance is key. Experiment with different types of fats to find the one that you prefer.
Some people prefer the rich flavor of ghee, while others prefer the lighter taste of vegetable oil. Consider also the aroma that you want once you have had the paratha. All in All you will discover the differences and variations over time.
Cook paratha slowly on a hot griddle for perfect texture
Cooking the paratha properly is just as important as the dough and rolling techniques. The ideal cooking surface is a flat tava (griddle) made of cast iron or a similar material that distributes heat evenly. Heat the tava over medium heat.
It should be hot enough that the paratha sizzles when it touches the surface, but not so hot that it burns immediately. Place the rolled paratha on the hot tava and let it cook for about a minute on each side, or until small bubbles start to appear.
Now, apply ghee or oil to both sides of the paratha. Press down gently with a spatula as it cooks. This helps the paratha puff up and cook evenly. Flip the paratha frequently, cooking it until it's golden brown and crispy on both sides.
The key is to cook the paratha slowly and evenly, allowing the layers to separate and puff up. If the heat is too high, the paratha will burn on the outside while remaining doughy on the inside. If the heat is too low, the paratha will become hard and dry.
Adjust the heat as needed to achieve that perfect golden-brown colour and flaky texture.
Stuffed parathas offer endless variations with flavorful fillings
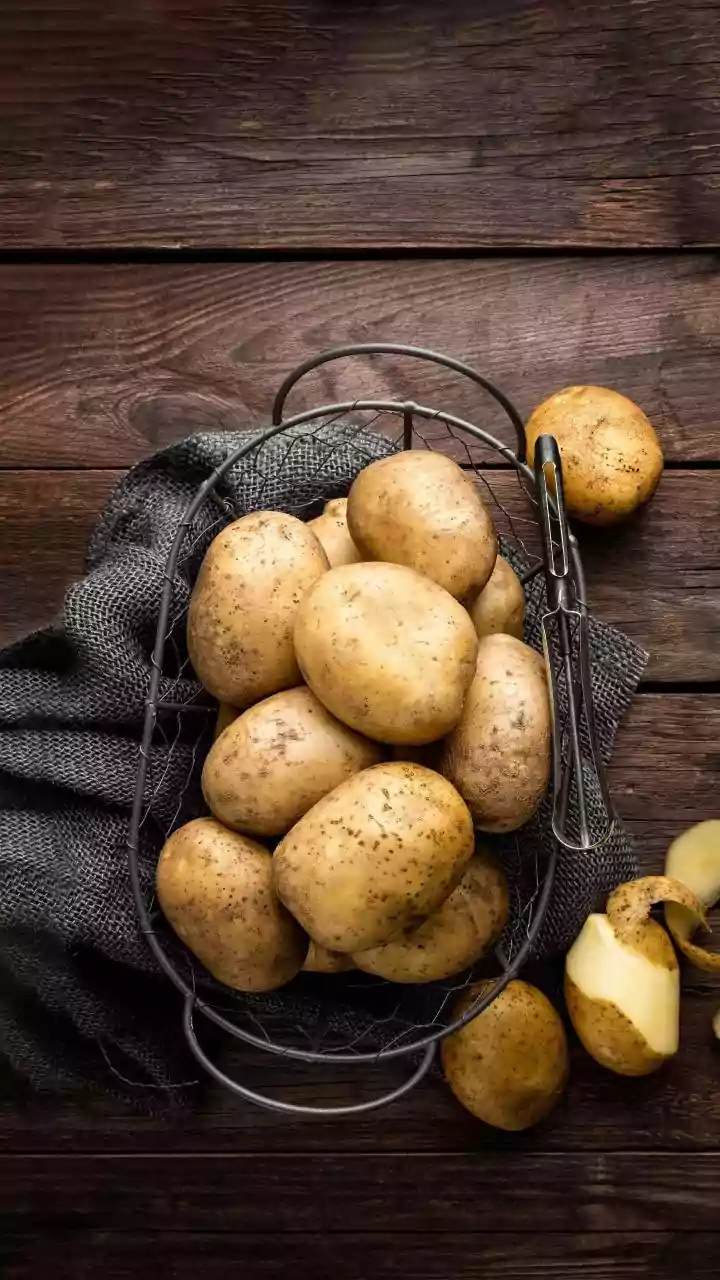
Variations galore! While the classic plain paratha is a treat in itself, the possibilities are endless when it comes to fillings. Aloo paratha, stuffed with spiced mashed potatoes, is a perennial favourite. Paneer paratha, filled with crumbly Indian cheese, is another popular choice.
Other delicious options include gobi paratha (cauliflower), mooli paratha (radish), and even dal paratha (lentils). The key to a good stuffed paratha is to make sure the filling is well-seasoned and not too wet. Excess moisture can make the paratha soggy and difficult to cook.
When stuffing the paratha, be careful not to overfill it, as this can cause it to tear during rolling. Gently roll out the stuffed paratha, being mindful of the filling inside. You can also experiment with different shapes and sizes.
Triangle parathas, square parathas, and even spiral parathas can add a touch of visual appeal to your meal. Remember creativity and innovations is part of the process.
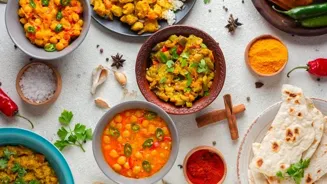
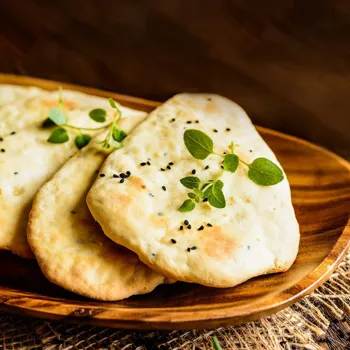
Enjoy hot parathas with accompaniments for a perfect meal
Serving and enjoying your perfectly made parathas is really the peak of it all. Freshly cooked parathas are best served hot, straight off the tava. They can be enjoyed on their own or with a variety of accompaniments.
Yogurt (dahi) is a classic pairing, providing a cooling contrast to the warm, flaky bread. Pickles (achar) add a tangy and spicy kick. White butter (makkhan) is a simple yet indulgent addition, melting into the hot paratha and adding a creamy richness.
For a heartier meal, serve your parathas with a side of chole (chickpea curry) or rajma (kidney bean curry). Parathas are not just a breakfast staple; they can be enjoyed for lunch or dinner as well. They are also perfect for packing in lunchboxes or taking on picnics.
So, go ahead, try out these tips and tricks, and embark on your journey to paratha perfection. With a little practice and patience, you'll be whipping up delicious, flaky parathas that will impress your family and friends in no time! Remember that making parathas is also a way of showing love.
AI Generated Content. Glance/InMobi shall have no liability for the content