Discover the art of crafting homemade paneer for exquisite dishes. Unveil the secrets behind this culinary delight!
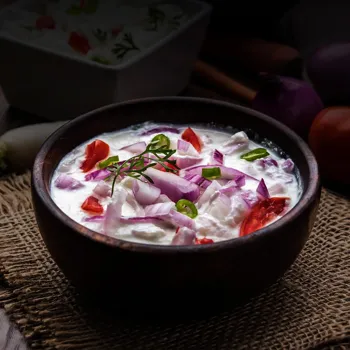
Paneer, the darling of Indian vegetarian cuisine! It's so versatile, you see. From matar
paneer to palak paneer, paneer tikka to paneer bhurji, the possibilities are endless.

But what if I told you, you could ditch buying paneer from the store and make your own, fresh and authentic, right in your kitchen? Yes, my friends, it's easier than you think! Making paneer at home is a rewarding experience. You control the quality of ingredients and the freshness.
Plus, homemade paneer tastes divine, having a soft and milky flavor surpassing anything you find on the shelves. So, grab your apron, and let's get started on this delightful culinary adventure!
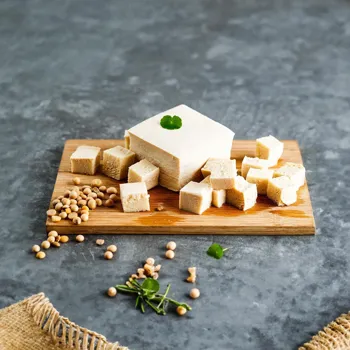
Make rich paneer at home with milk and acid, ensuring creaminess and flavor
The beauty of making paneer at home is that you only need two basic ingredients: milk and an acid. Full-cream milk is key, as it yields the richest, most flavorful paneer. Think of the creamy, melt-in-your-mouth texture you crave.
The acid helps to curdle the milk, separating the solids (paneer) from the whey (liquid). Lemon juice is a popular choice, giving a subtle tang. You can also use vinegar or even yogurt, depending on your preference. I encourage you to purchase good quality milk.
Always remember fresh and pure ingredients contribute to better food.
Making paneer: boil milk, add acid, curdle, separate whey
Now, let's talk about the actual process. First, pour your milk into a heavy-bottomed pot. This prevents scorching and ensures even heating. Bring the milk to a boil over medium heat, stirring occasionally to prevent it from sticking to the bottom.
Once it starts boiling, reduce the heat to low and add your chosen acid, a little at a time. You'll notice the milk beginning to curdle. Continue stirring gently until the whey separates completely from the solid paneer curds. This separation is important.
It indicates the process is effectively working.
Separate paneer from whey to make fresh paneer
Next, it's time to separate the paneer from the whey. Line a colander with a muslin cloth or cheesecloth. Gently pour the curdled milk into the lined colander. The cloth will catch the paneer solids while the whey drains away.
Once all the whey has drained, gather the edges of the cloth and squeeze out any excess liquid. This step is crucial for achieving the right consistency. You don't want your paneer to be too wet. Now you have a bundle of fresh paneer!
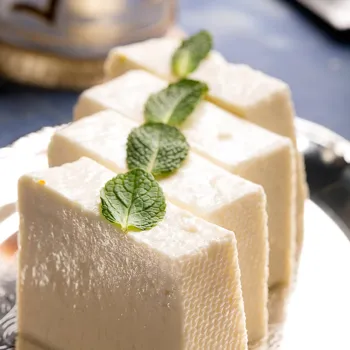
Press paneer with weight for firmness, adjust time for texture
To give your paneer its characteristic shape and firmness, place the bundle on a flat surface. Place a heavy object on top, such as a stack of books or a heavy pan. This will press the paneer, removing any remaining liquid and solidifying it into a block.

The longer you press it, the firmer the paneer will be. I usually press it for at least 2-3 hours for a good, firm texture. However, you can adjust the time according to your preference. Remember, more pressing equals more firm paneer.
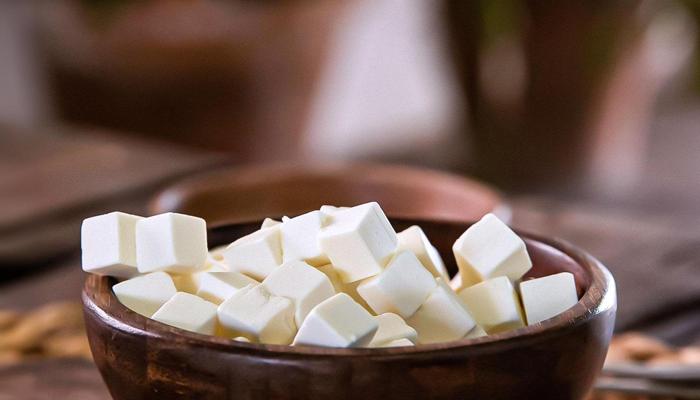
Make homemade paneer for fresh, flavorful dishes
Finally, after pressing, carefully unwrap your paneer. You'll have a beautiful, homemade block of paneer ready to be used in your favorite dishes! Cut it into cubes or crumble it as needed. Store it in an airtight container in the refrigerator. Homemade paneer stays fresh for about 3-4 days. Enjoy.
Now you can proudly say you made your own paneer, adding a personal touch to your cooking. Enjoy the freshness and flavor of homemade paneer and impress your family and friends with your culinary skills!