Discover the art of making your own creamy, delicious dahi at home! Learn the step-by-step process in this guide
Dahi, also known as yogurt, is a staple in most Indian households. Whether it’s a refreshing
bowl of curd rice on a hot summer afternoon or a dollop alongside your spicy biryani, dahi is more than just a food item; it’s a cultural cornerstone.
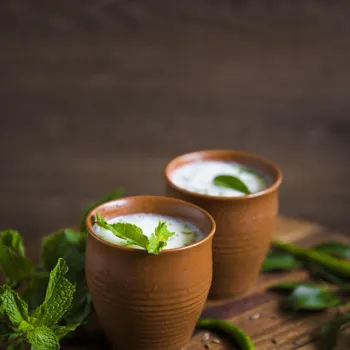
While readily available in stores, making your own dahi at home is surprisingly simple, offering a fresher taste and a sense of accomplishment. Plus, you have complete control over the ingredients, ensuring a pure and wholesome product.
Forget those store-bought versions filled with preservatives – let's embark on a journey to create creamy, delicious dahi in your very own kitchen!
This guide will walk you through the entire process, from gathering the necessary equipment to troubleshooting common issues, ensuring you achieve perfect dahi every single time. Get ready to impress your family and friends with your homemade culinary skills!
Homemade dahi requires milk, starter culture; experiment for taste
The beauty of homemade dahi lies in its simplicity. You only need two basic ingredients: milk and a starter culture (a spoonful of existing dahi). The type of milk you choose will drastically affect the final product’s taste and texture.
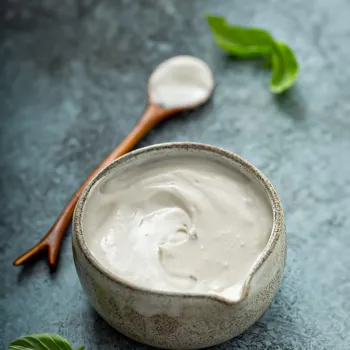
Full-fat milk will yield a richer, creamier dahi, while skim milk will result in a lighter, tangier version. Cow’s milk is the most common choice, but you can experiment with buffalo milk for an even creamier result or goat's milk for a unique, slightly tangy flavor.
For the starter culture, ensure you use fresh, plain dahi with live and active cultures. Avoid flavored or sweetened yogurts, as they may contain additives that can hinder the fermentation process.
As for equipment, you'll need a heavy-bottomed pot for boiling the milk, a clean glass or ceramic container for setting the dahi, a spoon for stirring, and a warm place for incubation. With just these few items, you're well on your way to creating your own batch of delicious, homemade dahi
Process of making dahi: heat milk, simmer, cool, add starter
Now, let's get to the heart of the matter: the step-by-step process of making dahi. First, pour the milk into the heavy-bottomed pot and bring it to a boil over medium heat. Keep a close watch to prevent it from boiling over.
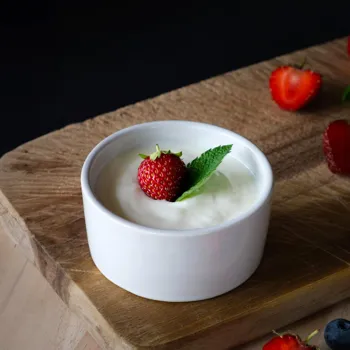
Once it reaches a boil, reduce the heat and let it simmer for about 5-10 minutes. This simmering process helps to thicken the milk and improves the texture of the final dahi. Stir occasionally to prevent scorching at the bottom of the pot.
After simmering, remove the pot from the heat and let the milk cool down to lukewarm temperature. The ideal temperature is when you can comfortably dip your finger into the milk for about 10 seconds without burning yourself.
This is crucial, as excessively hot milk will kill the live cultures in the starter, while cold milk won't activate them. Once the milk has cooled down to the right temperature, add the starter culture (the spoonful of existing dahi).
Whisk starter culture into milk, ferment in warm place for tangy dahi
Gently whisk the starter culture into the lukewarm milk, ensuring it's evenly distributed. This step is important for uniform fermentation. Now, pour the mixture into a clean glass or ceramic container. Avoid using metal containers, as they can sometimes react with the acidity of the dahi.
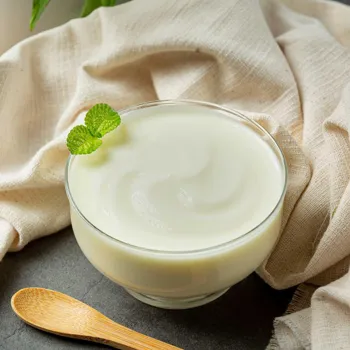
Cover the container loosely with a lid or a clean cloth. This allows for some air circulation while preventing dust or insects from entering. Next comes the incubation process, which is arguably the most crucial step in making dahi.
The dahi needs to be kept in a warm place for 6-8 hours, or even longer depending on the weather conditions. In warmer climates, 6-7 hours may be sufficient, while in colder climates, it may take 8-12 hours or even overnight. The ideal temperature for incubation is around 30-40°C (86-104°F).
This encourages the growth of the beneficial bacteria that convert lactose into lactic acid, giving dahi its characteristic tangy flavor.
Finding the right warm place for incubation can be a challenge
Finding the right warm place for incubation can be a bit of a challenge, especially during colder months. Here are a few options: you can place the container in a preheated oven (turned off, of course!), wrap it in a thick blanket or sweater, or place it near a radiator or heating vent.

Some people even use a yogurt maker, which provides a consistent and controlled temperature. Experiment with different methods to find what works best for you. Once the incubation period is over, gently check if the dahi has set. It should have a firm, jiggly texture.
If it's still too runny, allow it to incubate for a few more hours. Once the dahi has set, transfer it to the refrigerator and let it chill for at least 2-3 hours before serving. Chilling helps to further firm up the texture and enhances the flavor.
And there you have it – your very own batch of homemade dahi!
Perfect dahi tips: troubleshoot consistency, adjust incubation, use whey creatively
Making the perfect dahi often involves a bit of trial and error. If your dahi is too runny, it could be due to several factors: the milk wasn't boiled enough, the temperature was too low during incubation, or the starter culture wasn't active enough.
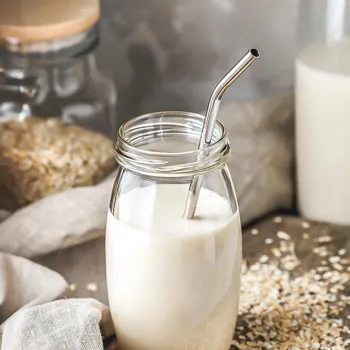
Try simmering the milk for a longer duration next time, ensuring the incubation environment is sufficiently warm, or using a fresher starter culture. If your dahi is too sour, it could be due to over-incubation, especially in warmer climates. Reduce the incubation time next time.
If you notice a watery layer on top of your dahi (whey), don't worry – this is perfectly normal and harmless. You can either drain it off or stir it back into the dahi. This whey is also nutritious and can be used in other recipes, such as smoothies or soups.
With practice, you'll learn to adjust the process to suit your specific environment and preferences, creating dahi that's perfect for your palate.
Dahi: versatile in Indian cuisine, nutritious & easy to make at home
Beyond enjoying it plain, dahi is an incredibly versatile ingredient in Indian cuisine. Use it to make raita, a cooling yogurt-based side dish, or lassi, a refreshing yogurt drink. Marinate your paneer or vegetables in dahi before grilling or frying to add flavor and tenderness.
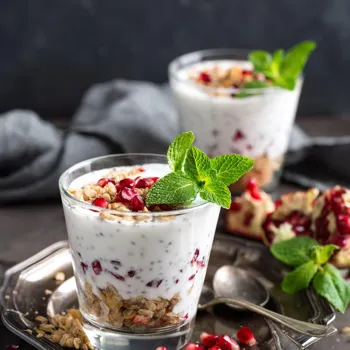
Dahi is also a key ingredient in many desserts, such as shrikhand and dahi bhalla. You can even use it as a substitute for sour cream in some recipes. Experiment with different flavors and spices to create your own unique dahi-based dishes. The possibilities are endless!
Not only is dahi delicious and versatile, but it's also incredibly nutritious. It's a great source of protein, calcium, and probiotics, which are beneficial bacteria that promote gut health.
Making your own dahi at home allows you to enjoy all these benefits without the added preservatives and additives found in store-bought versions. So, what are you waiting for? Grab your ingredients and start making your own dahi today! You'll be amazed at how easy and rewarding it is.
AI Generated Content. Glance/InMobi shall have no liability for the content