Discover the art of making Paneer at home! A step-by-step guide to create fresh, flavorful cheese. Learn more here!
Paneer, the quintessential Indian cheese, is a staple in many vegetarian households. From
palak paneer to paneer butter masala, its versatility knows no bounds. While readily available in stores, making paneer at home is surprisingly simple and yields a fresher, more flavorful result.
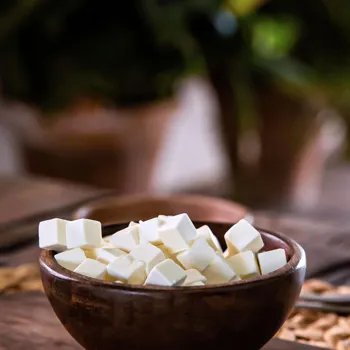
Plus, you have complete control over the ingredients! This guide will walk you through the process, ensuring you create perfect paneer every time. Get ready to ditch the store-bought stuff and embrace the deliciousness of homemade!
Making paneer is easy with milk, acid; tools essential for success
The beauty of making paneer lies in its simplicity. You only need two main ingredients: milk and an acid. Full-fat milk is highly recommended for a richer, creamier paneer. You can use cow's milk or even buffalo milk, depending on your preference and availability.
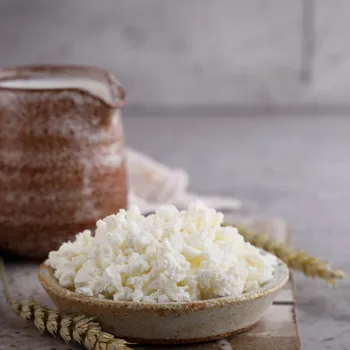
For the acid, you have several options. Lemon juice is the most common and easily accessible choice. White vinegar works just as well, offering a slightly different tang. Other options include citric acid powder or even yogurt whey if you have it on hand.
Beyond the ingredients, you'll need a few basic kitchen tools: a large, heavy-bottomed pot to prevent scorching, a muslin cloth or cheesecloth for separating the curds, a strainer or colander to hold the cloth, and a heavy object to press the paneer.
A thermometer can be helpful for monitoring the milk's temperature, but it's not essential. Make sure everything is clean and ready to go before you begin. Preparing your equipment beforehand streamlines the process and ensures a smooth paneer-making experience.
Remember, fresh ingredients and clean tools are the foundation of good homemade paneer. With everything in place, you're ready to embark on your paneer-making journey.
Making paneer: Heat milk, add acid, separate curds from whey for perfect texture
Now, let's get down to the nitty-gritty of making paneer. Pour the milk into your heavy-bottomed pot and place it over medium heat. Keep a close watch, stirring occasionally to prevent the milk from sticking to the bottom and scorching. As the milk heats up, you'll notice it starting to simmer.
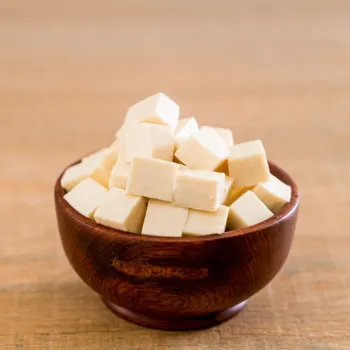
This is when you need to be extra vigilant. Once the milk reaches a near-boil (around 90-95°C or 195-205°F), reduce the heat to low. Now, it's time to add the acid. Gradually pour in the lemon juice or vinegar, a little at a time. Gently stir the milk as you add the acid.
You'll notice the milk starting to curdle, separating into solid curds and a watery whey. If the milk doesn't curdle properly, add a bit more acid until you see a clear separation. Once the curds and whey have separated, remove the pot from the heat.
Be careful not to overcook the curds, as this will result in a hard and rubbery paneer. Allow the mixture to sit for a few minutes to ensure complete separation. This step is crucial for achieving the right texture.
Strain and press paneer for homemade cooking joy
With the curds and whey separated, it's time to strain the paneer. Line your strainer or colander with the muslin cloth or cheesecloth. Carefully pour the curdled milk mixture into the cloth-lined strainer. The whey will drain through the cloth, leaving the solid paneer curds behind.
Once all the whey has drained, gather the edges of the cloth and gently squeeze out any excess liquid. This step helps to further firm up the paneer. Now, it's time to shape and press the paneer. Tie the cloth into a tight bundle, forming a round or square shape.
Place the bundle on a flat surface and put a heavy object on top of it to press the paneer. You can use a heavy pan, a stack of books, or even a filled water container. The longer you press the paneer, the firmer it will become. For a soft paneer, press for about 30 minutes.
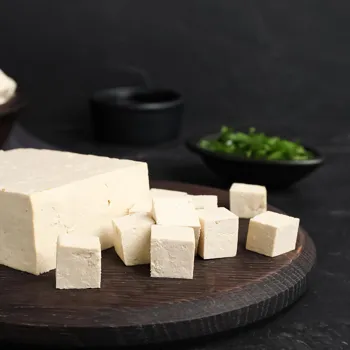
For a firmer paneer, press for 1-2 hours. The amount of time depends on your desired consistency. After pressing, remove the paneer from the cloth and gently pat it dry with a paper towel. Your homemade paneer is now ready to be used in your favorite dishes.
Making paneer at home: tips for best results and flavors
Making paneer at home is simple and a rewarding experience. With a little practice, you'll be an expert in no time. The type of milk used makes a big difference. Full-fat milk will give you the creamiest yield. Skim milk can be used, but the resulting paneer will be more crumbly.
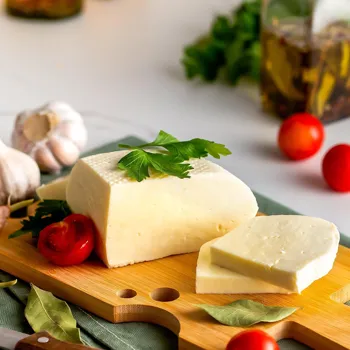
Don't rush the heating process. Heating the milk slowly and steadily ensures even cooking and prevents scorching. Introduce the acid gradually. Adding the lemon juice or vinegar too quickly can result in small, hard curds. You can experiment with different acids.
Lemon juice gives a slightly tart flavour, while vinegar produces a milder taste. Using yogurt whey can impart a unique tang. Don't overcook the paneer, overcooking it leads to a dry, rubbery texture. Remove from the heat as soon as the curds and whey have separated.
If you want to flavour your paneer, add herbs, spices, or chopped vegetables to the milk before curdling. You can add chopped chilies, coriander, or even ginger for a flavorful twist.
Proper storage tips for homemade paneer
Proper storage is essential to maintain the freshness and quality of your homemade paneer. After pressing, submerge the paneer in a bowl of cold water. This helps to prevent it from drying out. Store the paneer in an airtight container in the refrigerator.
Fresh paneer will typically last for 3-4 days in the fridge. Change the water daily to keep the paneer fresh and prevent bacterial growth. For longer storage, you can freeze the paneer. Cut the paneer into desired shapes and arrange the pieces in a single layer on a baking sheet.
Freeze for a few hours until solid, then transfer the frozen paneer to an airtight freezer bag. Frozen paneer can last for up to 2-3 months. When ready to use, thaw the frozen paneer in the refrigerator overnight.
Note that freezing can slightly alter the texture of the paneer, making it a bit more crumbly. However, it will still be perfectly fine to use in most recipes.
Master making paneer at home for endless delicious creations
Now that you've mastered the art of making paneer at home, it's time to put your creation to use! The possibilities are endless. Paneer can be added to everything such as Palak paneer, a beautiful blend of spinach and paneer or Paneer butter masala, a rich tomato - based gravy with paneer.
Paneer tikka is yet another favourite, marinated in spices. For dessert, try paneer kheer, a sweet and creamy pudding. Or for snacks, Paneer pakora or Paneer bhurji is also widely used.
Making paneer at home is not only budget-friendly but also gives you the freedom to create a healthier, tastier alternative to the store-bought version. So, get into the kitchen and make your own version of paneer and enjoy.
AI Generated Content. Glance/InMobi shall have no liability for the content