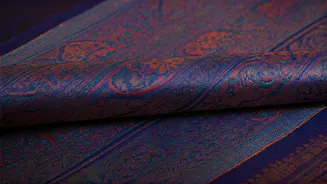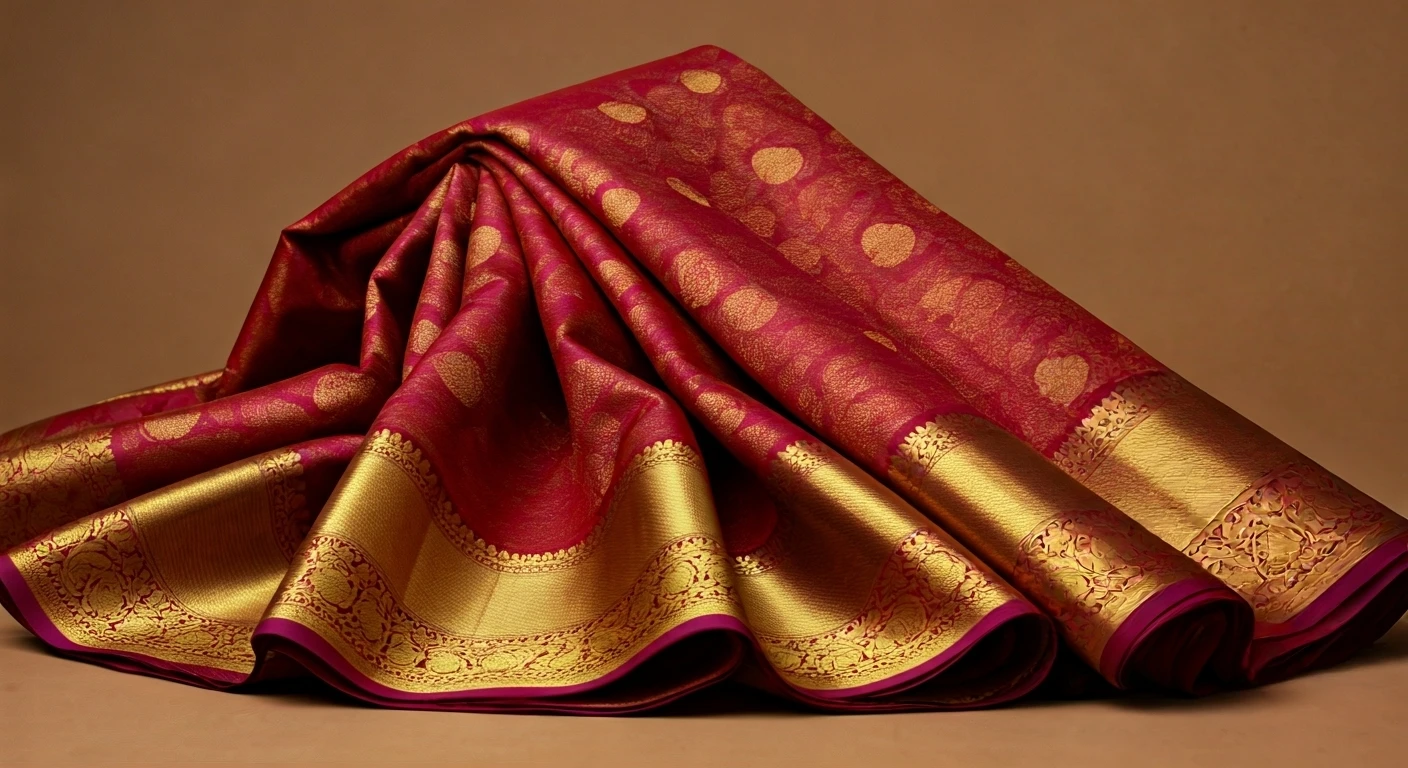

Saree Essentials Explained
Before you start the draping process, it is crucial to understand the essentials involved. First and foremost is the saree itself, typically measuring
5 to 9 yards in length and varying in width. Along with the saree, a matching or contrasting blouse and a petticoat are fundamental components; the petticoat's colour should ideally match the saree. Furthermore, safety pins are essential, useful for securing the pleats and ensuring the saree stays in place. Finally, though not mandatory, a pair of heels can enhance the overall look and drape. These essentials will serve as the foundation for your saree draping experience, setting the stage for a flawless and elegant finish.
Petticoat Prep and Fit
The first crucial step in saree draping is to put on the petticoat, which acts as the base layer. Position it at your natural waist, ensuring it fits snugly but comfortably. The petticoat's waistline should sit at the same level as your belly button, and the length should be just right, so it reaches your ankles, leaving a few inches of the hemline visible. This measurement is essential, influencing how your saree hangs and drapes. Ensure the petticoat is securely tied, preventing it from slipping as you move. A well-fitted petticoat provides a smooth foundation for the saree, making the draping process much easier and giving the saree a polished appearance.
The Initial Tuck-in
Begin draping by holding one end of the saree—the non-bordered edge—and tucking it into the petticoat at your navel. Start tucking the saree all the way around your waist, ensuring it's snug but not too tight, and bring it back to the starting point. Adjust the saree's length, keeping in mind that the bottom edge should brush the floor or reach just above. The tuck-in is the foundation of the drape, influencing the saree's fit and the overall look. While tucking, make sure the saree's fabric falls neatly, without any bunching or unevenness. This initial process sets the stage for the pleats and the elegant fall of the saree.
Pleating the Saree
Creating the pleats is a critical step towards a graceful saree drape. Take the remaining loose fabric and start making pleats, each around 4-6 inches wide. Ensure all the pleats are of uniform width and neat, folding them consistently. Once the pleats are formed, hold them together at the top and bring them to the center. Secure the pleats with a safety pin near the top to keep them in place. Position the pleated portion and tuck it into the petticoat at your navel, ensuring the pleats fall straight down. The direction of the pleats should be such that they are angled slightly towards your left for the right side of the body. Adjusting the pleats to be just right will enhance the overall elegance.
The Pallu's Creation
The pallu, or the decorative end of the saree, is another important aspect of saree draping. Take the un-tucked portion of the saree, which will become the pallu, and make pleats similar to the pleats you created earlier, ensuring uniformity. The length of the pallu pleats can be adjusted according to your preference; longer pallus add a regal touch, while shorter ones offer a modern look. Once the pleats are set, secure them together with a safety pin at the top. You can drape the pallu over your left shoulder, making sure it falls neatly. You can adjust the length of the pallu to match your preferred style. Alternatively, let the pallu hang freely or pin it to your blouse. Ensure the pallu doesn’t pull at the blouse too much for comfort and a neat appearance.
Securing the Pallu
Once the pallu is draped over your shoulder, the next step involves securing it properly. To do this, use a safety pin to attach the pallu to the blouse, ensuring it sits securely and does not slip. The placement of the pin is very important; position it so that the pallu drapes elegantly and comfortably. For extra security, you can add more safety pins to keep the pallu in place, particularly if the fabric is slippery or if you are planning to move around a lot. Carefully adjusting the pallu over your shoulder, making sure it doesn’t pull or bunch. This ensures the pallu is well-positioned and adds a touch of sophistication to the overall look.
Final Adjustments and Styling
After securing the pallu, make final adjustments to the saree to achieve the perfect drape. Check the length of the saree in the front, ensuring it grazes the floor or reaches just above. Adjust the pleats at the waist, making sure they fall neatly and evenly. Ensure the saree is comfortable and allows you to move freely. Pay attention to the back, adjusting the fabric to eliminate any bunching. As a final touch, use safety pins strategically to secure any loose fabric or pleats. Finally, accessorize your saree with jewellery and appropriate footwear to enhance the entire look and feel. Remember to keep practicing; the more you drape, the easier and more natural the process will become.