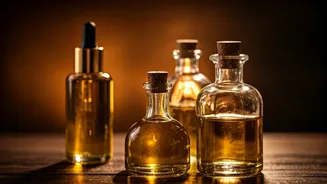

Choose the Oils
The initial step in crafting your weekly hair oiling ritual involves carefully selecting the oils tailored to your hair's unique needs. Consider your hair type
– whether it's dry, oily, or a combination – as this will influence your oil choices. For dry hair, heavier oils such as castor or coconut oil are often beneficial, providing deep hydration and moisture. These oils are known for their ability to penetrate the hair shaft, effectively sealing in moisture and improving elasticity. In contrast, if you have oily hair, lighter oils like jojoba or grapeseed oil are preferable. These oils are absorbed more quickly without weighing the hair down. Furthermore, you might choose oils based on specific benefits. For example, argan oil is rich in antioxidants and can promote shine, while rosemary oil is believed to stimulate hair growth. Experimenting with various oils, potentially blending them, allows you to determine the ideal combination for your hair, leading to optimal results.
Prep Your Hair
Preparing your hair before oiling is essential for maximizing the treatment's effectiveness. Begin by gently detangling your hair to eliminate any knots or tangles. This prevents hair breakage during the oiling process and ensures even oil distribution. You can use a wide-toothed comb or a specialized detangling brush, working from the ends towards the roots. Next, consider lightly dampening your hair. While it's not compulsory, applying oil to slightly damp hair can enhance absorption. The moisture helps the oil spread more easily throughout the hair shaft. Avoid using hot water, as it can strip your hair of its natural oils. Lukewarm water is typically best. This preparation phase sets the stage for optimal oil penetration and the delivery of nourishment, paving the way for healthier, more lustrous hair. Remember to be gentle to prevent damage.
Warm the Oil
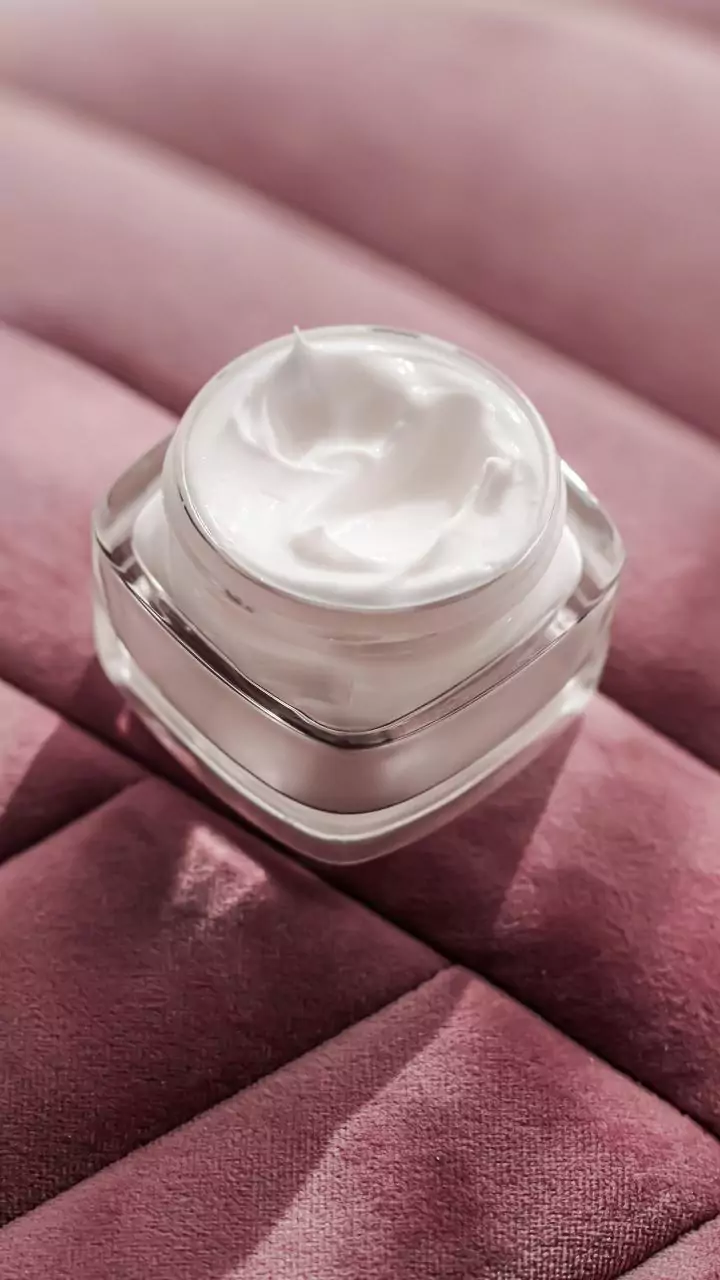
Warming the oil before application is a crucial step that significantly enhances its benefits. The gentle heating process makes the oil less viscous, thereby improving its ability to penetrate the hair shaft effectively. Warm oil encourages better absorption of the nutrients, leading to increased hydration and improved hair elasticity. You can warm the oil by placing the oil bottle in a bowl of warm water for a few minutes. Avoid overheating the oil, as excessively hot oil can damage the hair. The oil should be comfortably warm to the touch. Alternatively, you can warm a small amount of oil in your palms by rubbing them together. This method allows for a more controlled application, preventing any potential spills. This preparation phase unlocks the oil's full potential, leading to richer results and healthier hair.
Apply to Scalp
The application of oil to the scalp is a vital component of the hair oiling routine, primarily focused on nurturing the roots and promoting scalp health. Begin by dividing your hair into sections to ensure thorough oil distribution. Using your fingertips, gently massage the oil into your scalp using circular motions. This technique stimulates blood circulation, which, in turn, can help promote hair growth and deliver nutrients to the hair follicles. Focus on massaging the scalp for 5-10 minutes. This not only encourages absorption but also offers a relaxing experience. Ensure that the oil covers the entire scalp surface. For optimal results, use a generous but not excessive amount of oil, avoiding a heavy, greasy feel. A well-oiled scalp is a foundational step in achieving stronger, healthier hair.
Apply to Hair
Once the scalp is adequately oiled, the next phase involves distributing the oil along the hair shaft. Start by applying a small amount of oil to your palms and evenly distributing it. Using your fingers, gently run the oil through your hair from the roots to the tips. Concentrate on the ends of your hair, as these are often the driest and most prone to damage. As you apply the oil, pay attention to the hair's overall condition, ensuring that each strand is coated evenly. Avoid applying too much oil, as this can make your hair feel heavy and greasy. If your hair is fine, using a lighter oil or less quantity is advisable. For thicker or coarser hair, you may need to use a slightly larger amount. This step ensures that the hair shaft receives the required nourishment and hydration, improving its overall texture and appearance, leading to a healthier, more vibrant look.
Massage & Wrap
After applying the oil to your scalp and hair, the next crucial step is to massage and wrap your hair. Gently massage your scalp again using your fingertips for several minutes. This reinforces the benefits of the oil and encourages deeper penetration. The massage enhances blood flow to the scalp, fostering hair growth and overall scalp health. Once the massage is complete, the next phase is to wrap your hair. You can use a warm towel or a shower cap. Wrapping the hair helps to trap the heat, which in turn opens up the hair cuticles, allowing for the oil to penetrate more deeply. Leave the oil in your hair for at least 30 minutes, or even better, overnight for maximum absorption. This extended time allows the oil to work its magic, delivering essential nutrients and moisture to your hair, promoting healthier, more resilient locks.
Shampoo and Rinse
The final step in your weekly hair oiling ritual is washing and rinsing your hair to eliminate the oil and reveal the results. When washing, opt for a mild, sulfate-free shampoo to avoid stripping away the natural oils and the benefits you've gained from the oil treatment. Apply shampoo to your hair, starting at the roots, and gently massage it to remove the oil and any impurities. Rinse your hair thoroughly with lukewarm water. Be sure to remove all traces of shampoo. After rinsing, you may condition your hair, especially if you have dry or damaged hair. Concentrate on the ends to enhance moisture and manageability. Once you're done, gently pat your hair dry with a soft towel, avoiding harsh rubbing. This step not only cleanses your hair but also enhances its natural shine, leaving you with smooth, revitalized hair.