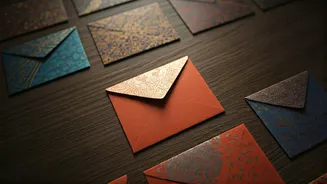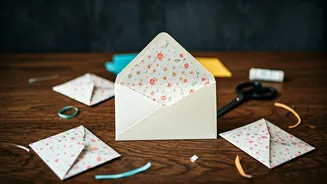


Start With Simplicity
The beauty of crafting your own Eidi envelopes lies in its accessibility; you don't need elaborate supplies. Begin with readily available materials like
a single sheet of paper, which can be anything from coloured craft paper to repurposed wedding cards or even pages from a notebook. Essential tools are just as basic: scissors and glue. You might also find sketch pens, crayons, or coloured pencils useful for decoration. The charm of handmade items is their imperfection, so don't strive for a factory-made finish. Embrace any slight irregularities, as they contribute to the unique character of each envelope and make it feel truly one-of-a-kind.
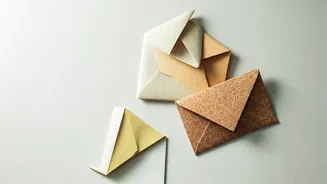
Forming The Base
To begin constructing your envelope, lay your chosen paper flat. Take the bottom edge and fold it upwards, ensuring you leave a small gap at the top. This lower section will eventually hold the Eidi money. Next, gently fold in the side edges inwards, creating a basic pocket-like structure. It's perfectly normal for these folds to appear uneven initially. Take your time to adjust them with your fingers, pressing down firmly to define the creases. As you refine these folds, the distinct shape of an envelope will start to emerge, marking the transition from a flat sheet to a functional container.
Securing The Structure
With the basic shape established, it's time to secure the sides. Apply a modest amount of glue along the edges that you've folded inwards. Be careful not to use too much glue, as excess can cause the paper to wrinkle and detract from the neatness of your envelope. Once the glue is applied, press the sides down gently. Hold them in place for a few seconds to allow the adhesive to set properly. After this step, you will have a plain but complete envelope, brimming with the potential to be transformed into a festive piece.
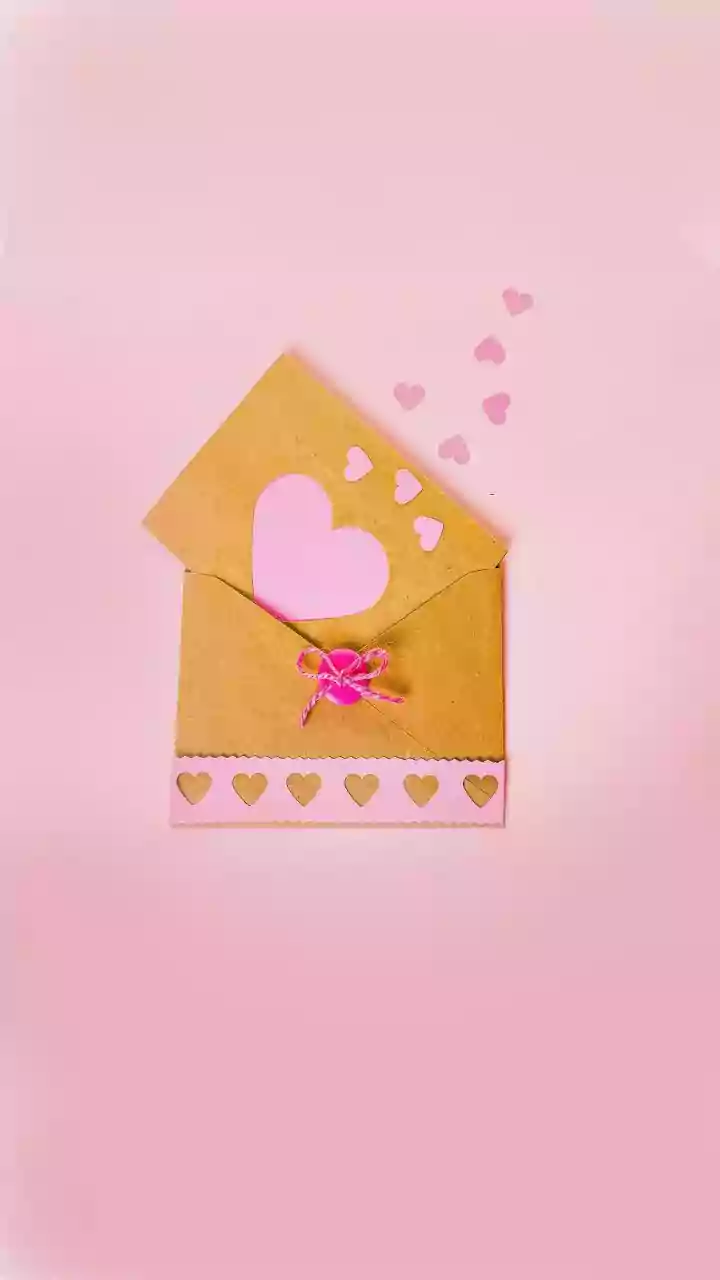
Embellishing For Eid
This is where the real fun begins, especially for children! There are no strict rules for decorating; let your creativity flow. Consider drawing traditional Eid motifs like a crescent moon and stars, or perhaps small lanterns. Writing 'Eid Mubarak' in bold, colourful lettering is always a festive option. Many children enjoy creating abstract patterns with dots, lines, or swirls that add a splash of colour and festivity. If you have decorative elements like glitter, stickers, or scraps of old gift wrap, don't hesitate to incorporate them by tearing or cutting them into small pieces and pasting them on. Embrace a slightly messy, playful approach to decoration.
Adding A Personal Touch
To make your Eidi envelope truly special, personalise it for the recipient. This can be as simple as writing their name clearly on the front. For an added layer of thoughtfulness, include a brief, warm message inside, such as 'For your Eid treats' or a lighthearted note. If the envelope is for a younger child, consider drawing something they particularly love, like a favourite animal or a cartoon character. This personal touch demonstrates that you've put extra thought into the gift, going beyond just the monetary value and making the act of giving more meaningful.
Crafting The Closing Flap
The final step involves creating the closing flap for your envelope. You can simply fold down the top portion of the paper to seal it. For a more creative finish, experiment with the shape of this flap; instead of a straight edge, try cutting it into a gentle curve. You could also add a small decorative element, like a star sticker or a drawn motif, to help keep the flap closed. Some people even opt to tie a delicate ribbon or thread around the envelope for an extra aesthetic touch, though this is entirely optional and purely for added visual appeal.