


Select the Best Cuttings
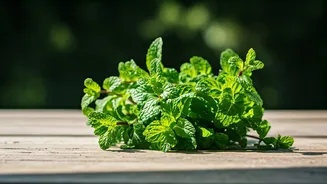
Embarking on your mint-growing journey begins with choosing the right foundation. Seek out healthy, robust stems from your fresh mint bunch, ideally those
measuring 4 to 6 inches in length and adorned with a few sets of vibrant leaves. These stems should feel firm and display a rich green hue, steering clear of any signs of wilting, yellowing, or premature flowering, as these could hinder successful root development. Once you’ve identified prime candidates, delicately trim off the lower leaves, ensuring only the uppermost foliage remains. This crucial step not only prevents potential rot but also redirects the plant’s energy towards fostering strong root growth, setting the stage for a flourishing future. These meticulously prepared cuttings are the genesis of your future mint plants, allowing you to maximize your harvest from a single store-bought bunch without any waste.
Harvesting for Growth
To ensure your mint plant continues to thrive and produce abundantly, mastering the art of harvesting is essential. A golden rule to follow is never to remove more than a third of the plant's foliage at any single time. This mindful approach allows the plant to recover and maintain its vitality. Always make your cuts just above a leaf node – the point where leaves emerge from the stem. This specific cutting technique encourages the plant to branch out, leading to a bushier and more productive specimen. Beyond promoting growth, regular harvesting also keeps the mint's flavor profile fresh and prevents the stems from becoming woody or developing a bitter taste, ensuring you always have the best quality leaves for your culinary creations.
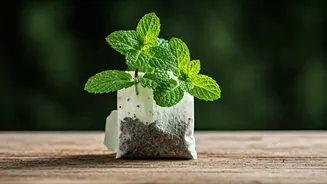
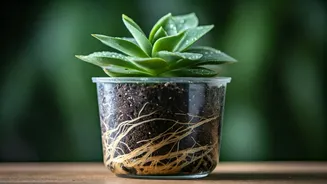
Rooting in Water
For an exceptionally straightforward method to kickstart your mint cultivation, consider rooting your cuttings directly in water. Gather your prepared stems and place them in a clean glass or jar, ensuring the water level is just enough to submerge the bottom inch of the stem. It's vital to keep the leaves entirely above the waterline to prevent them from decaying. Position the container in a bright location that receives indirect sunlight, such as a windowsill. Refresh the water every few days to maintain its purity and prevent stagnation. Within approximately a week, you should observe the emergence of small, delicate white roots. Once these roots reach about an inch in length, your mint cuttings are ready to be transferred to soil, although they can remain in water for a while longer if you enjoy watching their development.
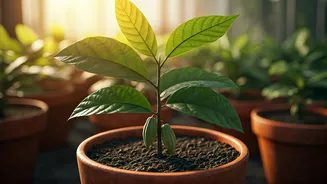
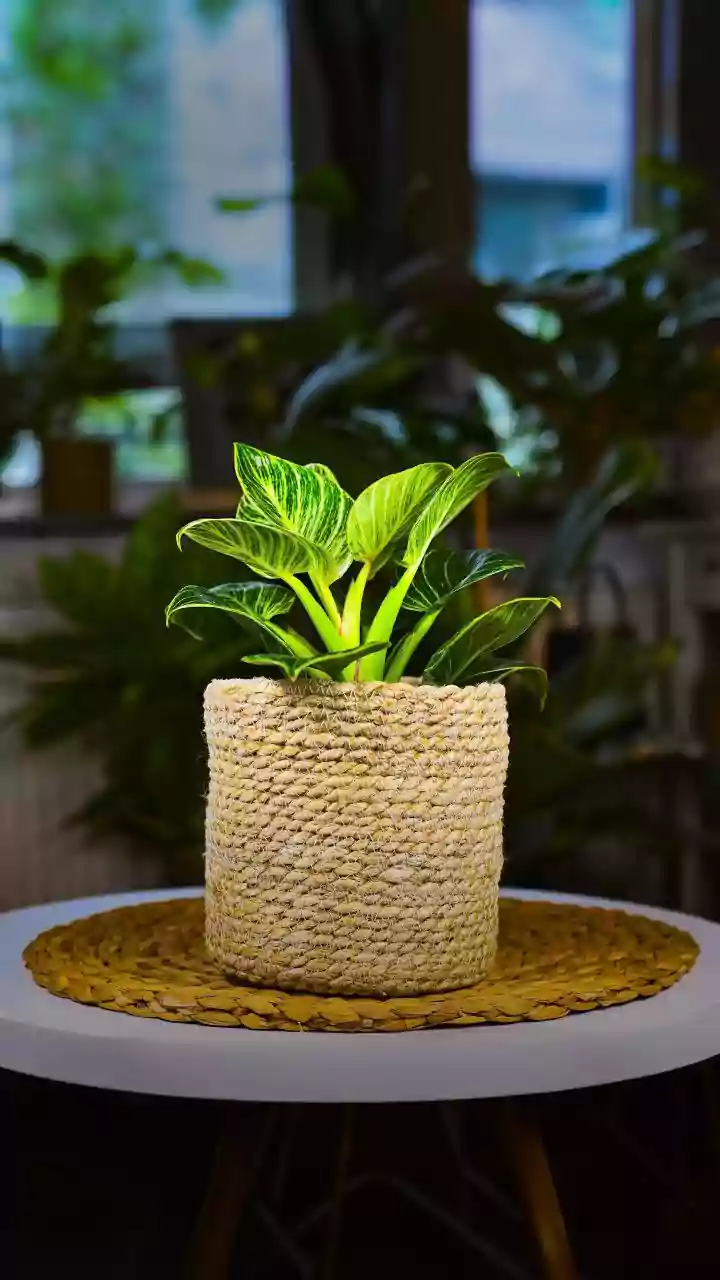
Planting in Pots
Once your mint cuttings have developed a substantial root system, the next step is to transition them into a small pot filled with a well-draining soil mix. Opt for a container that features drainage holes to prevent waterlogging, and use a light potting mix rather than heavy garden soil. Gently plant the rooted stem into the soil, ensuring it is buried up to just below the lowest set of leaves. Water the newly potted plant lightly and place it in an area that receives a few hours of gentle morning sun. The key to nurturing your young mint plant is to maintain consistently moist soil without letting it become waterlogged. Regularly pinch off the top leaves; this encourages the plant to grow bushier and prevents it from becoming leggy. As the roots expand and the plant matures, you can gradually repot it into larger containers.