


The Magic of Lacto-Fermentation
At its heart, this method is about creating the perfect environment for beneficial bacteria. The process, known as lacto-fermentation, relies on naturally occurring bacteria called Lactobacillus. When you submerge fresh vegetables in a saltwater brine,
you create an environment where these good bacteria can thrive, while harmful microbes are kept at bay. These industrious microbes then convert the natural sugars in the vegetables into lactic acid. This lactic acid acts as a natural preservative, keeping the vegetables safe to eat, creating the signature tangy flavour, and helping them stay crisp. It's a method of food preservation that has been used for thousands of years, long before refrigeration or the use of oil and vinegar became commonplace.
Your Minimalist Fermentation Kit
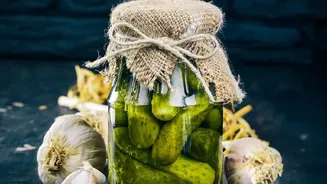
You don’t need fancy or expensive equipment to start fermenting. The beauty of this technique lies in its simplicity, making it perfect for an urban kitchen where space is at a premium. All you really need is a glass jar with a lid, salt, water, and your vegetables of choice. A standard Mason jar works perfectly. For salt, choose a pure salt without additives like iodine or anti-caking agents, such as kosher or sea salt. These additives can interfere with the fermentation process. You will also need a way to keep the vegetables submerged under the brine, as exposure to oxygen can lead to unwanted mould. A smaller glass jar, a fermentation weight, or even a clean stone can work perfectly for this purpose.
The Golden Ratio of Salt to Water
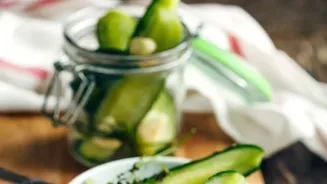
The most crucial part of brine fermentation is getting the salt concentration right. A 2-3% brine solution is the ideal starting point for most vegetables. This concentration is salty enough to inhibit bad bacteria but allows the beneficial lactobacilli to flourish. So, how do you calculate this? It's simple. To make a 2% brine, you dissolve 20 grams of salt in 1 litre (1000 grams) of water. A kitchen scale is your most accurate tool here. Measure your water first, then calculate the amount of salt needed. For example, for 500ml of water, you would use 10 grams of salt. This simple ratio ensures a safe and successful ferment every time. For softer vegetables with high water content like cucumbers, a slightly higher salt concentration of up to 5% is sometimes recommended to keep them crisp.
Best Vegetables for Beginners
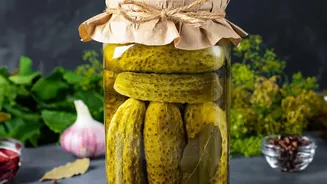
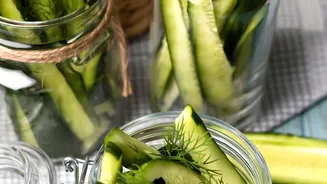
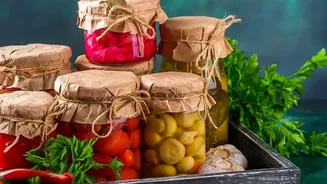
While you can ferment almost any vegetable, some are more forgiving for beginners. Harder vegetables hold up well to the fermentation process and retain a satisfying crunch. Carrots are a fantastic choice; their natural sweetness provides a wonderful contrast to the tangy brine. Green beans, cauliflower, and radishes are also excellent candidates. Cabbage is the classic, used to make sauerkraut, and is incredibly easy to work with. Feel free to experiment with spices and herbs to create your own unique flavours. Adding a few cloves of garlic, a sprig of dill, or some peppercorns to your jar can elevate your ferment from simple to spectacular.
The Process: Step-by-Step
Ready to make your first batch? It’s as easy as following these steps. First, prepare your vegetables by washing and chopping them to your desired size. Pack them tightly into your clean glass jar along with any spices. Next, prepare your brine by dissolving the salt in filtered water. Pour the brine over the vegetables until they are completely submerged, leaving about an inch of headspace at the top of the jar. Now, you need to weigh down the vegetables to keep them under the brine. Once they are submerged, loosely seal the jar. You don't want to tighten the lid completely, as the fermentation process creates carbon dioxide that needs to escape. Place the jar on a plate to catch any potential overflow and leave it at room temperature, out of direct sunlight, for 3 to 7 days.
Patience, Bubbles, and Taste
Within a day or two, you should start to see tiny bubbles rising to the surface—this is a sign that the good bacteria are hard at work. The brine may also become cloudy, which is perfectly normal. After about three days, you can start tasting your ferment. It will taste salty at first, but the sour, tangy flavour will develop over time. If you prefer a more sour taste, simply let it ferment for a few more days. Once the vegetables have reached a flavour you enjoy, tighten the lid and move the jar to the refrigerator. The cold temperature will significantly slow down the fermentation process, and your fermented vegetables can be stored in the fridge for several weeks or even months, with the flavour continuing to develop.