


First, Prepare for Liftoff
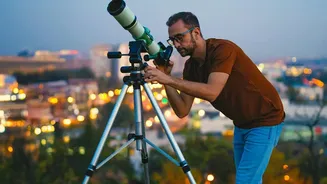
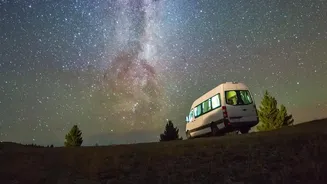
Before you even look up, a little preparation makes a world of difference. The biggest enemy of stargazing is light pollution. If you're in a city, even a rooftop or a local park is a good start, but the further you can get from city lights, the more
you will see. Check the weather for a clear forecast and try to plan your viewing around the new moon. A bright full moon acts like a giant celestial spotlight, washing out fainter stars. Finally, give your eyes time to adjust. It takes about 20 to 30 minutes for your vision to fully adapt to the dark, revealing a sky packed with more stars than you first noticed. Avoid looking at your phone's bright screen during this time; a red light filter or night mode on apps can help preserve your night vision.
Your Phone is a Pocket Planetarium
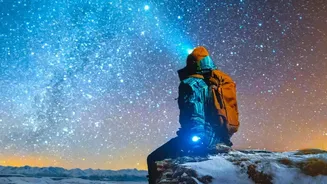
This is where your phone transforms from a distraction into a powerful astronomical tool. Modern stargazing apps use your phone's location and sensors to create a real-time map of the sky. Simply point your device upwards, and the app will identify the stars, constellations, planets, and even satellites you're looking at. Many use augmented reality (AR) to overlay this information directly onto your camera's view, making it incredibly intuitive to connect what you see on screen with the real sky above. These apps can tell you what's visible tonight, help you find specific objects, and even show you the sky's appearance on past or future dates.
The Best Apps to Guide Your Gaze
With so many apps available, here are a few standout choices perfect for beginners. Star Walk 2 is often recommended for those just starting out due to its user-friendly interface and beautiful visuals. SkyView (available as a free 'Lite' version) is another excellent option, praised for its simple point-and-identify AR function. For those wanting a powerful and highly-regarded free tool, Stellarium Mobile offers a massive database and a clean interface that mirrors its popular desktop software. Most free versions are more than enough to get you started on your cosmic journey.
A Beginner's Celestial Checklist
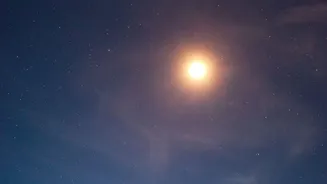
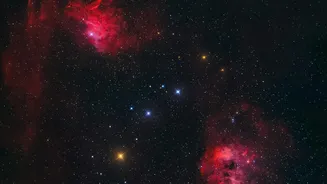
Now that you're set up, what should you look for? Start with the obvious and most rewarding targets. The Moon is spectacular, especially along the 'terminator'—the line between its light and dark sides where craters and mountains are thrown into sharp relief. Next, find the planets. A key tip: stars twinkle, while planets shine with a steadier light. Venus is the brightest object after the Moon, appearing in the morning or evening. Jupiter is also brilliantly bright, while Mars has a distinct reddish glow. For constellations, start with something easy to spot from India, like Orion (The Hunter) with its famous three-star belt, visible in the winter months.
Go Beyond and Capture the Cosmos
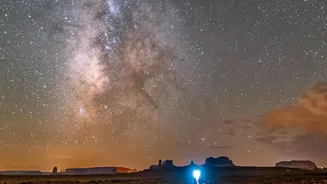
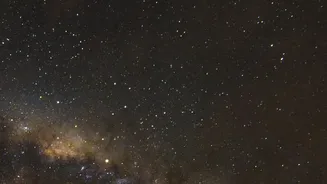
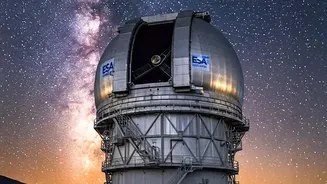
Once you've found a few objects, you might want to try capturing them. While a smartphone won't produce images like the Hubble telescope, modern phones with 'Night Mode' or 'Pro' settings can take surprisingly good shots of the stars. The key is stability; use a small tripod or prop your phone on a steady surface. In your camera's pro mode, try setting a long shutter speed (5-20 seconds) and a medium ISO (800-1600). Focusing can be tricky, so manually set the focus to 'infinity' (often shown with a mountain icon). You can even capture the faint, misty band of our own galaxy, the Milky Way, from a truly dark site.