

The messy bun is a universal symbol of effortless style, but for those with medium-length hair, it can feel more challenging than chic. So, how do you get that perfect look? Popular tutorials show it's all about technique and the right prep.
The Medium-Length Challenge
Unlike long
hair, which has enough length to wrap and tuck securely, medium hair presents unique obstacles. The primary issues are shorter layers that refuse to stay put and a lack of natural volume to create a full-looking bun. Many tutorials acknowledge this, framing medium-length buns as a game of strategic pinning and texturizing. While long hair can be easily looped into a full bun, shoulder-length hair often requires a different approach to avoid a small, tight knot or pieces falling out within minutes. The goal is to create the illusion of fullness and maintain that 'perfectly undone' look all day.
Prep Work Is The Foundation
Almost every messy bun tutorial starts before a hair tie is even picked up. The consensus is that 'day-two' or even 'day-three' hair provides the best natural grip. For freshly washed hair, which is often too silky and slippery, tutorials universally recommend adding texture. The most commonly featured products are dry shampoos and texturizing sprays. These are applied at the roots and through the lengths of the hair to add grit and volume, making the strands easier to manipulate and ensuring the style has staying power. Lightly scrunching the product in, rather than brushing it smooth, helps build the foundation for an authentic messy look.
Core Techniques From Top Tutorials
Once the hair is prepped, tutorials diverge into a few popular methods. One common technique involves creating a ponytail and, on the final pull-through, only bringing the hair partway to create a loop, leaving the ends out. These ends are then wrapped around the base of the elastic and secured with bobby pins. Another popular method is to twist the ponytail before coiling it around its base. For medium hair, some stylists recommend splitting the ponytail into two sections, wrapping them in opposite directions around the base to create a fuller appearance. Some tutorials also feature a half-up style, where only the top section of hair is pulled into a bun, which is a great option for shorter medium lengths.
Mastering The 'Messy' Element
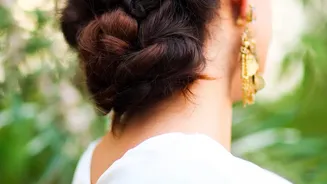
The difference between a messy bun and a bun that's just a mess is control. Tutorials emphasize that the 'messy' part is an intentional finishing step. After the bun is secured, stylists gently pull and tug at sections of the bun to increase its volume and create a looser, more relaxed shape. This is often called 'pancaking'. They also pull out small, face-framing pieces to soften the look. The key is to be gentle; pulling too hard can cause the whole structure to collapse, especially with shorter hair. If sections become too loose, bobby pins are used to subtly tuck them back into place without making the style look too perfect or rigid.
Essential Tools and Products
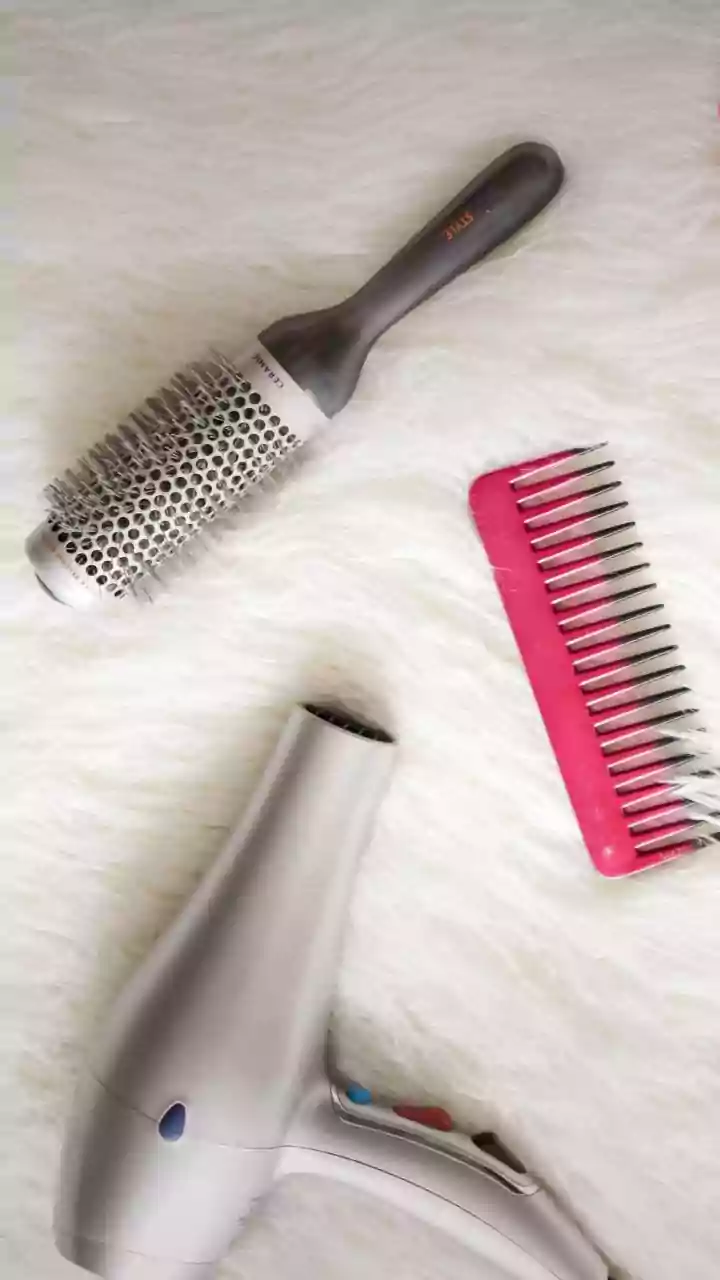
To achieve the look seen in tutorials, a few key items are nonstoppable. First are good hair elastics; often, two are recommended—one for the initial ponytail and a second to secure the bun itself. Bobby pins that match your hair colour are crucial for tucking away stray ends and securing the bun's shape. Beyond tools, finishing products are key. After the bun is styled, a lighthold or flexible hairspray is often used to tame major flyaways without creating a stiff, crunchy helmet. For those seeking extra volume, some tutorials even suggest using a scrunchie as the base of the bun, then arranging the hair around it to create the illusion of a bigger bun.