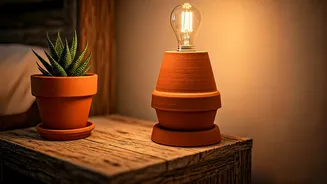


Gathering Your Materials
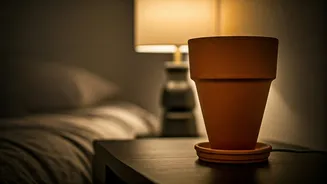
Before you begin, assembling all your components will make the process smooth and enjoyable. You’ll need one or more terracotta pots to form the base of your lamp. You can use a single large pot or stack multiple smaller ones for a different look. The
centerpiece of this project is a lamp wiring kit. These kits are widely available at hardware stores or online and typically include a socket, cord, and the necessary small hardware (often called 'lamp nipples' or threaded rods). You will also need a drill, a masonry or carbide-tipped drill bit, some strong adhesive like epoxy or silicone, and, of course, a lampshade and lightbulb to complete your creation. For safety, it’s wise to have protective glasses for drilling and to ensure any electrical components you purchase are UL-listed, meaning they have been tested for safety.
Preparing the Clay Pots
The most crucial step in preparing your pots is creating a path for the electrical cord. Most terracotta pots have a drainage hole at the bottom, which you can use to feed the cord through. However, if you're using a single pot, you will also need an exit hole near the bottom on the side for the cord to exit cleanly. To drill this, it's highly recommended to soak the pot in water, even overnight if possible. This saturates the clay, reducing the risk of cracking. Place a piece of painter's tape on the spot you want to drill; this helps prevent the drill bit from slipping. Using a masonry bit, apply slow, steady, and light pressure, letting the drill do the work. Forcing it can easily break your pot. Start with a smaller pilot hole and gradually widen it if necessary. Once your holes are drilled, make sure the pots are clean and completely dry before moving on.
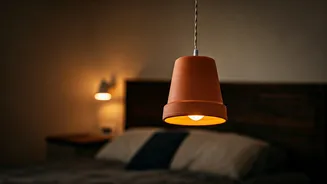
Assembling the Lamp
Now for the construction. If you are stacking multiple pots, apply a strong adhesive to the rim of the bottom pot and place the next one on top, ensuring they are aligned. Repeat for all your pieces and let the adhesive cure completely. Next, it’s time to wire. Feed the end of the electrical cord from your lamp kit through the side hole at the base, and up through the drainage holes of your stacked pots until it emerges from the top. Pull the cord through, leaving enough slack at the top to work with. The threaded rod from your kit will be inserted into the top hole, secured from underneath with a washer and nut. This rod is what the lamp socket will screw onto, creating a stable post for your lampshade.
Wiring and Electrical Safety
Wiring a lamp kit is generally straightforward, but safety is paramount. First and foremost, never work on any wiring while the lamp is plugged in. Your lamp cord will consist of two wires. You will need to split the end and strip about half an inch of the plastic insulation from each wire to expose the copper. Loosen the two screws on the lamp socket; one will be a brass (gold) color and the other silver. The hot wire (typically identified by black casing or smooth insulation) connects to the brass screw, and the neutral wire (white casing or ribbed insulation) connects to the silver screw. Wrap the exposed wire clockwise around its corresponding screw and tighten it securely. Once connected, you can assemble the rest of the socket casing as per the kit's instructions. A good practice is to tie a simple Underwriter's knot with the wires just inside the lamp base to prevent the cord from being pulled out of the socket.
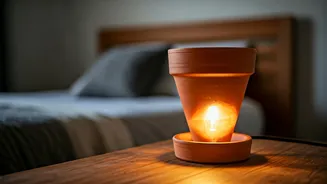
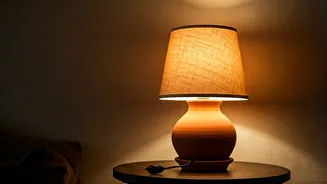
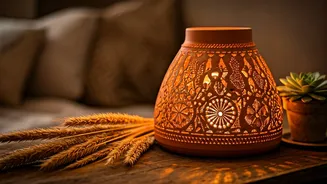
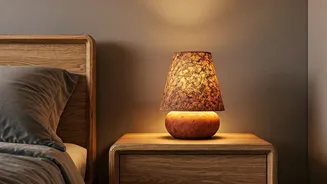
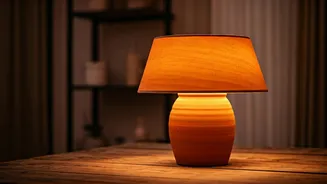
Finishing Touches and Customization
With the technical work done, you can focus on aesthetics. Choose a lampshade that complements the size and shape of your terracotta base. A barrel or drum shade often works well. For the 'cozy' factor, select a warm-toned lightbulb, such as a warm white LED, which will enhance the earthy red of the terracotta. This is also your chance to personalize the lamp base itself. While the natural terracotta is beautiful, you could paint it to match your decor. Some people create a distressed or aged look by applying layers of paint or even a mixture of dirt and water that is then partially wiped away. Whether you leave it natural or customize it, you've created a unique piece of decor.