
Why Local and Whole Grain Flour Works Best
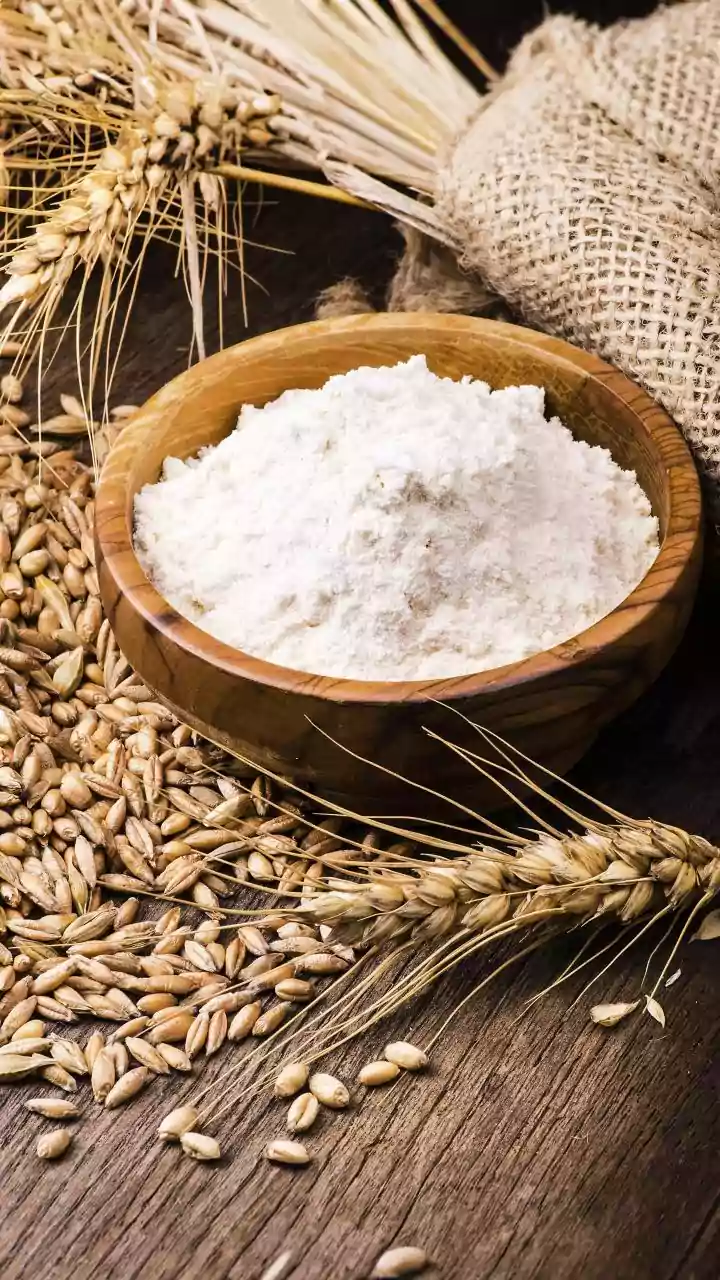
The magic of a sourdough starter comes from wild yeast and bacteria. These microscopic powerhouses are naturally present on the husk of grain. When you choose a whole grain flour, especially a locally milled one, you are getting a richer ecosystem of these
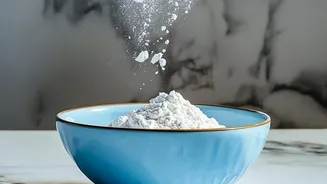
beneficial microbes. While you can use all-purpose white flour, starting with whole wheat or rye gives your starter a significant head start. Think of it as providing both the “bugs” (microbes from the bran) and the “food” (starches from the flour). Using local flour not only supports your community's producers but can also impart a unique flavour profile—a taste of your specific place—into your bread. This slow, natural fermentation process also results in bread that is often easier to digest and has a more complex, tangy flavour than loaves made with commercial yeast.
What You Will Need
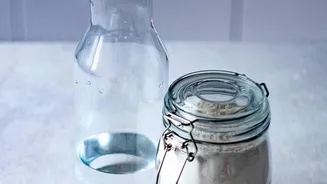
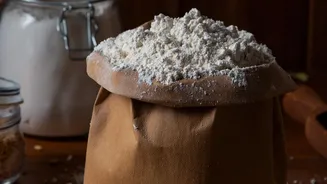
You don't need a lot of fancy equipment to begin. The beauty of sourdough is its simplicity. Before you start, gather these items: A Glass Jar: A clear container allows you to see the activity, like bubbles and rising, and won't react with the acidic starter. A one-litre jar is a good size to give it room to grow. Flour: A local whole wheat or rye flour is ideal for getting started. You'll only need about 300g to establish your starter. Water: Any clean water that is safe to drink will work. If you know your tap water is heavily chlorinated, letting it sit out for a few hours or using filtered water is a good precaution. A Kitchen Scale: Precision is helpful. Measuring by weight (grams) rather than volume (cups) ensures a consistent ratio of flour to water, which is key to a healthy starter.
Day 1-2: The Initial Mix
This is where your journey begins. In your clean glass jar, combine 50 grams of your local whole grain flour with 50 grams of lukewarm water (around 29°C is great). Mix them thoroughly until no dry flour remains; it should resemble a thick pancake batter. Scrape down the sides, cover the jar loosely (don't seal it tight, as gasses need to escape), and leave it in a warm spot in your kitchen for 24 hours. A consistent, warm temperature is crucial for encouraging fermentation. For the first two days, you may not see much action, and that's perfectly normal. Just give it a good stir once or twice a day to introduce oxygen.
Day 3-7: Establishing a Feeding Routine
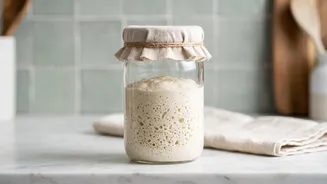
From day three, you will begin a feeding schedule. Your starter is now a living culture that needs regular meals. To feed it, you'll first discard about half of the mixture. This might feel wasteful, but it's essential to keep the yeast and bacteria population in balance and prevent the starter from becoming too acidic. After discarding, add 50 grams of flour and 50 grams of warm water to the remaining starter in your jar. Mix well, cover, and let it sit again. Repeat this process every 24 hours. Within a few days, you should start to see signs of life: bubbles forming, a pleasant sour aroma, and a noticeable rise and fall in the jar between feedings.
Troubleshooting Common Beginner Issues
Don't panic if your starter acts strangely; it's a common part of the process. If you see a clear or dark liquid on top, this is called "hooch." It's simply a sign that your starter is hungry. You can either pour it off or stir it back in before your next feeding. If your starter seems sluggish and isn't bubbling, try moving it to a warmer spot. Temperature is one of the biggest factors in fermentation speed. Patience is key; some starters can take up to two weeks to become fully active and ready for baking. However, if you see any pink, orange, or fuzzy green spots, that's mold. Unfortunately, the only solution is to discard it and start over in a fresh, clean jar.