


Why Homemade Beats Takeaway
We all love the convenience of food delivery, but when it comes to momos, making them at home is an experience that transcends the meal itself. First, there's freshness. You control every ingredient, from the quality of the minced chicken or the crispness
of the vegetables to the exact blend of spices. There are no mysteries about hygiene or old ingredients. Second, it's about customisation. Want your momos extra spicy? Add more chilli. Prefer a paneer-and-corn filling? Go for it. You are the master of your momo destiny. Lastly, it’s incredibly fun. Making momos can be a wonderful, tactile activity to share with family or friends, turning a simple dinner into a memorable 'momo party'. And the pride you feel when you take that first bite of a perfectly steamed parcel you made yourself? Unbeatable.
Getting the Dough Right
The perfect momo starts with the perfect wrapper. Don't be intimidated; it’s surprisingly simple. All you need is 1 cup of all-purpose flour (maida), about ½ cup of warm water, and a pinch of salt. In a bowl, mix the flour and salt. Gradually add the warm water, kneading as you go, until you form a firm, smooth, and pliable dough. It shouldn't be sticky. Knead for a good 5-7 minutes. Once it’s smooth, cover the dough with a damp cloth and let it rest for at least 30 minutes. This resting period is crucial—it relaxes the gluten, making the dough easier to roll out into thin, delicate wrappers.
Crafting the Perfect Filling
Here’s where you can get creative. For a classic Chicken Filling, mix 250g of finely minced chicken with 1 finely chopped onion, 2-3 cloves of minced garlic, 1 inch of grated ginger, a handful of chopped coriander, 1 tablespoon of soy sauce, and salt and pepper to taste. For a vibrant Veggie Filling, combine 1 cup of finely chopped cabbage, ½ cup of grated carrots, ½ cup of finely chopped onions, and ½ cup of crumbled paneer or tofu. Sauté the vegetables for a few minutes to release some moisture, then mix in garlic, ginger, soy sauce, and seasoning. The key to a juicy filling is to not overcook it before steaming.
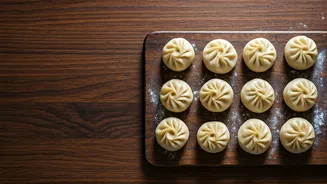
The Art of the Fold
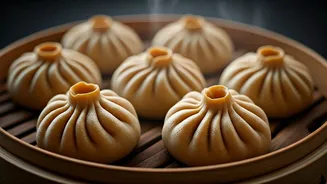
This is the part that looks tricky but is easy to master with practice. First, divide your rested dough into small, equal-sized balls. Roll each ball into a thin circle, about 3-4 inches in diameter. Keep the edges thinner than the centre. Place a spoonful of your filling in the middle. Now, to fold: the simplest way is the half-moon. Just fold the wrapper in half over the filling and pinch the edges firmly to seal. For the classic pleat, hold the filled wrapper in one hand and use your other thumb and forefinger to make small pleats along one edge, pressing them against the other flat edge as you go, creating a crescent shape. Don't worry about perfection on your first try; as long as they are sealed, they will taste amazing.
Steam, Pan-Fry, or Deep-Fry?
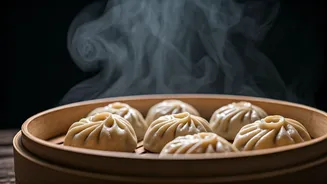
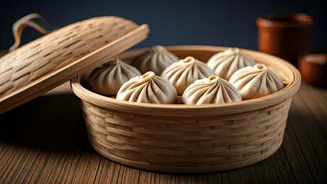
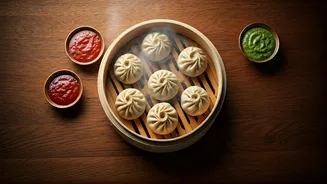
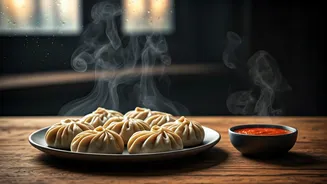
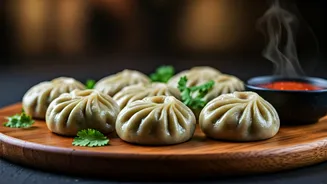
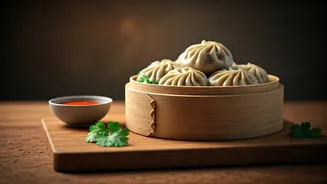
The classic cooking method is steaming. Grease your steamer basket with a little oil to prevent sticking. Arrange the momos in the steamer, leaving space between them so they don’t touch. Steam for 10-12 minutes for chicken and 8-10 minutes for vegetable momos. The wrapper will become translucent and shiny when done. For Kothey (pan-fried) momos, first steam them for 5-6 minutes. Then, heat a little oil in a flat pan and place the momos in it. Fry until the bottoms are golden brown and crisp. For a crunchy treat, you can also deep-fry them until they are golden brown all over.
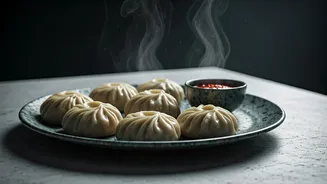
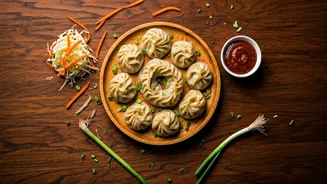
The Essential Chutney
A momo is incomplete without its fiery red chutney. To make a quick version, soak 5-6 dried red chillies in hot water for 20 minutes. In a blender, combine the soaked chillies, 3 large chopped tomatoes, 4-5 cloves of garlic, a small piece of ginger, a teaspoon of sugar (to balance the heat), and salt to taste. Blend until you have a smooth, vibrant paste. This chutney is the perfect companion, cutting through the richness of the momo with its spicy, tangy kick.