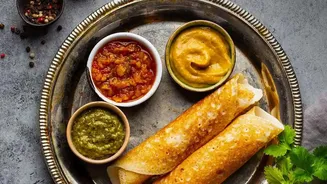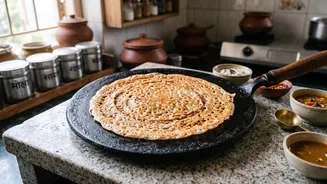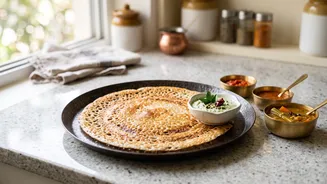



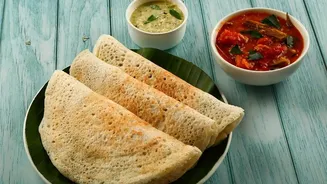
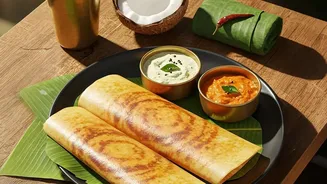
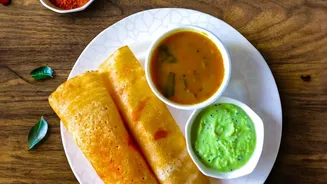
The sizzle of batter hitting hot iron, the golden-brown lattice forming, and the unmistakable crunch of a perfect dosa. Achieving this at home is a culinary dream, and the secret often lies in an old-world tool: the cast-iron tawa.
Why Cast Iron Is Worth It
Before diving into the
'how,' let’s appreciate the 'why.' A cast-iron tawa is prized for its superior heat retention and distribution, ensuring your dosa cooks evenly without pesky hot spots. Over time, it develops a natural, chemical-free non-stick surface, known as a patina, that actually improves with every use. This makes it a durable, long-lasting, and even health-conscious choice, as it can enrich food with small amounts of dietary iron. Unlike synthetic non-stick pans that degrade, a well-cared-for cast-iron tawa can be passed down through generations.
The First Seasoning: A Step-by-Step Guide
Seasoning is the process of baking oil onto the cast iron, which creates a slick, protective layer through a process called polymerization. This is what prevents rust and stops food from sticking. While many tawas now come 'pre-seasoned,' a few extra rounds at home will build a much stronger foundation. 1. Start with a Scrub: For a brand-new tawa, the first step is a thorough wash with mild soap and warm water. This is one of the few times using soap is recommended, as it removes any factory residue or dust. 2. Dry It Completely: Moisture is the enemy of cast iron. After washing, wipe it dry with a towel, then place it on a low flame for a few minutes to evaporate every last drop of water. The surface must be bone-dry. 3. Apply a Thin Layer of Oil: Choose an oil with a high smoke point, like groundnut, sesame, or mustard oil, which are popular in Indian kitchens. Using a paper towel or a clean cloth, apply a very thin, even layer of oil across the entire cooking surface and edges. 4. Wipe It Off: This is the most crucial part. After applying the oil, wipe it off with a fresh cloth until the tawa looks almost dry. Excess oil doesn’t create a better seasoning; it just becomes a sticky, gummy mess. 5. Heat It Up: Place the oiled tawa on the stove over a medium flame. Let it heat until it begins to smoke lightly, which takes about 10-15 minutes. This indicates the oil is bonding to the iron. Turn off the heat and let the tawa cool down completely on its own. 6. Repeat for a Robust Finish: For a truly non-stick surface, repeat the oiling, wiping, and heating process two to three more times. This builds up strong, slick layers for that coveted dosa-ready finish.
Daily Maintenance and Cleaning
Proper care after each use is just as important as the initial seasoning. After cooking, allow the tawa to cool slightly while it's still warm. Scrape off any stuckon food bits, then rinse with hot water. Avoid using harsh dish soap regularly, as it can strip away the seasoning you've worked so hard to build. If you have stubborn residue, scrub with coarse salt and a little water. After rinsing, always dry the tawa completely by placing it on low heat for a minute or two. Finally, while it's still warm, wipe a final, paperthin layer of oil on the cooking surface before storing it in a dry place. This simple habit prevents rust and keeps your tawa ready for action.
Tips for That Perfect Crisp Dosa
Don't be discouraged if your first few dosas aren't perfect; the pan gets better with practice. Before spreading your first dosa, preheat the tawa over medium heat for 5–10 minutes until it's properly hot. A classic Indian technique is to rub half an onion dipped in oil across the hot surface just before pouring the batter. This not only adds a subtle flavour but also helps ensure the dosa doesn't stick. Remember to bring your batter to room temperature before you begin, as cold batter on a hot tawa can cause sticking. With a well seasoned tawa and a bit of patience, you’ll be flipping paper thin, golden crisp dosas like a pro.