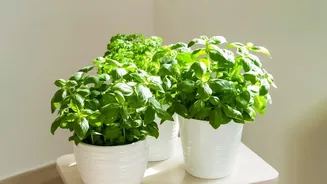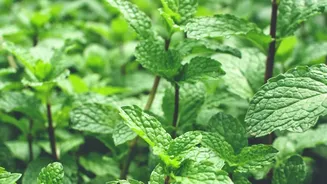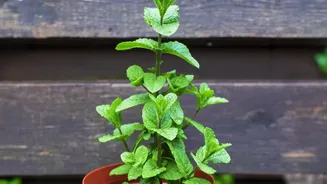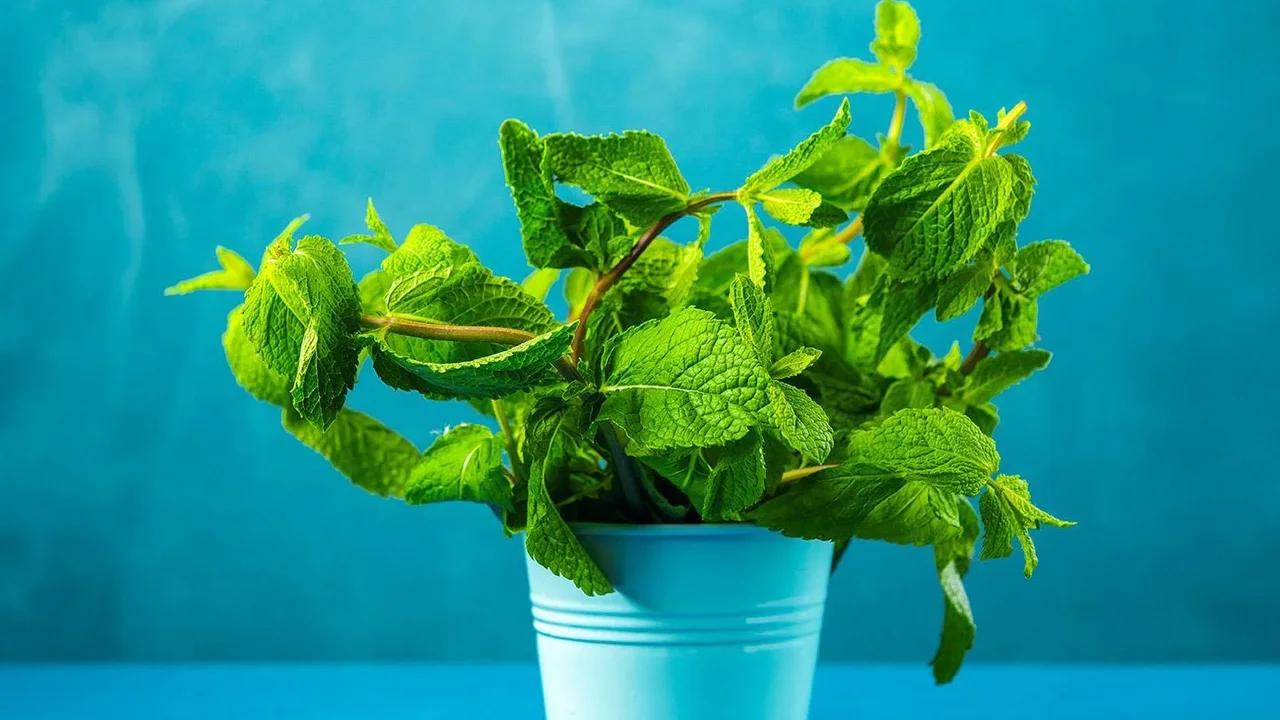



Choose a Wide Pot and the Right Mint
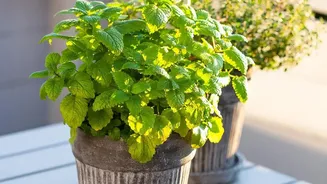
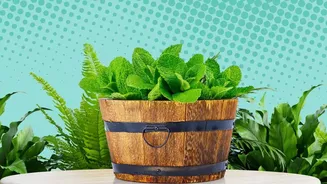
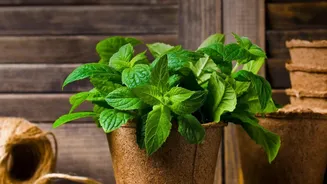
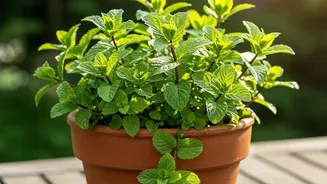
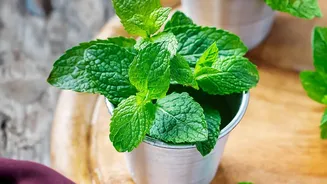
Mint is known for its aggressive nature, spreading via underground runners called rhizomes. This makes container gardening the perfect way to keep it under control. When choosing a pot, prioritise width over depth. A container that is at least 8 to 10
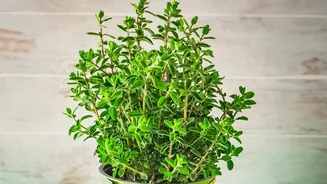
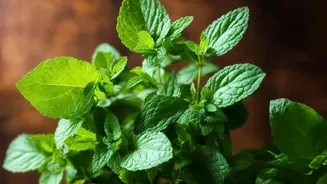
inches wide gives the roots space to spread out. Plastic or glazed pots are excellent choices as they retain moisture better than terracotta, which is beneficial for thirsty mint plants. Most importantly, ensure the pot has ample drainage holes to prevent water from pooling at the bottom, which is a primary cause of root rot. As for variety, spearmint and peppermint are popular choices, but you can also find interesting types like chocolate mint or apple mint.
Create the Perfect Soil Mix
While it might be tempting to use soil from your garden, it's often too heavy and can compact in a pot, leading to poor drainage. Instead, opt for a high-quality, all-purpose potting mix designed for containers. These mixes are lightweight and formulated to balance moisture retention with good drainage. To further improve aeration and prevent the soil from becoming waterlogged, you can mix in some perlite or coarse sand. A good recipe is about three parts potting compost to one part perlite. Mint is not a heavy feeder, so a standard potting mix will typically provide enough nutrients to get started.
Find a Bright, Sunlit Spot
Light is crucial for a healthy and flavourful mint plant. While mint can tolerate some shade outdoors, indoors it needs plenty of bright light to thrive. Aim for a location that receives at least four to six hours of direct or very bright indirect sunlight each day. A south-facing windowsill is often ideal, but an east or west-facing window can also provide sufficient light. If your plant starts to look 'leggy'—with long, sparse stems and small leaves—it is likely stretching for more light. If you lack natural light, especially in winter, consider supplementing with a simple LED grow light.
Master the Art of Watering
Overwatering is one of the most common mistakes with indoor herbs. Mint loves consistently moist soil, but it hates sitting in a waterlogged pot. The best approach is to water thoroughly when the top inch of the soil feels dry to the touch. When you do water, allow it to flow through the pot and out of the drainage holes. Be sure to empty any excess water that collects in the saucer beneath the pot. Inconsistent watering can also cause stress, leading to crispy brown leaves if the plant gets too dry. Checking the soil every few days is a more reliable method than sticking to a rigid schedule.
Prune for a Fuller, Bushier Plant
Regular pruning is the secret to a compact, bushy mint plant and a continuous harvest. Instead of plucking individual leaves, use clean scissors to snip off the top portions of the stems, cutting just above a pair of leaves. This encourages the plant to branch out from that point, creating a fuller shape. Don't be afraid to give it a good trim; you can cut stems back by about one-third. If you notice flower buds forming, pinch them off to direct the plant's energy back into producing flavourful leaves. This regular trimming not only promotes new growth but also provides you with fresh mint for your kitchen.
Harvesting and Enjoying Your Mint
Harvesting is essentially the same as pruning. You can start picking mint as soon as the plant is established and has several stems. For the freshest, most intense flavour, harvest in the morning. The young, tender leaves at the top of the plant are generally the most aromatic. By harvesting the stems and tips regularly, you'll ensure a steady supply of mint for teas, cocktails, salads, and desserts. Freshly picked mint can be stored in the refrigerator for about a week or can be used to start new plants by placing cuttings in a glass of water until roots form.