




The Golden Rules of Cleaning
To clean efficiently and avoid redoing your work, professionals follow two simple but powerful principles: clean from top to bottom, and clean dry surfaces before wet ones. Gravity is your enemy when dusting; particles dislodged from a ceiling fan will
inevitably land on the freshly polished coffee table below. By starting high, you ensure dust and debris fall downwards onto uncleaned surfaces. The 'dry before wet' rule is just as crucial. Wiping a dusty surface with a wet cloth often creates a muddy paste that just smears grime around. By dusting and vacuuming first, you remove loose particles, allowing your wet cleaning stage to tackle tougher, stuck-on dirt for a true polish.
Step 1: Conquer the Clutter
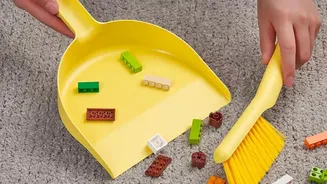
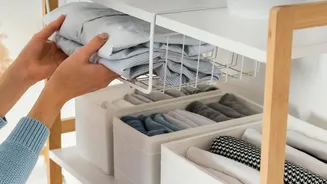
You cannot clean what you cannot see. The essential first step in any deep clean is to declutter. This isn't about a massive reorganisation project; it's about clearing surfaces so you can actually access them. Grab a few boxes or laundry baskets and quickly sort items into categories like 'put away,' 'donate,' or 'trash'. The goal is speed and momentum, not getting lost in decision-making. Use tools like drawer organisers for small items and sticky notes to temporarily label piles. By clearing the decks of toys, mail, clothes, and other misplaced items, you create a blank canvas, making the subsequent steps of dusting and wiping far more effective and less frustrating.
Step 2: The Dry Pass for Dust
With clutter out of the way, it's time for the dry clean. Your primary goal here is to trap and remove dust, not just move it around. This is where your choice of tool matters immensely. Professionals favour microfiber cloths, which have an electrostatic charge that attracts and holds onto dust particles. Forget old-fashioned feather dusters that often just push dust into the air. For high and hard-to-reach places like ceiling fans, the tops of cabinets, and light fixtures, an extendable lambswool or microfiber duster is indispensable. Remember to work from the top of the room down. Dust the fan blades, then shelves, then furniture, saving the baseboards for last. Once all surfaces are dusted, use a vacuum with appropriate attachments to clean upholstery and floors, picking up all the debris you've just dislodged.
Step 3: The Final Wet Polish
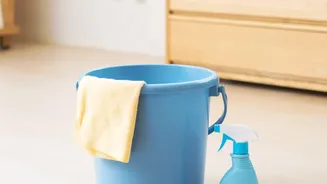
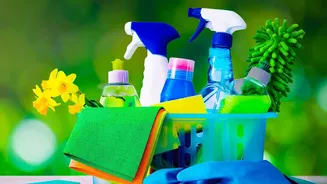
Now that the loose dirt and dust are gone, it’s time for the final, satisfying step: wet cleaning. This is where you tackle grime, sanitise surfaces, and add shine. Start with countertops, sinks, and other surfaces using a spray cleaner and a clean microfiber cloth. In kitchens and bathrooms, pay special attention to high-touch areas that need disinfecting. Finally, address the floors. You should always vacuum or sweep before mopping to remove any remaining debris. Choosing the right mop depends on your flooring. Microfiber spin mops are excellent for controlling water levels on sensitive floors like hardwood, while cotton string mops are highly absorbent and great for durable surfaces like tile. Using the right cleaning solution for your floor type will prevent damage and leave a streak-free finish.