
The Challenge: Capturing Light in the Dark
Our eyes are remarkable at adjusting to darkness, but a camera sensor needs help. In astrophotography, your primary challenge is gathering enough light from faint, distant objects to create a bright, clear image. This is where the exposure triangle—shutter
speed, ISO, and aperture—comes into play. For night sky photos, you'll generally use the widest aperture your lens allows (the lowest f-number, like f/2.8) to let in the maximum amount of light. That leaves shutter speed and ISO as the two main variables you'll need to balance perfectly.
Shutter Speed: How Long to Look
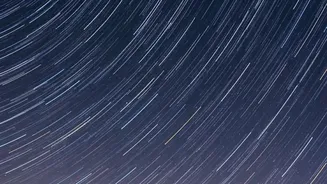
Shutter speed determines how long your camera's sensor is exposed to light. For a dark sky, a longer exposure is needed to make stars visible. However, there's a catch: the Earth is constantly rotating. If your shutter is open for too long, the stars will appear as blurry streaks instead of sharp points, an effect known as star trails. So, how long is too long? A great starting point is the '500 Rule'. This simple formula helps you calculate the maximum shutter speed you can use before stars begin to blur. Simply divide 500 by the focal length of your lens. For example, with a 20mm lens, your maximum shutter speed would be 25 seconds (500 / 20 = 25). This rule provides a solid baseline, but always take a test shot and zoom in to check your stars for sharpness.
ISO: Amplifying the Light You've Captured
ISO controls your camera sensor's sensitivity to light. A higher ISO brightens your photo without needing a longer shutter speed. For years, photographers were taught to use the lowest possible ISO to avoid 'noise'—a grainy texture that reduces image quality. However, in astrophotography, the rules change. In very low light, a higher ISO can actually produce a cleaner image by amplifying the light signal enough to overcome the camera's inherent electronic noise. Most modern cameras perform well for astrophotography between ISO 1600 and 6400. The key is to find your camera's sweet spot, where the image is bright enough without introducing excessive grain. Don't be afraid to push the ISO higher than you normally would; many cameras deliver their best low-light results in this range.
Finding the Perfect Balance
Astrophotography is a dance between shutter speed and ISO. Your goal is to use the longest possible shutter speed (using the 500 Rule) to gather light, and then adjust your ISO to achieve the right brightness. A good starting point for many photographers is a shutter speed of around 20-25 seconds, an aperture of f/2.8, and an ISO of 3200. From there, you can fine-tune. If your image is too dark, increase the ISO. If you notice star trails, shorten your shutter speed. If your image is too noisy, you can try lowering the ISO slightly, but remember that a lack of light is often a bigger cause of noise than a high ISO. It's also critical to shoot in RAW format, as this gives you far more flexibility to adjust exposure and reduce noise later in editing software.
Essential Gear and Final Tips
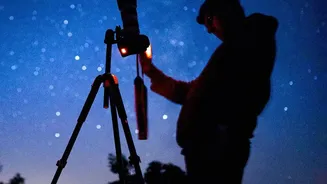
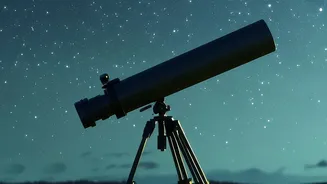
Beyond settings, a few pieces of gear are non-negotiable. A sturdy tripod is absolutely essential to keep your camera perfectly still during long exposures. A remote shutter release or using your camera's built-in timer will also prevent the shake that comes from pressing the shutter button. Finally, switch your lens to manual focus. Autofocus systems struggle in the dark, so it's best to manually set your focus to infinity or use your camera's live view to zoom in on a bright star and adjust until it's a sharp point. With these techniques, you're no longer just taking a picture of the sky; you're intentionally capturing the light of the universe.