

Start with the Right Pot and Plant
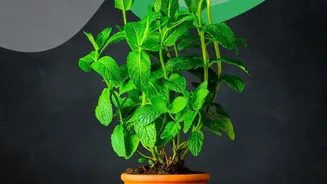
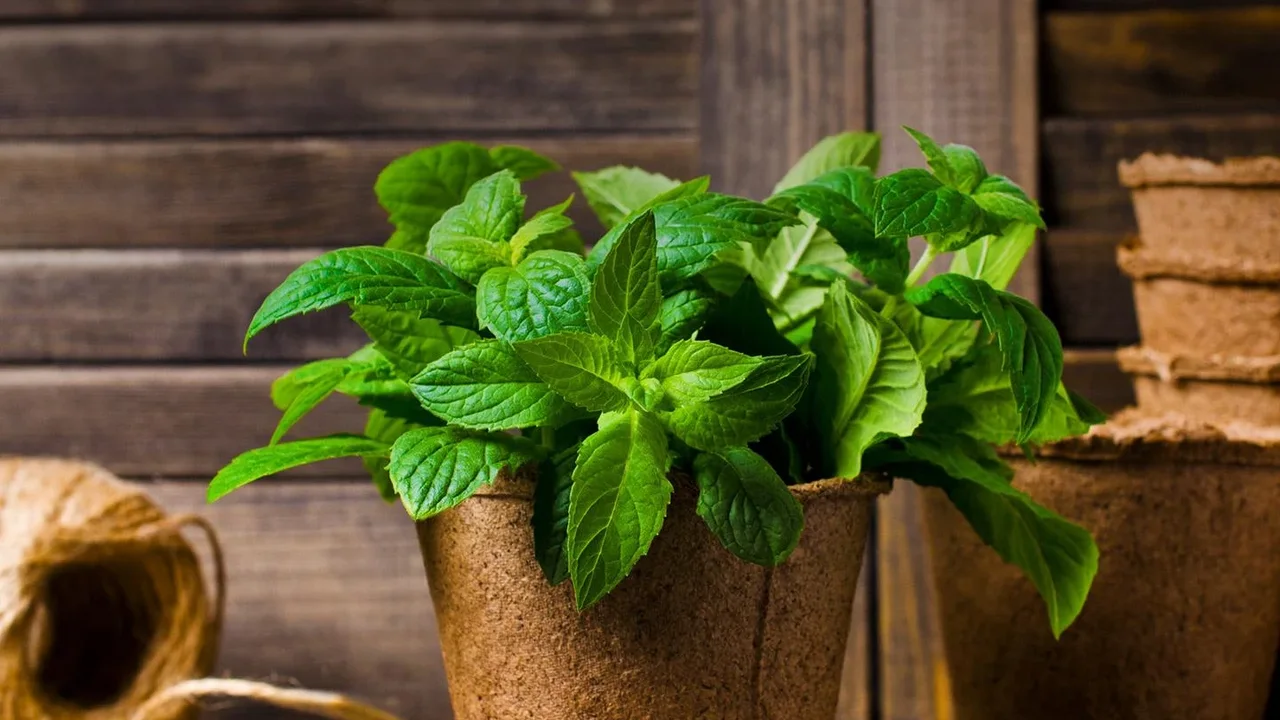
Mint is a vigorous plant with roots that love to spread, which is why a container is your best friend. Choose a pot that is at least 8 to 10 inches wide, as mint tends to grow outwards rather than deep. Plastic or glazed pots are excellent choices as they
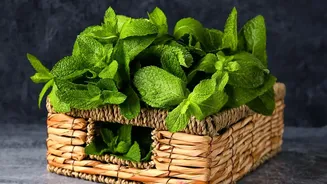
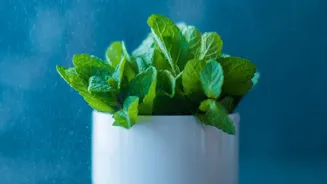
retain moisture better than terracotta. Most importantly, ensure the pot has drainage holes at the bottom; mint likes moist soil but will quickly rot if left sitting in water. While you can grow mint from seeds, the easiest and fastest way is to start with cuttings from a healthy bunch of pudina bought from the market. Simply place stems with their lower leaves removed in a glass of water, and you should see roots appear in about a week.
Create the Perfect Soil Foundation
Mint isn't overly fussy, but it thrives in a light, well-draining soil mix. Heavy garden soil can compact in pots and lead to poor drainage. A high-quality commercial potting mix is a great starting point. To create an ideal blend, you can combine this potting mix with some organic compost or vermicompost for nutrients, and a handful of coarse sand or perlite to improve aeration and drainage. This combination holds enough moisture to keep the plant happy without becoming waterlogged.
Mastering Sunlight and Water
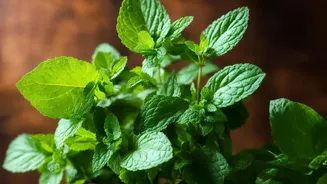
Light and water are the two most critical factors for a thriving indoor mint plant. Mint needs a good amount of bright, indirect sunlight—about four to six hours a day is ideal. A spot near an east-facing window that gets gentle morning sun is perfect. While it can tolerate some shade, too little light will result in a 'leggy' plant with sparse, less flavourful leaves. When it comes to watering, the goal is to keep the soil consistently moist but not soggy. A good rule of thumb is to water thoroughly whenever the top inch of soil feels dry to the touch. Never let the pot stand in a saucer full of water, as this can lead to root rot.
Harvesting to Encourage More Growth
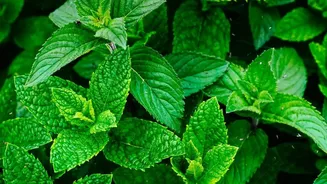
The best part about growing mint is that the more you harvest, the bushier and more productive it becomes. Instead of plucking individual leaves, use a pair of scissors to snip off the top portions of the stems, cutting just above a set of leaves. This encourages the plant to branch out from that point, creating a fuller shape. Regular harvesting prevents the plant from flowering, which can cause the leaves to lose some of their flavour. The ideal time to harvest is in the morning when the leaves' essential oils are most concentrated, giving you the best aroma and taste for your culinary creations.
Troubleshooting Common Problems
Even this hardy herb can face issues. Overwatering is the most common mistake, leading to root rot, where the plant wilts despite being in wet soil. Conversely, if the plant collapses and the soil is bone dry, it needs water immediately. Leggy, weak stems are a clear sign of insufficient light. Pests like aphids or spider mites can sometimes appear, especially in stagnant indoor air. These can often be managed by washing the leaves with a gentle stream of water or using a simple neem oil spray, which is safe for edible plants. Ensuring good air circulation around the plant can also help prevent pests and fungal issues like powdery mildew.