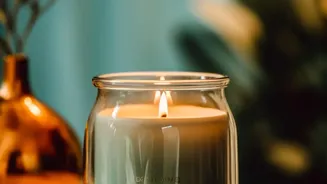




There's a unique satisfaction in lighting a candle you made yourself. This guide walks you through creating beautiful, scented candles at home, turning simple ingredients into a warm, fragrant glow that personalises your space.
Your Candle-Making Toolkit
Before you begin, gathering
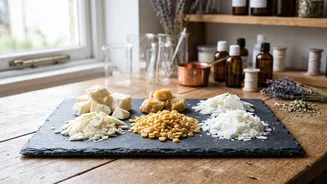
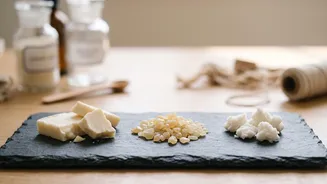
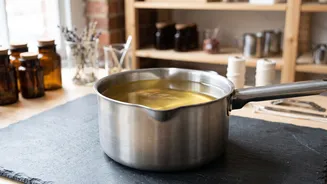
your supplies will make the process smooth and enjoyable. You don’t need a professional setup, just a few key items. For melting, a double boiler is essential for safety; you can create one by placing a heat-safe pouring pot or pitcher inside a larger pot filled with a few inches of water. Here is a basic list of what you'll need: soy wax flakes (a great choice for beginners), pre-waxed wicks with metal bases, containers like glass jars or tins, a thermometer to monitor temperature, a stirring utensil like a chopstick, and wick holders or clothespins to keep the wick centred. A digital scale is also highly recommended for accurately measuring your wax and fragrance.
Choosing the Perfect Wax
The type of wax you choose affects your candle's burn time, appearance, and scent performance. For beginners, soy wax is often recommended because it's eco-friendly, burns cleanly and slowly, and is forgiving with temperatures. Paraffin wax is a traditional choice known for its excellent ability to hold and disperse strong fragrances and vibrant colours. Beeswax is a premium, natural option that burns very slowly and can even help purify the air, though it has a subtle natural honey scent of its own and is more expensive. Each has its own strengths, but starting with a forgiving soy wax is a reliable way to achieve great results on your first try.
Crafting Your Signature Scent
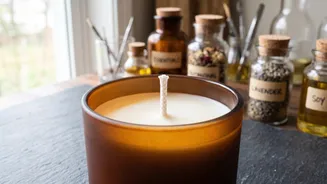
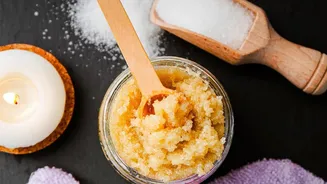
The scent is the soul of your candle. You'll want to use fragrance oils specifically designed for candle making, as they are formulated to bind with wax and burn safely. Essential oils can be used for a more natural aroma, but their scent is often much more subtle when burned. The amount of fragrance to add, known as the 'fragrance load', is usually between 6-10% of the wax by weight. For example, for one pound (16 ounces) of wax, you would use about 1 to 1.6 ounces of fragrance oil. Always add the fragrance oil when the wax is at the correct temperature—typically around 185°F (85°C)—and stir gently but thoroughly for two minutes to ensure it binds properly with the wax.
Step-byStep: From Wax to Wick
With your supplies ready, it's time to create. First, measure your wax flakes—a good rule is to use double the volume of your container. Melt the wax slowly in your double boiler until it reaches 185°F (85°C). While it melts, prepare your container by cleaning it and securing the wick to the bottom centre with a wick sticker or a drop of hot wax. Once the wax is fully melted, remove it from the heat and stir in your measured fragrance oil. Let the scented wax cool to about 135°F (57°C) before pouring to prevent cracking or sinkholes. Pour the wax slowly into your container, leaving a little space at the top. Use a wick holder or two pencils to keep the wick straight and centred as the wax hardens. Patience is key; let the candle cure for at least a week before lighting to allow the fragrance to fully bind with the wax for the best scent throw.
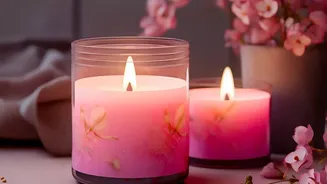
The beauty of homemade candles is in the personal touch. The container itself is the first step in design; think of repurposing interesting items like rustic wooden bowls, vintage teacups, or simple Mason jars for a charming look. You can decorate the outside of the jar by painting it, wrapping it in twine, or creating a custom label. For a more minimalist aesthetic, focus on the candle itself. Using different waxes can create different textures; palm wax, for example, can create beautiful crystalline patterns. Grouping candles of various heights on a simple tray with pebbles or sand can create an elegant centrepiece. Always be cautious about adding flammable materials like dried flowers directly into the wax, as they can become a fire hazard. It's safer to decorate the outside of the container.