


From Trash to Treasure
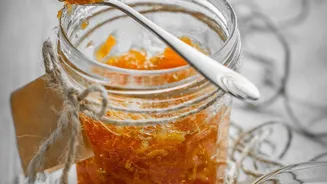
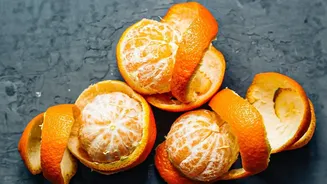
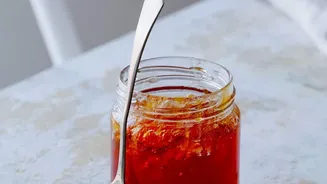
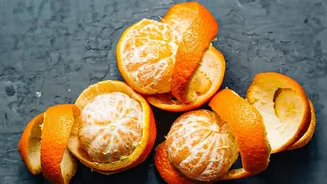
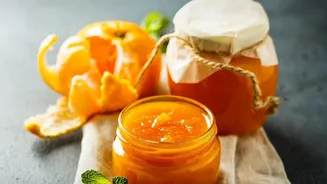
Every time you squeeze an orange for juice, you're left with the fragrant, colourful peels. More often than not, these end up in the bin. But what if you could turn that 'waste' into a jar of glistening, homemade marmalade? This recipe is all about celebrating
thrift and flavour, proving that the most overlooked parts of our ingredients can often be the most rewarding. Making marmalade from leftover rinds isn't just a win for your wallet; it's a satisfying way to reduce your kitchen waste and enjoy a truly artisanal preserve you made from scratch. It is essential, however, to use peels from organic or untreated oranges, as you'll be consuming the rind.
What You Will Need
The beauty of this recipe is its simplicity. You don't need much to get started, and you certainly don't need any commercial pectin. The ingredients are basic, allowing the bright citrus flavour to shine through. You will need: the peels from several oranges, granulated sugar, fresh lemon juice, and water. That's it. The magic ingredient, pectin, which helps the marmalade set, is naturally abundant in the pith and membranes of citrus fruits. For equipment, you’ll need a large, heavy-bottomed pot, a sharp knife or vegetable peeler, a cutting board, and some clean glass jars for storing your finished product.
Step 1: Prep the Peels and Manage Bitterness
The main concern with using orange peels is managing bitterness. While a slight bitter note is characteristic of marmalade, too much can be overpowering. The key lies in the preparation. First, carefully slice your leftover peels into thin strips. Some recipes suggest scraping away as much of the white pith as possible to reduce bitterness. A highly effective method is to blanch the peels. Place the sliced rinds in a pot, cover them with cold water, bring to a boil, and let them cook for about 5-10 minutes. Drain the water and repeat the process one or two more times. This simple step softens the peel and leaches out much of the bitterness, leaving you with a more balanced flavour.
Step 2: The Simmering Process
Once your peels are blanched and tender, it's time to turn them into marmalade. Return the drained peels to your pot. Add an equal weight of sugar to your peels, or simply follow a ratio of roughly one cup of sugar for every cup of prepared peels. Add enough water to cover the mixture, along with a generous squeeze of fresh lemon juice. The lemon juice is crucial; it provides additional acid and pectin, which are essential for helping the marmalade to set properly. Bring the entire mixture to a boil, then reduce the heat to a steady simmer. Let it cook, stirring occasionally to prevent sticking, for anywhere from 45 minutes to over an hour. The liquid will gradually reduce and thicken as the sugar dissolves and the pectin activates.
Step 3: Testing for the Perfect Set
Knowing when your marmalade is ready is the most important part of the process. If you undercook it, it will be runny; overcook it, and it can become too thick or candy-like. The most reliable method is the 'wrinkle test'. Before you start cooking, place a few small plates in your freezer. When you think the marmalade might be ready, spoon a small amount onto one of the cold plates and return it to the freezer for a minute. Then, push the edge of the marmalade with your finger. If it wrinkles and holds its shape, it's ready. If it's still liquid and runs back together, continue simmering and test again in another 5-10 minutes.
Step 4: Jarring and Storing Your Creation
Once your marmalade has reached its setting point, take it off the heat. If any foam has formed on the surface, you can skim it off for a clearer final product. Carefully ladle the hot marmalade into hot, sterilized glass jars, leaving about a quarter-inch of headspace at the top. Wipe the rims of the jars clean, then seal them tightly with lids. For long-term shelf stability, you can process the jars in a boiling water canner. If you plan to eat it within a few weeks, simply let the jars cool completely on the counter before storing them in the refrigerator. The marmalade will continue to firm up as it cools.