




Gather Your Styling Arsenal
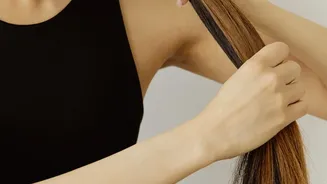
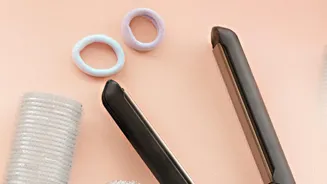
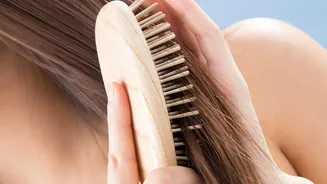
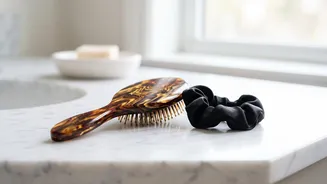
Before you begin, having the right tools and products on hand is crucial. You don’t need a professional-grade kit, but a few key items will make all the difference. Your essentials include a blow dryer with a concentrator nozzle, a medium-sized round
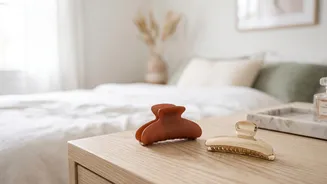
brush (about 1 to 1.5 inches in diameter), and hair clips to section your hair. For products, grab a heat protectant spray to shield your hair from damage, a lightweight mousse or volumizing spray for lift, and a flexible-hold hairspray or texturizing spray to finish. A bottle of dry shampoo is also great for refreshing your bangs between washes, as they tend to get oily faster than the rest of your hair.
Prep Your Bangs for Success
The best time to style your bangs is when they are damp, not soaking wet or completely dry. If you're not washing your hair, simply re-wet your bangs using a water spray bottle. After towel-blotting, apply a small amount of heat protectant. Follow this with a golf-ball-sized amount of mousse or a few spritzes of volumizing spray, focusing on the roots to build a foundation for lift and body. It's important not to overload your bangs with product, which can weigh them down and make them look greasy or stiff.
Step 1: Section and Isolate
To ensure you have full control, you must separate your bangs from the rest of your hair. Use your comb to create a clean triangular section for your bangs. A good guideline is to trace from the outer corner of each eyebrow up to your part. Once you've isolated your bangs, clip the rest of your hair back and out of the way. This prevents longer pieces from accidentally getting mixed in and disrupting the shape you're trying to create.
Step 2: The Foundational Blow-Dry
The secret to perfectly styled bangs starts at the root. Before using a round brush, hairstylists recommend a 'wrap-dry' technique. Using your blow dryer with the nozzle attached, first blow-dry your bangs straight down onto your forehead. Then, brush and blow-dry them from one side to the other, like windshield wipers. This technique helps to eliminate any cowlicks or natural partings, giving you a neutral canvas to work from and ensuring your bangs lay flat and smooth.
Step 3: Shape with a Round Brush
Now it's time to create that signature soft curve. Place the round brush underneath your bang section at the roots. With your blow dryer aimed downwards, pull the brush up and forward, away from your face, while rolling it slightly. This creates lift at the root and a gentle bend through the mid-lengths. For layered bangs or curtain bangs, after creating the initial lift, you'll want to guide the brush out and away from your face on each side to create that swept-back effect. The key is to keep the dryer moving and avoid holding intense heat in one spot.
Step 4: Finishing and Blending
Once your bangs are dry and shaped, it's time for the final touches. To blend them seamlessly with the rest of your hair, use your fingers to gently taper the ends into your face-framing layers. For added hold and texture, spray a flexible-hold hairspray or a dry texturizing spray onto your fingers or a comb—not directly onto your bangs—and lightly smooth it through. This provides control without the crunchy, stiff feeling. Finally, a quick blast of cool air from your dryer will help set the style and ensure it lasts all day.