






Why Your Environment Is Everything
Starting a balance routine isn't just a physical act; it's a mental one. Your brain needs to focus on the tiny, constant adjustments your body is making. A cluttered or unsafe environment creates mental noise and physical risk. The fear of tripping over
a rug or bumping into a coffee table can prevent you from fully committing to an exercise, hindering your progress. A clear, safe space allows you to train with confidence, knowing that if you do lose your footing, you won't fall into a hazard. Research shows that a well-lit, organised area with good ventilation forms the foundation of any safe home workout. Creating this 'safety zone' is the non-negotiable first step.
The Art of Clearing the Floor
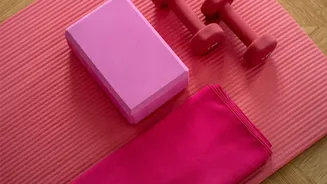
Creating a safe workout area is more than just pushing a few things aside. It requires a deliberate sweep for potential hazards. Start by defining your workout zone. You should have enough room to extend your arms freely in all directions without touching anything. Remove loose items like throw rugs, which are a major slipping and tripping hazard. Pet toys, shoes, and any other clutter must be cleared completely. Pay attention to the floor surface itself; exercising on thick carpet can sometimes cause your shoes to snag, while a firm, level surface like a wood floor or a thin, non-slip mat is ideal. Finally, ensure the area is well-lit so you can clearly see your surroundings and maintain visual focus.
Choosing Your Stability Partner
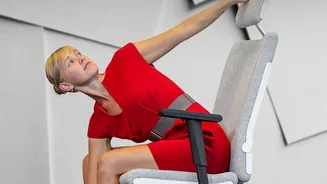
When you're new to balance work, a support object isn't a crutch—it's a smart training tool. It gives you the confidence to challenge yourself safely. The ideal support is something sturdy and fixed. A kitchen counter is an excellent choice because it's stable and at a good height. A heavy, stable piece of furniture like a desk or a dining table also works well. A wall or the back of a sturdy, high-backed chair are other great options. Try to avoid using anything that can move, like a rolling office chair or a lightweight plant stand. The goal is to have a reliable 'partner' you can lightly touch for stability or grab onto if you feel unsteady.
How to Use Your Support Correctly
Simply having a support nearby isn't enough; you need to use it effectively. Position yourself so the support is within easy arm's reach, either to your side or in front of you. When performing an exercise like a single-leg stand, the goal is to rely on your own muscles, not the support. Start by lightly placing your fingertips on the surface. As you become more stable, try to lift your hand and hover it just above the support. If you feel a wobble, you can instantly touch down for assistance. This method trains your body to find its own equilibrium while ensuring a safety net is always available. Avoid gripping the support tightly or leaning your body weight onto it, as this defeats the purpose of the exercise.
Final Preparations for Success
With your space cleared and your support chosen, a few final details can make a big difference. Wear appropriate footwear that offers good support, or consider performing some exercises barefoot on a safe surface to help strengthen the muscles in your feet. Ensure you are well-hydrated before you begin, as dehydration can lead to dizziness and affect your performance. Also, choose a time to practice when you feel alert and not overly fatigued. Just like any other form of exercise, warming up with a few minutes of light movement, like marching in place, can prepare your muscles and joints for the work ahead.