




Planning Your Floral Canvas
Before you start stringing flowers, take a moment to plan. First, choose the wall for your backdrop. A neutral, uncluttered wall in your living room works best as it makes the bright orange and yellow of the marigolds pop. Measure the height and width
of the area you want to cover. This will help you estimate the number and length of garlands you'll need. Decide on a design. A simple 'flower curtain' with vertical strands is classic and easy. For something more dynamic, consider creating swags, a criss-cross pattern, or even a circular arrangement around a central point.
Gathering Your Materials
Efficiency starts with having everything you need on hand. For this project, you will require fresh marigold garlands, scissors, and a method for hanging. For damage-free hanging on painted walls, consider using self-adhesive hooks or removable strips; they are strong enough to hold the weight of the garlands without leaving marks. If you have existing fixtures, clear fishing line can be a nearly invisible tool for securing your decorations. When purchasing garlands, gently squeeze a flower to check for freshness—it should feel firm and dense. For a longer-lasting display, you can also opt for high-quality artificial marigold garlands.
Preparing the Garlands
Handle your fresh garlands with care to keep them looking their best. Once you bring them home, gently untangle them and lay them out. If you're not hanging them immediately, you can spritz them lightly with water and store them in a cool place, like a refrigerator, to maintain freshness for up to 48-72 hours. For artificial garlands, give them a gentle fluff before hanging to ensure the petals are full and not creased from packaging. This small prep step makes a big difference in the final look.
Creating a Classic Marigold Curtain
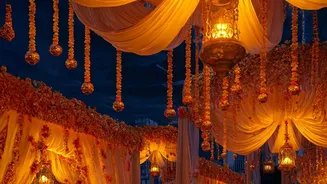
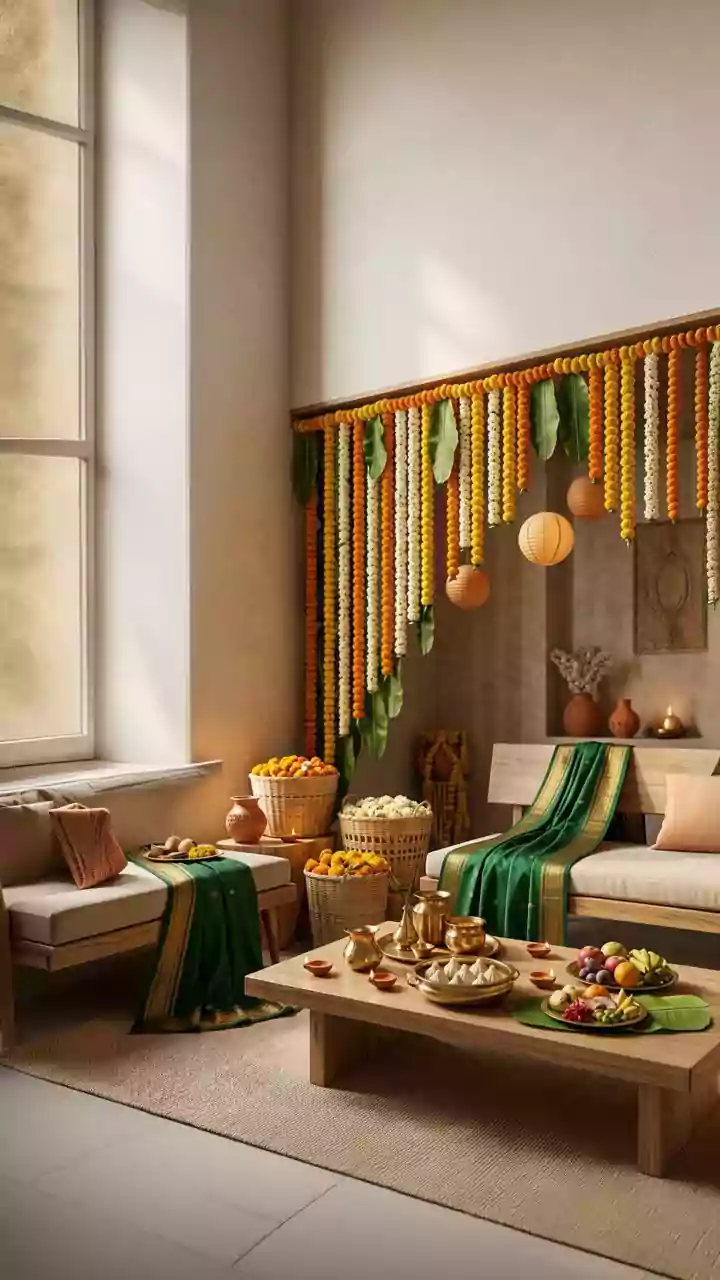
The most popular and straightforward design is the marigold curtain. Start by placing your adhesive hooks along the top of your chosen wall space, about 4-6 inches apart. Take your first garland and hang it from one of the hooks, letting it fall straight down. Cut it to your desired length—either floor-length or just above any furniture. Use this first garland as a measure for the rest. Continue hanging garlands side-by-side until you have filled the entire space. This creates a dense, vibrant wall of colour that serves as a perfect photo backdrop.
Elevating with Accents and Layers
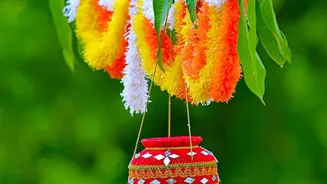
To add more visual interest, consider incorporating other elements. Weaving in strings of traditional 'toran' with mango leaves adds a touch of green and cultural authenticity. For a magical evening look, intertwine delicate fairy lights or LED string lights with the marigold strands. The warm glow will create a beautiful, soft-focus effect in photos. You can also create a layered look by hanging a sheer fabric drape, like a simple white or gold dupatta, behind the garlands. This adds depth and a touch of elegance to the entire setup.
Lighting Your Backdrop for Photos
Good lighting is the final touch that makes your photo backdrop truly shine. If possible, position your backdrop opposite a large window to take advantage of soft, natural daylight. For evening events, avoid using a single, harsh overhead light. Instead, place two lamps at a 45-degree angle on either side of the backdrop. This creates even lighting that minimizes shadows on people's faces. The goal is to illuminate both your guests and the beautiful floral background you’ve created, ensuring every picture is picture-perfect.