
Reading the Signs: Is It Time?
Plants are great communicators, and they'll tell you when they need a bigger home. Most houseplants need repotting every one to two years, but look for specific clues. One of the most obvious signs is roots growing out of the drainage holes. You might
also notice that the soil dries out very quickly after watering or that water runs straight through the pot without soaking in. This often means the pot is more roots than soil. Other indicators include slowed or stunted growth during the growing season or the plant becoming top-heavy and tipping over easily. If you gently slide the plant out of its pot and see a dense, tangled web of roots circling the bottom, it's definitely time for an upgrade.
Prime Time for Potting
Timing can make a big difference in how well your plant handles the move. The best time to repot is during the spring and early summer. During these active growing months, plants have more energy to recover from the stress of being moved and will establish themselves more quickly in the new soil. While you can repot at other times of the year if absolutely necessary (for example, to deal with root rot), expect a slower recovery during the fall and winter when growth naturally slows down.
Gathering Your Supplies
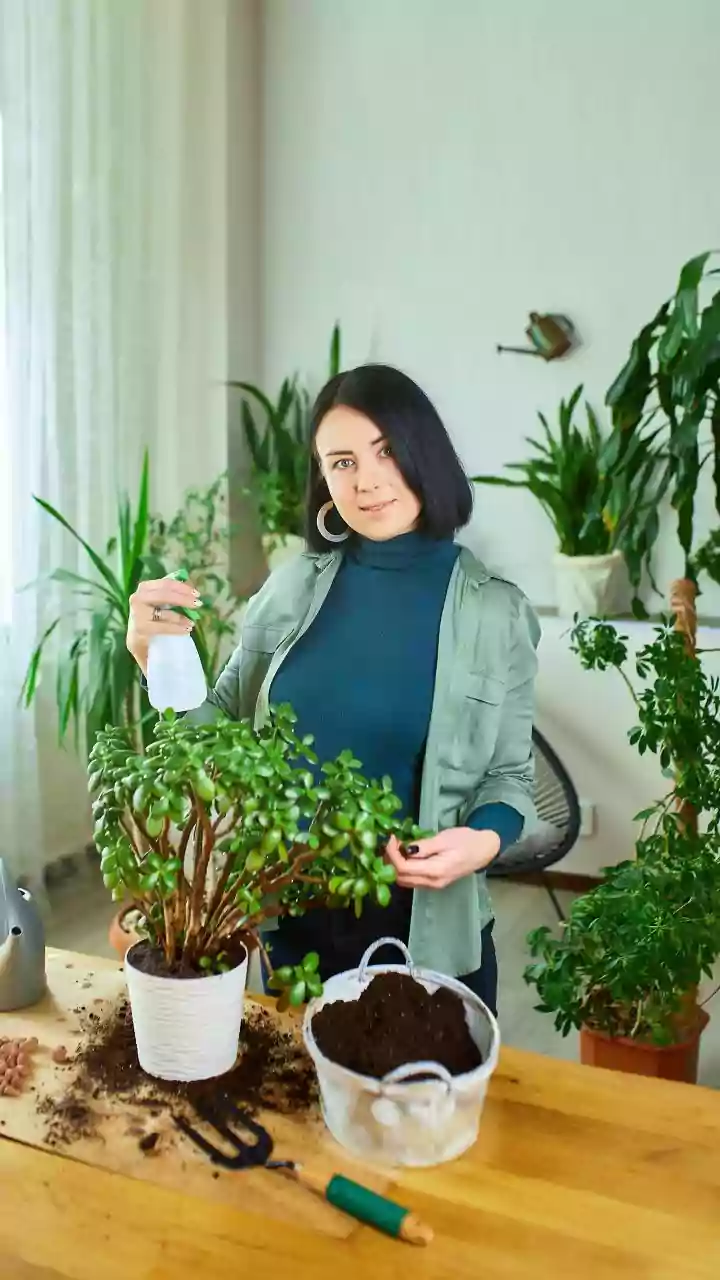
A little preparation makes the process smooth and clean. Before you begin, gather everything you need. First, a new pot. As a rule of thumb, choose one that is just 1-2 inches wider in diameter than the current one. A pot that is too large can hold excess moisture, leading to root rot. Ensure the new pot has drainage holes. Next, you'll need fresh potting mix. Never use soil from your garden, as it can be too dense and may contain pests. A quality all-purpose indoor potting mix is perfect for most houseplants. Finally, have a pair of gloves, clean scissors or pruning shears, and some newspaper or a tarp to protect your workspace.
Step-by-Step: The Repotting Process
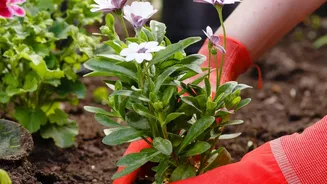
With your supplies ready, it's time to get started. First, gently remove the plant from its old pot. It can help to squeeze the sides of a plastic pot or run a knife around the inner edge to loosen it. Once it's out, carefully inspect the root ball. Gently massage the roots to loosen them from their old, compacted shape. If you see any brown, mushy, or dead roots, trim them off with your clean scissors. Don't be afraid to prune away some of the circling roots at the bottom to encourage new growth. Place a layer of fresh potting mix in the bottom of the new pot. Position your plant in the center, ensuring the top of the root ball sits about a quarter to half an inch below the rim of the pot. Planting it too deep can restrict air circulation and lead to rot. Fill in the sides with more soil, gently pressing it down to eliminate large air pockets without compacting it too much.
Aftercare and Recovery
The first few weeks after repotting are crucial for recovery. This period is when 'transplant shock' can occur, with symptoms like wilting or yellowing leaves. To minimize stress, water the plant thoroughly right after repotting to help settle the soil. Then, place it in a spot with medium, indirect light, avoiding harsh direct sun which can be too intense for a recovering plant. Hold off on fertilizing for at least four to six weeks. The new potting mix contains fresh nutrients, and adding fertilizer too soon can burn the sensitive, healing roots. Wait until you see signs of new growth, like new leaves or shoots, before resuming a regular feeding schedule, and even then, start with a half-strength solution.