


Reading the Signs: When to Repot
Before you get your hands dirty, it’s crucial to know if your plant actually needs a new pot. Repotting too soon can cause unnecessary stress. Look for clear indicators that your plant has outgrown its current home. The most obvious sign is roots growing
out of the drainage holes. Another key clue is how quickly the soil dries out; if you find yourself watering far more frequently than you used to, it’s a sign the pot is full of roots with little soil left to hold moisture. Other signals include stunted or slowing growth during the growing season, a top-heavy plant that tips over easily, or roots that have formed a dense, circling mass inside the pot. If you see any of these signs, it’s time to give your plant an upgrade.
Gathering Your Supplies
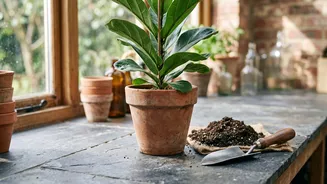
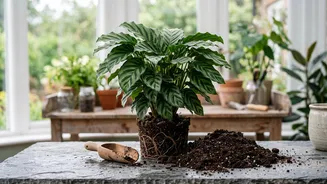
A successful repotting session starts with having everything you need on hand. This prevents you from leaving a plant with its roots exposed for too long. You will need: a new pot, fresh potting mix, and gloves if you prefer. A small trowel or even an old spoon can be helpful, and a pair of clean, sharp pruning shears or scissors is essential for trimming any damaged roots. It's also a good idea to lay down some newspaper or a plastic tarp to make cleanup easier. Don’t use soil directly from your garden; it’s too dense and can contain pests or diseases. Always opt for a quality, well-draining potting mix specifically formulated for houseplants.
Choosing the Right New Pot
Pot size is critical to your plant’s future health. A common mistake is choosing a pot that is too large, which can lead to root rot because the excess soil holds too much moisture for the root system to absorb. The general rule is to select a new pot that is only one to two inches larger in diameter than the current one. This provides enough room for growth without overwhelming the plant. Ensure the new pot has at least one drainage hole at the bottom. Without proper drainage, water will collect at the base, saturating the soil and suffocating the roots, which is a fast track to an unhealthy plant.
The Step-by-Step Repotting Process
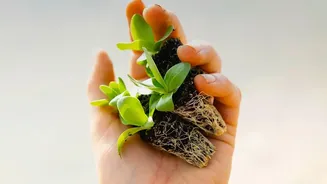
First, water your plant a day or two before you plan to repot it. This helps reduce stress and makes it easier to slide out of the pot. To remove the plant, gently tip the pot on its side and tap the bottom and sides to loosen it. Support the base of the plant with your hand and carefully slide it out. Once removed, inspect the root ball. If the roots are tightly wound in a circle (a condition known as being 'root-bound'), gently tease them apart with your fingers to encourage them to grow outwards in the new pot. Don't worry if a few small roots break, but be as gentle as possible. Trim away any roots that are black, mushy, or obviously dead with your clean shears. Place a layer of fresh potting mix in the bottom of the new pot, set the plant in the center, and ensure the top of the root ball sits about an inch below the rim. Fill in the space around the root ball with more potting mix, gently firming it down to eliminate large air pockets, but avoid compacting it too tightly.
Aftercare for a Happy Plant
Once your plant is settled in its new pot, the work isn't quite over. The first few weeks are an adjustment period. Give the plant a thorough watering immediately after repotting to help the new soil settle around the roots and to rehydrate them. Allow all the excess water to drain completely from the bottom. Place the plant back in its usual spot with the appropriate light, but avoid direct, harsh sunlight for a few days, which can add to its stress. Most importantly, hold off on fertilizing. Fresh potting mix contains plenty of nutrients, and adding fertilizer now can burn the sensitive, recovering roots. Wait at least four to six weeks, or until you see clear signs of new growth, before resuming your regular feeding schedule.