


The Two-Step Plan for Vietnam
Dreaming of a bowl of pho in Hanoi or a boat ride through Ha Long Bay? The biggest hurdles in travel planning are often just paperwork and pricing. Thankfully, for Vietnam, both have become incredibly straightforward for Indian passport holders. The country
has streamlined its visa process with a user-friendly e-visa system, and a surge in direct flights means affordable airfare is no longer a myth. This guide breaks down exactly how to navigate these two essential steps, turning your Vietnamese travel dream into a well-planned reality.
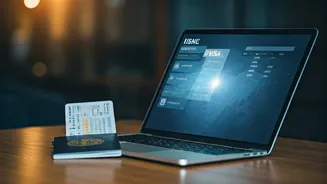
Decoding the Vietnam E-Visa
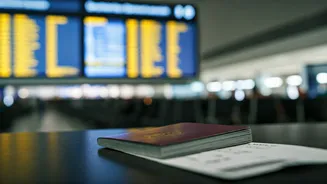
First things first: the visa. Vietnam offers an e-visa to citizens of many countries, including India. This electronic visa allows you to enter Vietnam for a specific period (typically up to 90 days with single or multiple entries) for tourism purposes. While the headline says 'instantly', it's important to understand the real timeline. The application itself is quick, but processing by Vietnamese immigration authorities usually takes 3 to 5 working days. It's crucial to apply through the official government portal. Avoid third-party websites that charge exorbitant fees or may be fraudulent. The official site is the only one you should use.
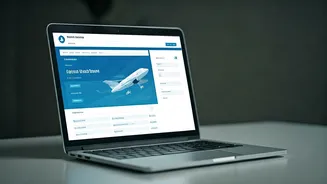
Your E-Visa Application Guide
Ready to apply? It’s a simple, three-part process. 1. **Prepare Your Documents:** You will need a scanned copy of your passport's information page (must be valid for at least six months) and a recent digital passport-style photograph (4x6 cm, white background, no glasses). Ensure these files meet the specific size and format requirements listed on the website. 2. **Fill the Online Form:** Visit the official Vietnam e-visa portal. Carefully fill in your personal details exactly as they appear in your passport. Any mismatch, including middle names or initials, can lead to rejection. You will also need to specify your intended entry/exit points and dates of travel. 3. **Pay and Wait:** The final step is to pay the non-refundable e-visa fee (currently $25 USD for a single entry) using a credit or debit card. Once payment is confirmed, you will receive a registration code. Use this code to check your application status after a few days. Once approved, download and print a copy of your e-visa to present at immigration.
The Hunt for Cheap Flights
With your visa application submitted, it's time to hunt for flights. The 'instantly' book part of your plan is now active! In recent years, direct connectivity between India and Vietnam has boomed. Airlines like VietJet Air and IndiGo offer direct flights from major Indian hubs like Delhi, Mumbai, Bengaluru, and Kolkata to Hanoi (HAN) in the north and Ho Chi Minh City (SGN) in the south. This competition is great news for travellers, as it keeps prices competitive.
Pro Tips for Affordable Airfare
Finding a cheap flight isn't about luck; it's about strategy. First, use flight aggregators like Skyscanner, Kayak, or Google Flights to compare prices across all airlines. Set up price alerts for your desired route and dates. Second, be flexible. Flying on a Tuesday or Wednesday is often cheaper than on a Friday or Sunday. If your itinerary allows, check prices for flying into Hanoi and out of Ho Chi Minh City (or vice versa), as this can sometimes be cheaper than a round trip to a single city. Finally, book in advance, especially if you plan to travel during peak season (December-March) or Indian holidays. Aim to book your tickets at least 2-3 months before your travel dates for the best deals.