


Your Sourdough Starter Kit
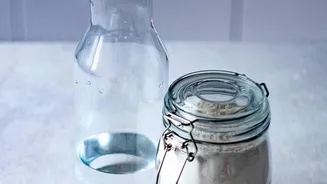
Before you begin, gather a few simple tools. You don't need fancy equipment, but the right gear makes the process smoother. You will need one large glass jar (at least 1-litre capacity) to give your starter room to grow. A kitchen scale is highly recommended
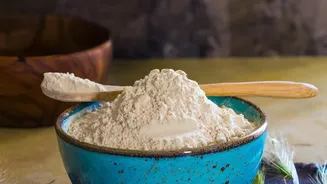
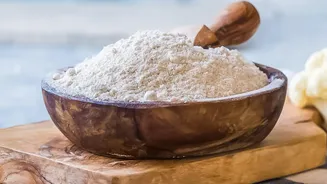
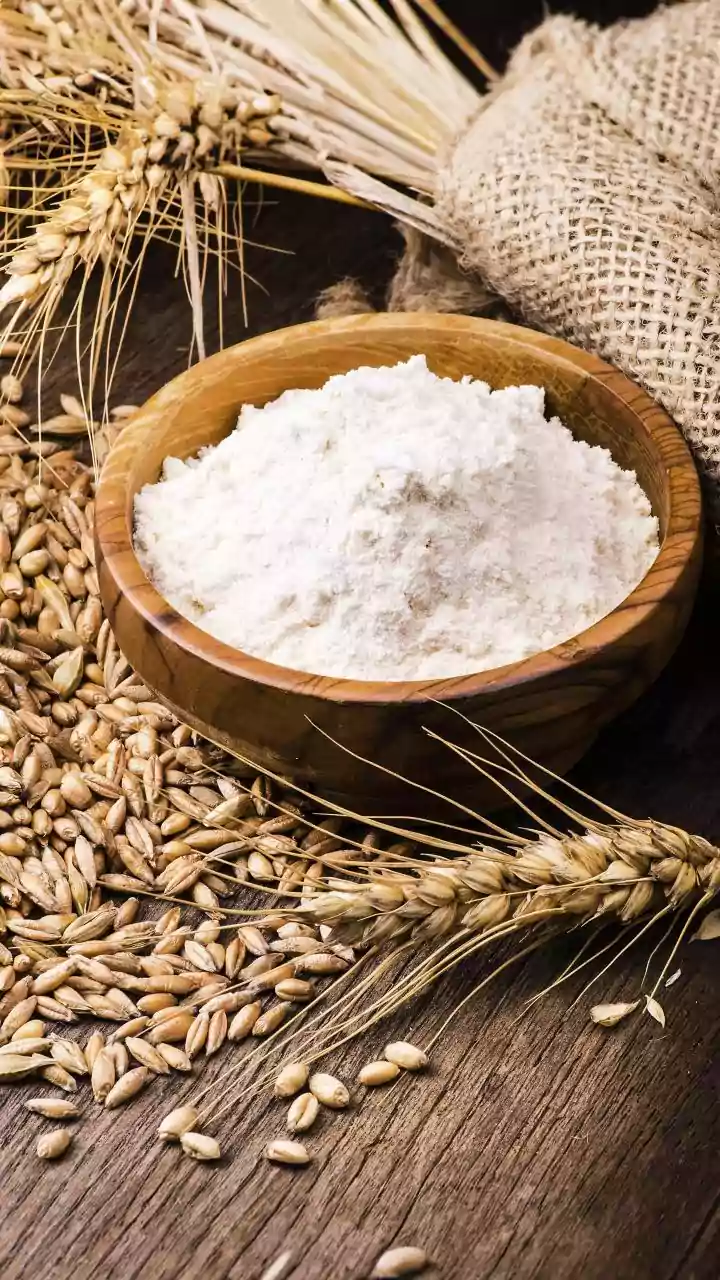
for accurate measurements, as baking is a science. You'll also want a spatula for mixing. For ingredients, all you need is flour and water. Unbleached all-purpose or bread flour is a great starting point. Some bakers like to kickstart the process with whole wheat or rye flour for the first day as they contain more natural microorganisms. Filtered water is best, as the chlorine in some tap water can inhibit yeast growth.
Day 1: The Beginning
This is the simplest step. In your clean glass jar, combine equal parts by weight of flour and water. A common starting point is 60 grams of flour and 60 grams of lukewarm water (around 29°C). Mix thoroughly with your spatula until no dry flour remains. The consistency should be like a thick pancake batter. Scrape down the sides of the jar, cover it loosely (a cloth or a lid resting on top is perfect), and place it in a consistently warm spot in your home, ideally around 24-28°C. Mark the starter's height with a rubber band so you can track its growth.
Days 2-7: The Feeding Schedule
For the first couple of days, you might not see much activity, and that's normal. Starting on day three, you will begin the feeding routine. The process is to 'discard' a portion of the starter and then 'feed' what's left. To do this, remove and discard about half of your starter. Then, to the remaining starter, add equal parts of fresh flour and water (e.g., 60g flour and 60g water). Mix well, scrape the sides, cover loosely, and return it to its warm spot. This discard-and-feed process should be repeated every 12 to 24 hours. Within a few days, you should start to see bubbles, notice a slightly sour or fruity aroma, and see the starter begin to rise and fall predictably between feedings.
Is It Ready? Signs of a Mature Starter
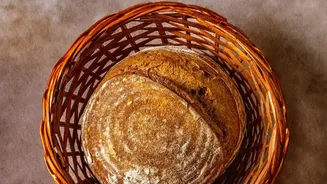
After about a week or two, your starter should be showing consistent signs of life. A mature, ready-to-use starter will reliably double or even triple in volume within 4 to 8 hours after a feeding. It will look bubbly, airy, and have a spongy texture. The aroma should be pleasantly sour and yeasty, not unpleasantly sharp like vinegar. A popular method to check for readiness is the 'float test'. A few hours after feeding, when the starter is at its peak height, drop a small spoonful of it into a glass of water. If it floats, it's full of gas and ready to leaven bread. If it sinks, it likely needs a few more days of consistent feedings to build strength.
Troubleshooting Common Problems
Don't panic if things look strange. A dark, watery liquid on top, known as 'hooch', is very common. It's simply an indication that your starter is hungry. Just stir it back in or pour it off before your next feeding. If your starter smells like nail polish remover or vinegar, it's also a sign of hunger. If you see mold (fuzzy spots of green, pink, or orange), you must discard the entire starter and begin again. To prevent mold, ensure your jar and utensils are clean. A slowdown in activity around day 4 or 5 is also normal; just keep up the feeding schedule, and the yeast will typically bounce back.
Maintaining Your New Creation
Once your starter is active and stable, you no longer need to feed it daily unless you bake frequently. For casual bakers, the easiest way to maintain your starter is to keep it in the refrigerator. This slows down the fermentation process, and you'll only need to feed it about once a week. When you plan to bake, take the starter out of the fridge, give it a feeding (or two, if it seems sluggish) at room temperature to get it bubbly and active, and then you're ready to go. Remember to always keep a small amount of starter to continue feeding for your next bake.