




The Classic Updo Challenge
The classic chignon, a graceful knot of hair worn at the nape of the neck, is a go-to for everything from weddings to workdays. Its beauty lies in its simplicity, but its structure can be its downfall. Many people find their carefully twisted bun begins
to sag or completely unravel within hours. The main culprits are often slippery, freshly washed hair that lacks grip, and more importantly, improper pinning techniques that fail to create a secure anchor. Simply pushing pins into the bun without a strategy is like building a house without a foundation; it’s bound for collapse.
Gather Your Arsenal
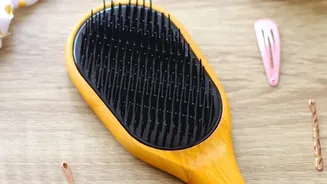
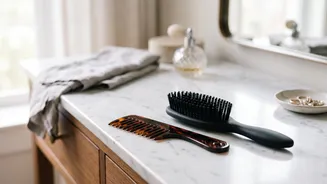
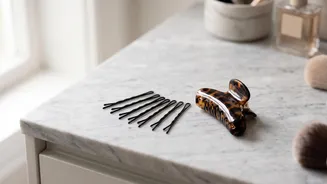
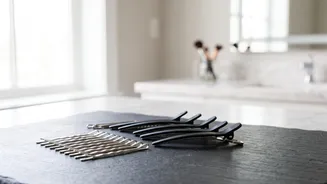
Before you begin, assembling the right tools is half the battle. Flimsy, weak bobby pins will bend and lose their shape, so invest in a set of high-quality ones with strong tension. You'll want pins that match your hair colour to keep them discreet. A good hair elastic, a fine-tooth comb for smoothing, and a texturizing product are also essential. If your hair is very clean or silky, a spritz of dry shampoo or texturizing spray at the roots and through the lengths will provide the grit needed for the style to hold. This prevents the hair from being too slippery for the pins to grip.
Foundation is Everything
A secure chignon starts with a solid base. Begin by brushing your hair to remove any knots or tangles. Gather your hair into a low ponytail at the nape of your neck, which is the traditional placement for a chignon. The position can be centered or slightly to one side, depending on your preference. Secure it with a hair elastic, but avoid making it painfully tight, which can cause breakage and headaches. The ponytail should be firm but comfortable. This base is what you will anchor your pins into, so ensuring it's stable is a critical first step.
Forming The Perfect Bun
With your ponytail in place, it’s time to create the chignon's shape. Take the length of the ponytail and begin to twist it from the base to the ends, forming a tight rope of hair. Once twisted, coil the hair around the base of the elastic, creating the classic bun shape. As you wrap it, tuck the ends of the hair underneath the bun to keep them hidden. Don't worry about making it perfect on the first try; you can adjust the shape once it’s loosely formed. Hold the bun in place with one hand, ready for the most important step: securing it.
The Secret Locking Technique
This is where the magic happens. Instead of just pushing pins randomly into the bun, you’ll create locks. Take your first bobby pin, making sure the wavy side is facing your scalp for maximum grip. Slide the pin into the edge of the bun, catching a small amount of hair from the bun and the base hair on your head underneath. Now, take a second bobby pin and slide it in over the first one, creating an 'X' shape. This criss-cross method creates a powerful lock that prevents the pin from sliding out and anchors the bun securely. Continue this process around the bun, adding two or three of these 'X' locks at key points—top, bottom, and sides—until the chignon feels completely stable.
Finishing and Setting
Once your chignon is securely locked in place, perform a gentle shake test. If any sections feel loose, add another pin using the same locking technique. Use your fingers to gently smooth any flyaways or use a comb to tuck them neatly. For a softer, more romantic look, you can gently pull out a few face-framing strands. To ensure your style lasts all day and night, finish with a light mist of a medium-to-strong hold hairspray. This will provide an extra layer of security and keep every strand in its place without making your hair feel stiff or crunchy.