



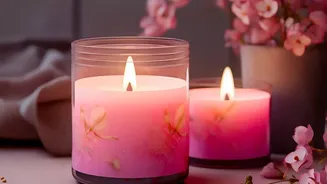
The magic of making a scented candle at home—transforming simple wax into a glowing source of fragrance and warmth—is deeply satisfying. But the secret to a perfect candle isn't just in the pour; it's in the preparation that comes before.
Gather Your Essential Tools
Before you can
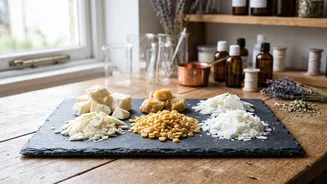
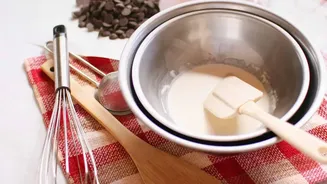
create, you need the right tools. Think of this as your creative toolkit. The most crucial item is a double boiler system for safely melting your wax; you can create one using a large pot filled with water and a smaller pouring pitcher for the wax. An electric wax melter is an alternative for those who plan to make candles regularly. You will also need a digital kitchen scale, as precision is key for consistent results. Measuring by volume can lead to poor fragrance performance, so always work by weight. A digital probe thermometer is non-negotiable for monitoring wax temperature accurately. Finally, gather wick stickers to secure your wicks, a wick holder (like a clothespin or specialized bar) to keep them centered, and a silicone or wooden spoon for stirring.
Select Your Core Components
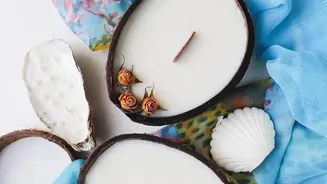
Your candle is defined by three main ingredients: wax, a wick, and fragrance. For beginners, soy wax is a forgiving and popular choice because it burns cleanly and has a low melting point. Other options include paraffin, beeswax, and coconut wax blends, each with different properties. The wick is the engine of your candle. Its size must be matched to your container's diameter and wax type to ensure an even burn. A wick that's too small will 'tunnel' down the center, while one that's too large can create excess smoke. Lastly, choose fragrance oils specifically designed for candlemaking. Essential oils can be used for a natural scent, but they often have a more subtle 'throw' (how much the scent fills a room) compared to fragrance oils.
Set Up a Safe and Tidy Workspace
Safety is paramount when working with hot wax. Designate a clean, organised area away from children, pets, and flammable materials. Cover your work surface with newspaper or a silicone mat to protect it from spills. It’s also important to ensure the area is well-ventilated; if you’re working on a stovetop, turn on the range hood fan. Wear clothes you don’t mind getting messy, as wax can be difficult to remove from fabric. Have potholders and a first-aid kit nearby. Most importantly, never leave melting wax unattended. Treating hot wax with the same caution as hot oil is a good rule of thumb.
Prepare Your Containers and Wicks
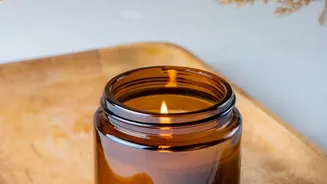
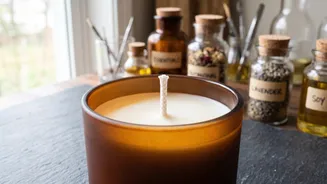
This step is critical for a professional finish. Start with clean, dry containers that are specifically made for candles to ensure they can withstand the heat without cracking. Straight-sided glass jars are easiest for beginners. To place the wick, peel the backing off a wick sticker and attach it to the metal tab at the base of your wick. Then, press the sticker firmly onto the bottom of the container, ensuring it is perfectly centered. You can use a straw to help guide the wick into place in taller jars. Once the base is secure, thread the top of the wick through a centering tool or clip it between two chopsticks laid across the jar's mouth. This keeps the wick taut and straight while you pour the wax.
Measure Your Wax and Fragrance Precisely
Accurate measurements prevent wasted materials and ensure a great-smelling candle. The easiest way to determine how much wax you need is to place your empty jar on a digital scale, zero it out, and fill it with water to your desired wax level. Note the weight of the water. Since wax is less dense than water, you will multiply the water weight by a density factor (for soy wax, a common factor is 0.86 or 0.90) to get the total weight of wax and fragrance needed. Next, calculate your fragrance oil. A typical fragrance load is 6–10% of the total wax weight. To find the fragrance amount, multiply your total wax weight by your desired percentage (e.g., 100g of wax at 8% requires 8g of oil). Subtract the oil's weight from the total to find the exact amount of wax to melt.