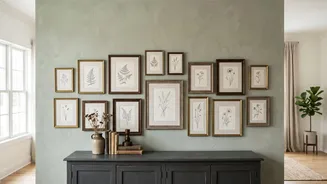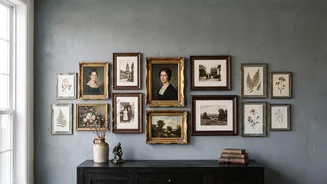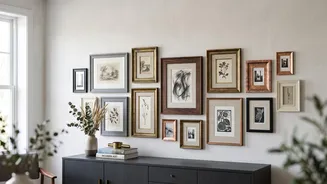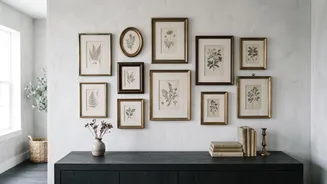


Curate Your Collection with a Theme
The most compelling vintage gallery walls feel collected over time, even if you gather the pieces all at once. The first step is to establish a clear point of view or theme. This doesn't mean everything must match perfectly. Instead, find a common thread
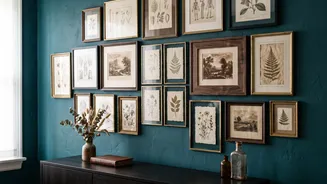
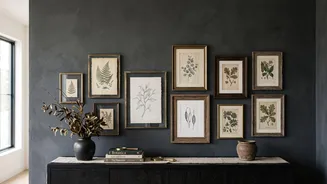
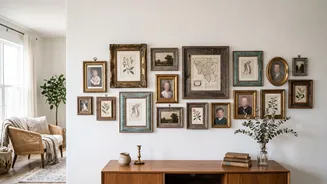
that ties the eclectic mix together. This could be a consistent color palette (like sepia tones, muted blues, and cream), a recurring subject matter (such as landscapes, portraits, or botanical prints), or a specific frame style (like warm woods or antique gold). Hunt for treasures at charity shops, flea markets, and antique malls. Look for pieces with character—ornate frames, faded prints, quirky portraits, and even small decorative mirrors or plates. A mix of sizes and shapes will add visual interest, but a unifying element is key to making the final arrangement feel intentional rather than chaotic.
Plan Your Layout on the Floor
Before a single nail touches your wall, the most crucial step is to plan the layout. Lay all your pieces on the floor to experiment with arrangements. This allows you to see how the shapes, sizes, and colors interact without consequence. Start with your 'anchor' piece—often the largest or most visually compelling artwork—and place it near the center. Build outwards from there, arranging the other items around it. Aim for balance, not necessarily perfect symmetry. A large, heavy frame on one side can be balanced by two or three smaller pieces on the other. Strive for consistent spacing between each frame, typically between two to three inches. This small gap is enough to let each piece breathe while ensuring the collection reads as a single, cohesive unit. Once you're happy with the arrangement, take a photo for reference.
Create Paper Templates for Precision
The secret to a perfectly hung gallery wall without dozens of extra holes is to create paper templates. Trace each frame onto a large sheet of paper—wrapping paper or newspaper works well—and cut out the shapes. Using the photo of your floor layout as a guide, tape these paper templates to the wall with painter's tape, which won't damage the paint. This step allows you to visualize the final scale and placement in the actual space. You can easily adjust the templates until the composition feels right. It's the best way to confirm the arrangement works with your furniture and the room's architecture. The overall center of the gallery should typically be at eye level, around 57 to 60 inches from the floor. If hanging above a sofa or console, a good rule is to leave about 6 to 8 inches of space above the furniture.
Hanging Your Vintage Treasures
Once your paper templates are perfectly placed, it's time to hang your art. For each template, locate the spot where the nail or hook should go and mark it directly on the paper. Now you can hammer the nail right through the paper, ensuring perfect placement. After the nail is in, gently tear the paper away. When dealing with older homes, it's important to know your wall type. Plaster walls can be brittle, so it’s often best to drill a small pilot hole first to prevent cracking. For heavier pieces, especially on lath and plaster walls, be sure to use appropriate anchors. If your vintage home has picture rails, use them! Molding hooks and wires are a traditional and damage-free way to hang art. Always use a level for each piece to ensure everything is perfectly straight before moving on to the next.