





Gather Your Essential Tools
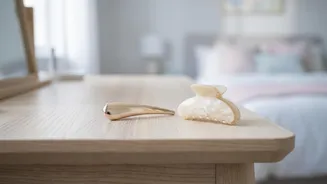
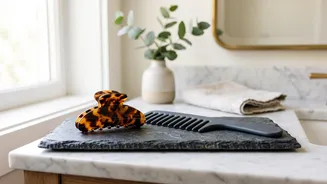
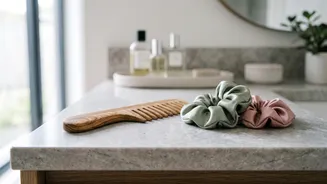
Before you begin, having the right tools on hand will make the process much smoother and ensure your style holds. You don’t need a professional kit, just a few basics. Gather a hairbrush or comb, a primary hair tie for the ponytail, small, clear elastics
for the braid, and several bobby pins that match your hair colour. For extra hold and texture, you might also want a flexible-hold hairspray and a texturizing spray or dry shampoo.
The Foundation: Prepping Your Hair
A great bun starts with well-prepped hair. Begin by thoroughly brushing your hair to remove any knots or tangles. This makes sectioning and braiding much easier. For a bun that lasts all day, it’s often better to work with hair that isn't freshly washed. The natural oils provide grit and hold. If your hair is clean or tends to be slippery, a light mist of dry shampoo or texturizing spray at the roots will add the grip you need. This small step prevents the style from loosening too quickly.
The Ponytail and Braid: A Step-by-Step Guide
Creating the braided bun is a two-part process: the ponytail and the braid itself. First, pull your hair back into a secure ponytail. The placement is up to you—a high ponytail creates a classic top knot, while a low one at the nape of your neck offers a more sophisticated, formal feel. Once your ponytail is secured with a hair tie, it's time to braid. A standard three-strand braid is the simplest and works beautifully. Braid the entire length of the ponytail and secure the end with a small, clear elastic. For a secure bun, it's important to braid firmly and evenly from top to bottom; a loose braid won't provide enough structure for the pins to grip onto.
The Final Twist: Securing Your Bun
With your braid complete, the final step is to coil it into a bun. Wrap the braid tightly around the base of your ponytail, keeping it flat against your head as you go. Continue coiling in one direction until you reach the end of the braid. Tuck the end of the braid underneath the bun to hide the elastic. Now, secure the bun with bobby pins. For maximum hold, insert the pins in an 'X' pattern, which locks the coiled braid in place far more effectively than parallel pins. Continue adding pins around the bun until it feels completely secure.
Make It Your Own: Simple Variations
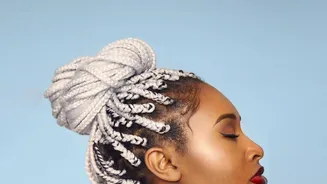
The classic braided bun is incredibly versatile. For a fuller, more textured look, try a Dutch braid, where you cross the strands under instead of over. This makes the braid sit on top and appear more prominent. Another option is the half-up braided bun; simply gather the top section of your hair, create a small braided bun, and leave the rest of your hair down for a more casual style. You can also experiment with a side bun by creating your initial ponytail off-center. For a more intricate look, you can create two braids and wrap them together.
Tips for a Flawless, All-Day Hold
If you find your bun loosens during the day, there are a few tricks to try. The most common reason for a slipping bun is a braid that was too loose to begin with. Ensure your braid is firm. For those with fine or layered hair, braiding while your hair is slightly damp can help keep shorter pieces tucked in. Once your bun is pinned, a final mist of flexible-hold hairspray will set the style and tame any flyaways without making your hair feel stiff. At night, sleeping with a silk or satin scarf or on a satin pillowcase can also help preserve your style and reduce frizz if you plan to wear it for a second day.