

Why Quarantine Is a Non-Negotiable First Step
It’s tempting to immediately find the perfect, sunny spot for your new green addition amongst your other plants. However, this is one of the most common ways infestations begin. Pests like spider mites, mealybugs, thrips, and scale are often invisible
to the naked eye in their early stages, and their eggs can hide in the soil or on the undersides of leaves. A plant that looks perfectly healthy at the nursery can be harbouring a small population of pests that will quickly multiply and spread once in the stable environment of your home. Quarantining is a simple, proactive measure that allows you time to observe the plant and identify any issues before they become a widespread problem, saving you immense time and stress down the line.
Creating Your Quarantine Zone
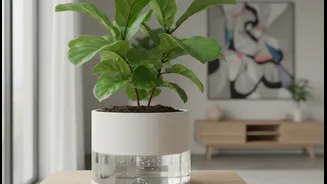
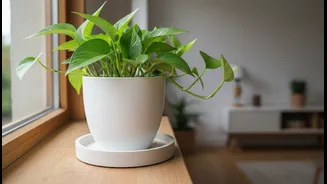
The core principle of quarantine is separation. Choose a location for your new plant that is completely isolated from your existing collection, ideally in a different room. A spare bathroom, a laundry room, or even a sheltered spot on a balcony can work well. The goal is to prevent pests from travelling between plants; some, like fungus gnats, can fly, while others can crawl or be transported on air currents. If a separate room isn't an option, even a few metres of distance is better than nothing. For added security, some experts suggest loosely placing a clear plastic bag with ventilation holes over the plant to contain any potential airborne pests during the isolation period. Ensure the location still provides the appropriate light for your new plant so it doesn't become stressed during its transition.
Mastering the Initial Leaf and Stem Check
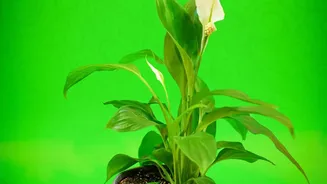
Even before you bring it home, give any potential plant a thorough inspection at the store. Look for strong, upright growth and avoid plants with excessive yellowing, spotting, or physical damage. Once home and in its quarantine space, perform a detailed check. Look under every leaf, in the crooks where leaves meet stems, and along the stems themselves. Common signs of trouble include fine, silky webbing (spider mites), small white cottony masses (mealybugs), or tiny brown or tan bumps that can be scraped off (scale). Also, check the soil surface for any tiny flying insects, which could be fungus gnats, or small white worms, which are their larvae.
The Quarantine Period: Care and Observation
A quarantine period of two to four weeks is generally recommended. This gives enough time for any dormant eggs to hatch and for pest populations to become visible. During this time, care for the plant as you normally would, paying attention to its specific watering and light needs. A stressed plant is more susceptible to pests. Many plant owners also perform a preventative treatment at the start of quarantine. A gentle wipe-down of the leaves with a damp cloth can remove dust and some pests. For a more active approach, spraying the plant thoroughly with a horticultural oil like neem oil can help smother any existing pests and their eggs. Continue to inspect the plant weekly for any changes.
Considering a Soil Refresh
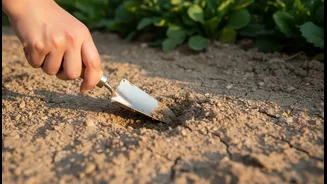
For an extra layer of protection, consider repotting your new plant into fresh, sterile potting mix. Nursery soil can sometimes contain pest eggs, particularly from fungus gnats which lay their eggs in moist soil. Gently removing the plant from its pot allows you to inspect the roots for signs of rot (mushy, brown roots) or being rootbound (a dense web of roots circling the pot). If you do repot, choose a clean pot and use a high-quality potting mix. This “separate start” ensures the plant has a clean bill of health from the roots up and isn't bringing any soil-borne problems into your home. This step can be particularly beneficial for plants known to be susceptible to root issues or soil pests.
Graduation Day: The Final Inspection
After the two-to-four-week quarantine period has passed without any signs of pests or disease, it’s time for one final, thorough inspection. Go through the same detailed check of the leaves, stems, and soil. If everything remains clear, your plant is ready to graduate from quarantine. You can now confidently introduce it to your main collection, placing it in a location that suits its long-term light and humidity requirements. By being patient and methodical, you have given your new plant the best possible start in its new home while safeguarding the health of your entire indoor garden.