

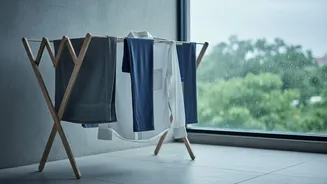
Step 1: Designate Your Drying Zone
The first mistake many people make is hanging wet clothes wherever there's a spare rod or railing. This scatters moisture throughout your home, increasing overall humidity and that stuffy, damp feeling. Instead, choose a single, dedicated spot. This could
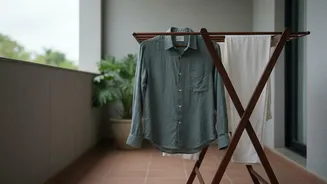
be a spare bedroom, a study, or even a corner of a larger room. The ideal location has good ventilation; choose a room with a window you can crack open and an exhaust fan if possible. Keeping the drying contained to one area prevents moisture from spreading and makes it easier to manage airflow and odours effectively. A covered balcony can also work if you install a pulley drying system and a plastic monsoon curtain to block rain from the sides.
Step 2: Equip The Zone With Essential Tools
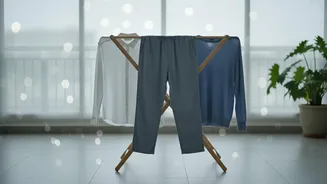
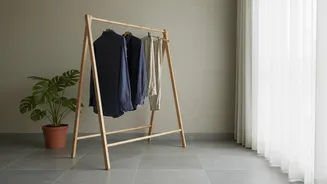
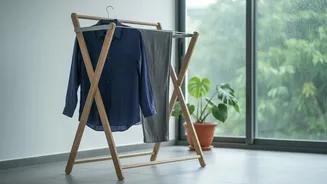
Once you have your spot, you need the right equipment. A foldable metal drying rack is a must-have, as wooden ones can warp from the constant moisture. To supercharge your setup, a pedestal or ceiling fan is non-negotiable. Constant airflow is the secret to faster indoor drying, as it helps evaporate moisture from the fabric. For the gold standard, consider investing in a dehumidifier. This appliance actively pulls moisture from the air, drastically cutting down drying time and preventing the growth of mould and mildew that cause musty smells. Even without a dehumidifier, placing natural moisture absorbers like bowls of baking soda, chalk, or activated charcoal can help.
The Wet Laundry Checklist
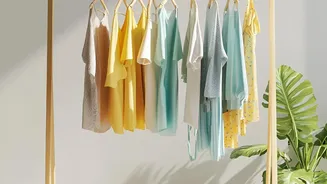
How you prepare and hang your laundry makes a huge difference. First, use the highest spin cycle on your washing machine to remove as much excess water as possible before hanging. When loading the drying rack, give each garment its own space. Clothes that touch or overlap will remain damp for much longer. Use hangers for shirts and blouses to maximise vertical space and improve airflow. For heavy items like jeans and towels, try rolling them tightly in a dry towel first to absorb extra water before you hang them up. Prioritise lightweight synthetic fabrics, as they dry the fastest. To combat smells, adding half a cup of white vinegar to the rinse cycle can help neutralise odour-causing bacteria.
The Soaked Shoes Checklist
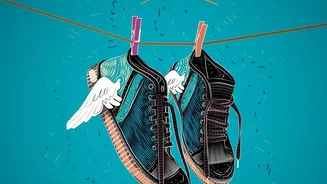
Never place wet shoes directly in the sun or near a heater, as intense heat can damage the glue and cause the materials to shrink or warp. The best and safest method is to stuff them with crumpled newspaper. The paper is highly absorbent and will draw moisture out from the inside. Make sure to stuff it all the way into the toe. If the shoes are soaking wet, you may need to replace the damp newspaper with fresh sheets after a few hours. Once stuffed, place the shoes in a well-ventilated area, preferably near a fan or a refrigerator vent, to speed up the drying process. Removing the insoles and loosening the laces will also help air circulate more freely.
The Dripping Umbrella Checklist
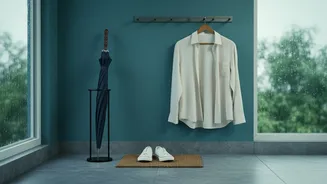
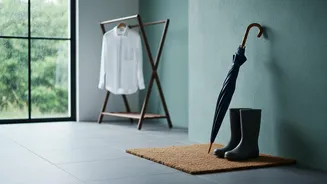
It’s tempting to leave a wet umbrella closed and propped in a corner, but this is a recipe for rust and mildew. Before bringing it fully inside, give it a good shake outside to remove as much water as possible. Find a spot where it can be left open to dry completely, like a bathroom, utility area, or a covered balcony. If you're short on space, you can hang it from a hook or shower rod. The key is to let the canopy fabric dry fully while open before you fold it back up. This prevents the musty smell from developing and extends the life of the umbrella by stopping the metal frame from rusting.