


Understanding Root Rot: The Silent Killer
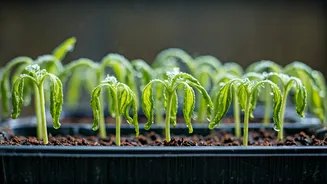
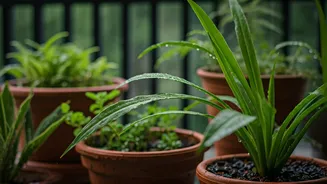
Root rot is exactly what it sounds like: the decay of a plant's roots. This usually happens when soil becomes waterlogged from overwatering or poor drainage. During the heavy rains of July, pots can fill with excess water, leaving no air pockets for the roots to
breathe. This oxygen-deprived environment is the perfect breeding ground for fungi and bacteria that cause the roots to decay, turn mushy, and die. If left untreated, the rot will spread and eventually kill the entire plant.
Prevention Is Your Best Defence
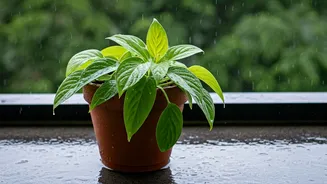
The golden rule of tackling root rot is that prevention is far easier than a cure. Constant downpours mean gardeners need to be extra vigilant. By taking a few proactive steps, you can significantly reduce the risk of your plants succumbing to this common monsoon ailment. The focus should be on three key areas: ensuring excellent drainage, adjusting your watering habits, and improving air circulation around your plants. Even small adjustments in these areas can make a massive difference in keeping your plants healthy and happy through the wet season.
Perfect Your Potting Mix
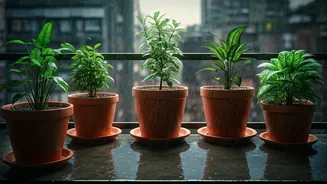
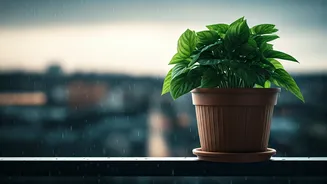
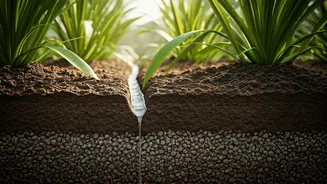
The foundation of a rot-free plant is a well-draining potting mix. Heavy, clay-based soils retain too much water and are a major risk during the monsoon. Before the rains set in, consider repotting vulnerable plants into a lighter mix. A good formula often includes regular potting soil, compost, cocopeat, and a generous amount of perlite or coarse river sand. These materials create air pockets in the soil, allowing excess water to drain away quickly. Also, ensure every pot has unobstructed drainage holes. It's a good practice to elevate your pots using bricks or pot stands to prevent them from sitting in pools of water.
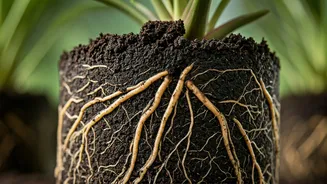
How to Spot the Danger Signs
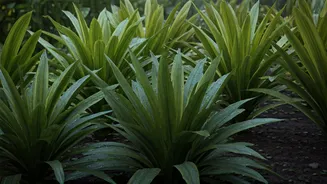
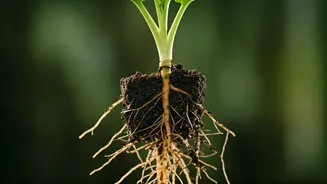
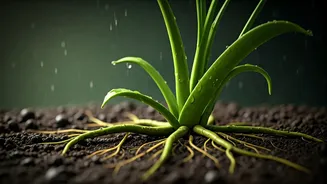
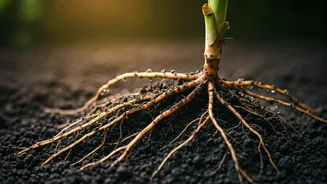
Catching root rot early is crucial for saving your plant. The first signs often appear above ground. Look for leaves that are yellowing or wilting, even when the soil is wet. This is a classic sign that the roots are damaged and can no longer absorb water and nutrients effectively. Other telltale signs include stunted growth, mushy stems near the soil line, and an unpleasant, swampy odour coming from the soil. If you notice several of these symptoms, it's time to inspect the roots directly. Healthy roots should be firm and white or tan, while rotten roots will be black, brown, soft, and mushy to the touch.
Emergency Rescue for an Affected Plant
If you've confirmed root rot, you must act fast. Gently remove the plant from its pot and wash away the soil from the roots. Using a clean, sterilized pair of scissors or pruning shears, carefully trim away all the black, mushy, and dead roots. Be thorough; you want to leave only healthy, firm root tissue. If you've had to remove a significant portion of the roots, it's a good idea to prune back about one-third of the plant's leaves as well. This helps balance the plant, as the smaller root system now has less foliage to support. Discard the old, contaminated soil and thoroughly clean the pot with a disinfectant before repotting.
The Road to Recovery
After the emergency surgery, repot the plant in a fresh, sterile, and very well-draining potting mix. Do not use the old soil, as it may still contain harmful pathogens. Water the plant lightly and place it in a spot with bright, indirect light. Avoid placing it in direct, harsh sun, which can add more stress. Hold off on fertilizing for a few weeks; damaged roots cannot absorb nutrients effectively, and fertilizer can cause further burn. Monitor the plant closely. With proper care, you should start to see signs of new growth within a week or two, indicating that your rescue mission was a success.