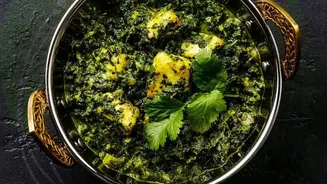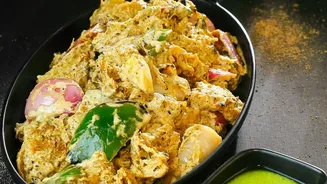



The Common Homemade Paneer Problem
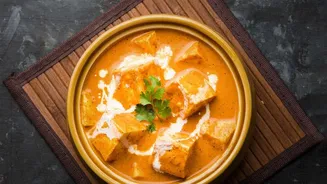
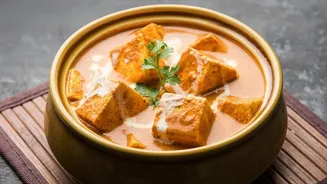
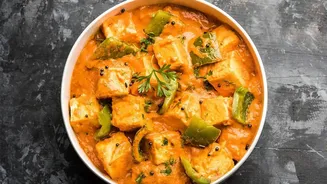
You follow the recipe for paneer butter masala or shahi paneer perfectly. You use the best ingredients, the freshest spices, and yet, the result is often disappointing. The paneer cubes are either tough and rubbery or they crumble into mush. The gravy,
while flavourful, might be thin or, even worse, looks split, with a layer of oil sitting unappetisingly on top. This is a common frustration, but the gap between your kitchen and a restaurant's is bridged by understanding two fundamental concepts: the Maillard reaction and emulsification. Mastering these will permanently elevate your paneer cooking.
Unlock Flavour: The Art of the Sear
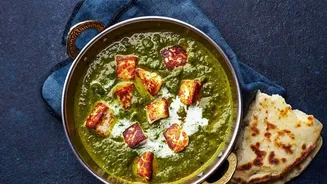
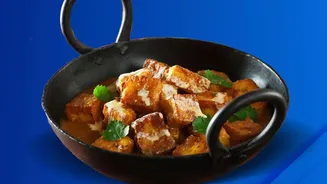
The first step to transforming your paneer is to give it a proper sear. Many home cooks skip this, adding paneer directly to the gravy. Frying the paneer cubes in a hot pan with a bit of ghee or oil does more than just give them a beautiful golden-brown colour. It initiates the Maillard reaction, a chemical process between amino acids and reducing sugars that creates a complex array of deep, savoury flavours. This is the same reaction that gives a steak its crust and toast its distinctive taste. A good sear not only builds a foundation of flavour but also creates a delicate, firm crust on the paneer. This crust helps the cubes hold their shape, preventing them from dissolving into the sauce during the final simmer.
Preparation for a Perfect Sear
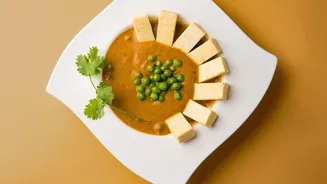
To get the best sear, preparation is key. If you're using store-bought paneer, it can often be firm or a bit dry from refrigeration. A brilliant and simple trick is to soak the paneer cubes in warm, salted water for about 15-20 minutes before you cook. This rehydrates the cheese, making it wonderfully soft and preventing it from becoming rubbery when it hits the heat. After soaking, pat the cubes completely dry with a paper towel. Excess moisture is the enemy of a good sear; it will steam the paneer instead of browning it. Your pan should be hot, but not smoking, before you add the paneer. Don't overcrowd the pan, and cook the cubes in batches if necessary, searing them for a couple of minutes on each side until golden.
The Magic of a Silky, Emulsified Sauce
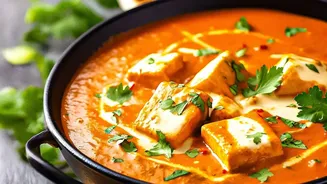
Now for the second secret weapon: emulsification. A restaurant-style gravy is velvety, thick, and clings to the paneer. This texture is achieved by creating a stable emulsion, which is a mixture of two liquids that don't normally combine, like oil and water. In an Indian gravy, the 'water' part is the tomato and onion purée, and the 'oil' is from ghee, butter, or cream. The key is to bind them together so they don't separate. Ingredients like ground cashews, almonds, or even tomato solids act as natural emulsifiers. They surround the tiny oil droplets, suspending them evenly throughout the water-based sauce to create a smooth, unified, and rich consistency.
Building a Restaurant_Worthy Gravy
To build a stable emulsion, start by cooking your base ingredients—onions, tomatoes, ginger, garlic, and cashews—until soft. Using a powerful blender to create an ultra_smooth paste from this mixture is a game_changer. When you return this paste to the pan, simmer it gently. Slow cooking allows the flavours to meld and the sauce to thicken naturally. The final, crucial step is how you add the fat. When finishing your gravy with cream or butter, lower the heat significantly or even turn it off. Whisk it in gently until fully incorporated. High heat can cause the emulsion to 'break' or curdle, resulting in that dreaded separation of oil. By adding the fat at the end and off the heat, you preserve that luxurious, creamy texture.