




The Foundation: Mastering Even Tension
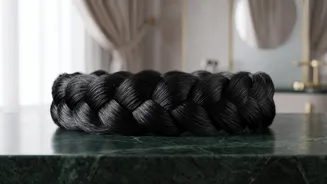
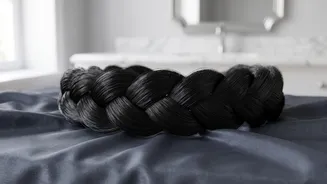
Before exploring different styles, it's crucial to understand the one element that holds them all together: tension. The goal is to create a braid that is firm and secure without pulling painfully on your scalp. Uneven tension is why braids can look messy
or fall apart prematurely. Too tight, and you risk headaches and even hair damage from traction. Too loose, and the style lacks structure and longevity. The key is consistency. As you weave, aim for a gentle but firm pull with each strand you incorporate. Your braid should feel secure against your head but not constricting. Think of it as a comfortable, snug fit. This consistent pressure ensures the braid looks uniform and stays in place all day long. Many stylists recommend starting on second-day hair, as the added texture helps the strands grip together more effectively.
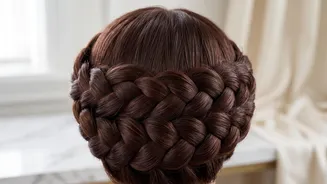
1. The Classic Dutch Halo Braid
This is the foundational style that most people picture when they think of a halo braid. It's often created using a Dutch braid, where the strands are crossed under each other, making the braid pop and sit on top of the hair. For many, the easiest way to achieve this is not with one continuous braid, but by creating two separate Dutch braids (like pigtails) and then wrapping them up and around the head, pinning them securely. Start with a centre part, braid each side from the front to the back, and secure the ends. Then, lift one braid, lay it across the crown of your head, and pin it. Do the same with the second braid, tucking the end neatly under the first one to create a seamless circle. Maintaining even tension as you add hair along the hairline is crucial for that clean, sculpted look.
2. The Bohemian Fishtail Halo
For a more intricate and bohemian vibe, the fishtail halo is a stunning alternative. Instead of a three-strand braid, the fishtail technique involves dividing a section of hair into two parts and then taking a small piece from the outside of one section and crossing it over to the inside of the other, alternating sides. While more time-consuming, the resulting pattern is delicate and eye-catching. Similar to the classic halo, you can create two separate fishtail braids and then wrap and pin them. A helpful tip is to gently 'pancake' or pull apart the loops of the fishtail before pinning it. This adds volume and softness, but be sure your initial braid was woven with consistent tension so it doesn't completely unravel.
3. The Relaxed and Messy Halo
Perfect for a more casual, modern look, the deconstructed or messy halo embraces imperfection. The starting point is the same—a well-braided crown—but the finishing is different. After braiding (using either a Dutch or fishtail technique), you intentionally loosen the style. Gently tug on the edges of the braid all the way around your head to create volume and a softer silhouette. You can also pull out a few face-framing tendrils to soften the look further. The key here is that the underlying structure must be sound. You can only afford to create 'messiness' if the braid itself was woven with enough tension to hold its core shape. Without that initial secure base, a messy style will quickly become a collapsed style.
4. The Dramatic Double Halo Braid
If you have long, thick hair or simply want a more pronounced, regal look, the double halo is an excellent choice. This style involves creating two braids on each side of the head instead of one, resulting in four braids total. Typically, you'll create two parallel braids on one side, then repeat on the other. You then wrap them around the crown, layering them to create a thicker, more dimensional halo effect. This can also be achieved by creating one braid that is long enough to wrap around the head twice. The tension here is doubly important, as the weight of the style is greater. Ensuring each of the braids is woven securely prevents the entire structure from feeling heavy or slipping during the day.
5. The Embellished Halo Braid
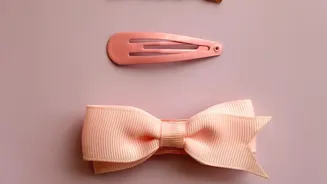
Any halo braid style can be elevated for a special occasion with the addition of accessories. This is less a different braiding technique and more a styling choice that relies on a sturdy base. Once your halo braid is securely pinned, you can weave in ribbons, insert small flowers, or add decorative pins and cuffs. A popular method involves using jewellery wire to wrap sections of the braid or to string on small beads for a touch of sparkle. For these accessories to stay in place without shifting or falling out, the braid they are attached to must be tight and uniform. A loosely woven braid won't provide the secure anchor needed to hold embellishments, proving once again that even tension is the key to both style and staying power.