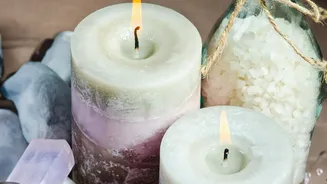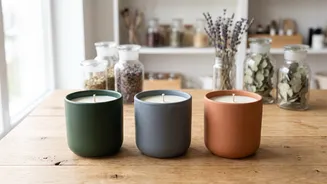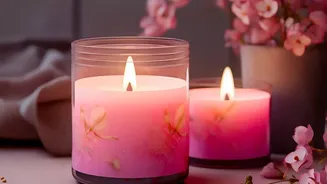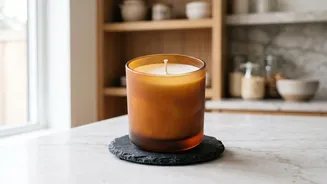



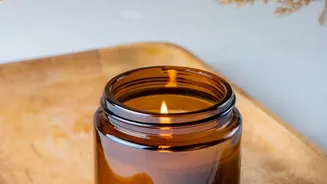
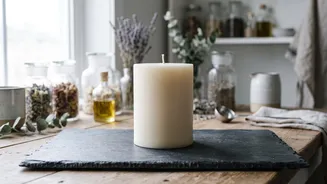
There’s nothing quite like the warm glow and gentle fragrance of a scented candle to make a house feel like a home. This guide breaks down how to create your own, turning a simple craft into a rewarding and creative project for any beginner.
Gathering Your Essential Supplies
Before you
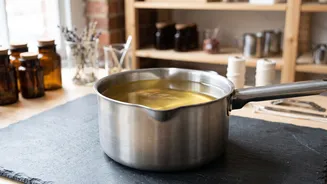
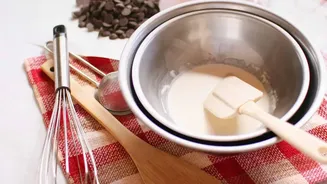
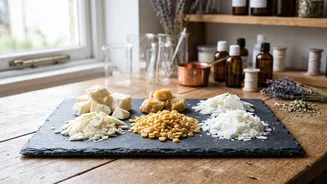
begin, gathering the right materials will make the process smooth and enjoyable. You don’t need a lot to get started, but using the proper tools is key for both safety and success. For your first batch, you will need: wax flakes (soy wax is a great choice for beginners), pre-waxed wicks with a metal base, a heat-safe container for your candle, a pouring pot to melt the wax, a kitchen thermometer, and candle-safe fragrance oils. You will also want something to hold the wick in place, like a clothespin or a dedicated wick holder.
Choosing the Right Wax
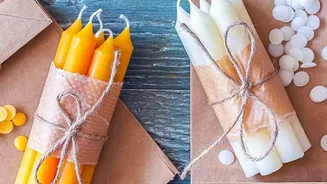
The type of wax you choose impacts your candle's appearance, burn time, and scent performance. For beginners, soy wax is highly recommended. It's a natural, renewable vegetable wax that's easy to work with and offers a cleaner, slower burn than traditional paraffin. Paraffin wax, a petroleum byproduct, is known for its ability to produce a very strong scent 'throw' and vibrant colors. There are also coconut wax blends, which offer a premium finish, and beeswax for a more natural, subtle honey scent. For your first project, sticking with a quality soy container wax is a reliable and forgiving starting point.
Step-by-Step: From Wax to Wick
First, secure the wick to the bottom center of your container using a wick sticker or a dab of hot glue. Use a clothespin or wick bar laid across the top of the jar to keep the wick straight and centered. Next, measure your wax flakes; a simple way is to fill your container with flakes twice. Melt the wax gently in a double boiler or a dedicated melting pot until it is completely liquid. Use a thermometer to monitor the temperature. Heat the wax to around 85°C (185°F). Once it reaches this temperature, remove it from the heat and stir in your fragrance oil. It’s important to mix for about two minutes to ensure the oil binds properly with the wax. Let the wax cool to about 57°C (135°F) before slowly pouring it into your prepared container.
The Importance of Curing
Patience is a virtue in candle making. Once you've poured your candle, it needs to 'cure' or sit undisturbed to allow the fragrance oil to fully incorporate with the wax. This crucial step is what creates a strong and lasting scent when you finally light your candle. While you can burn it sooner, allowing a soy candle to cure for at least one to two weeks will dramatically improve its scent throw. Keep the candle on a flat surface at a consistent room temperature, away from drafts, while it cures.
Safety First, Always
Working with hot wax requires your full attention. Never leave melting wax unattended on a heat source. It’s best to use a double boiler method, as this prevents the wax from overheating and becoming a fire hazard. Wear long sleeves and closed-toe shoes to protect your skin from any accidental splashes. Always work in a wellndventilated area, especially when adding fragrances. Finally, ensure your chosen containers are heatsafe and designed for candles to prevent cracking.
Troubleshooting Common Issues
Don’t be discouraged if your first candles aren't perfect. Some common issues are easily fixed. 'Frosting,' a white crystalline pattern, is natural for soy wax and can be minimized by controlling cooling temperatures. 'Tunneling,' where the wick burns down the center leaving wax on the sides, is often caused by a wick that's too small for the container's diameter. Another fix for tunneling is to ensure the first burn lasts long enough for the entire surface to melt, creating a 'memory burn' for the wax. If the top of your candle has cracks or holes, this can be due to the wax cooling too quickly. A quick blast with a heat gun can often smooth the surface.