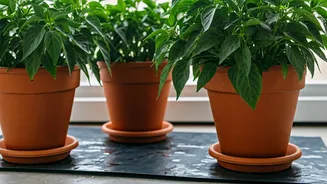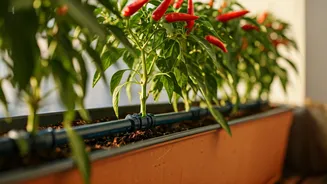


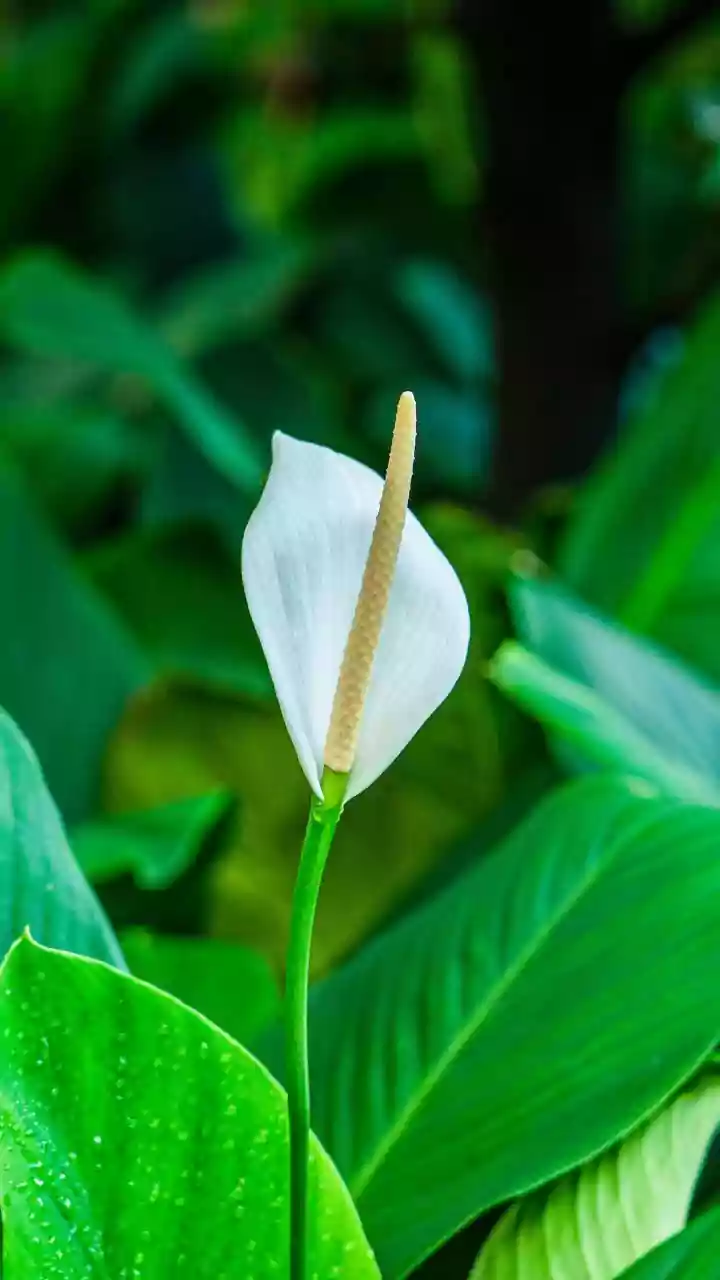


The Thirsty Nature of Chili Plants
Chili plants, a beloved staple in Indian kitchens, are rewarding to grow but can be quite particular about their needs. They thrive on consistency. While they dislike being waterlogged, they also suffer if their soil dries out completely, especially during
the crucial flowering and fruiting stages. In India's varied and often hot climate, a potted chili plant on a sunny balcony can dry out in just a day or two. This makes leaving them unattended for even a short trip a risky affair. Consistent moisture encourages a robust root system and a bountiful harvest of spicy peppers, whereas inconsistent watering can lead to stress, blossom drop, and a sad, withered plant upon your return.
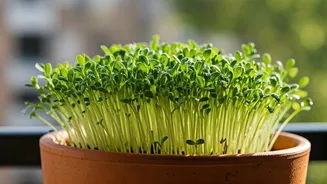
Understanding Automated Drip Irrigation
So, what is this 'drip tech'? At its core, automated drip irrigation is a method of delivering water slowly and directly to the base of your plants. Unlike flooding the pot with a mug of water, a drip system releases a controlled, steady supply of droplets over a longer period. This has two major benefits. First, it minimises water wastage through evaporation or runoff. Second, it allows the soil to absorb moisture more evenly, preventing the cycle of drought and flood that can stress plant roots. When paired with a simple timer, the system becomes 'automated', watering your plants on a set schedule without any manual intervention. It’s the perfect employee to care for your garden while you're away.
Option 1: The Ready-Made Kit
For those who prefer a plug-and-play solution, ready-made drip irrigation kits are a fantastic option and are widely available online in India. A typical balcony kit includes a main water tube, smaller feeder tubes, a set of adjustable drippers (the small nozzles that release water), and connectors. The more advanced kits also come with a battery-operated automatic timer. You simply connect the main tube to a water source—like a large bucket or a tap with the right adapter—and run the smaller tubes to each of your pots, securing a dripper near the base of each plant. You can then set the timer to water your plants for a specific duration once or twice a day. These kits are relatively affordable, easy to install, and offer immense peace of mind.
Option 2: The DIY 'Jugaad' Method
If you're on a tighter budget or enjoy a good DIY project, you can create your own version of a drip system with household items. The simplest method involves a large plastic bottle (a 2-litre soft drink bottle works well). Fill the bottle with water, screw the cap on tightly, and then use a small nail or pin to poke one or two tiny holes in the cap. Invert the bottle and push it neck-down a few inches into the soil of your plant pot. The water will slowly seep out, keeping the soil moist. For a larger setup, you can use a small bucket placed on a stool or chair higher than your plants. Fill the bucket with water and run a thin tube from the bucket to your plants, secured with a small, adjustable valve or a simple knot to control the flow. It’s a classic example of 'jugaad' that is both effective and economical.
Your Pre-Travel Checklist
Whichever system you choose, never install it for the first time right before you leave. Set it up at least three or four days in advance to test it. Check the drip rate—is it too fast or too slow? Adjust the nozzles or the size of the hole in your DIY system accordingly. A good starting point is a rate that keeps the soil consistently damp, not soggy. Ensure your water reservoir is large enough to last for the duration of your trip. If you have a 10-litre bucket and your system uses 1 litre per day, it will last you 10 days. Finally, make sure all tubes are secure and not easily dislodged by wind or a curious bird. A little preparation ensures your automated system works flawlessly.