


The Essential Prep Work
A successful upcycling project begins with a clean slate. The first step is to thoroughly wash your jars with hot, soapy water to remove any food residue. If a faint smell of pickles or garlic lingers, a soak in a solution of equal parts white vinegar
and water can help. The most common hurdle is removing stubborn labels and their sticky glue. An effective method is to soak the jar in hot water with a bit of dish soap for about 30 minutes. For any remaining adhesive, a paste made from equal parts baking soda and cooking oil works wonders. Rub the paste onto the sticky area, let it sit for a few minutes, and then scrub it off. Once your jar is clean, label-free, and completely dry, it's ready to be transformed.
Minimalist and Rustic Charm
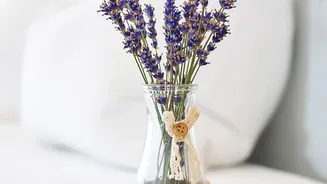
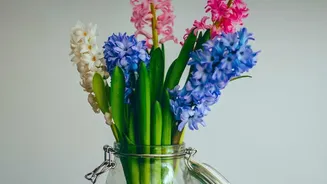
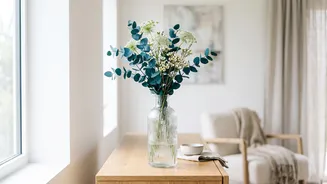
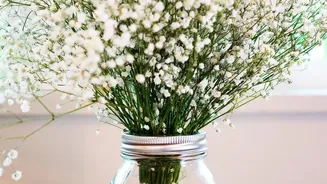
Sometimes, the simplest approach is the most elegant. A clean, clear glass jar can be a beautiful vase on its own, allowing the natural beauty of the flowers to take centre stage. The shape of the jar itself—whether it's a classic straight-sided mason jar or a shapely sauce jar—adds character. For a touch of rustic flair, tie a simple ribbon, some jute twine, or a piece of raffia around the neck of the jar. This minimalist style works well for casual, farmhouse, or country-inspired decor, creating a look that feels effortlessly chic and gathered from the garden.
A Splash of Custom Colour
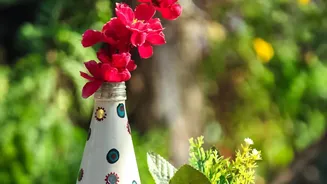
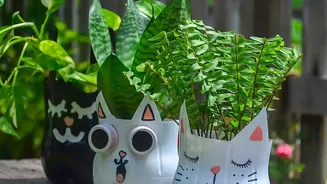
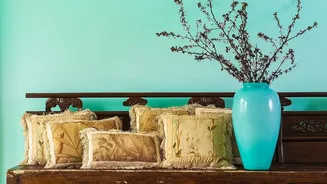
Painting is an easy way to give your jar a completely new identity and match it to your home’s colour scheme. You can paint the outside for a bold, uniform look; spray paint provides a smooth, even finish, while chalk paint offers a more matte, vintage texture. For a different effect, try pouring a small amount of acrylic paint inside the jar and swirling it around to coat the interior. This technique leaves the outside glossy while providing a vibrant pop of colour from within. You can also use stencils to create patterns or even try decoupage with decorative napkins or tissues for a layered, artistic finish.
Textured and Embellished Designs
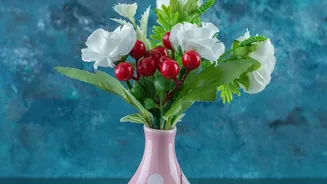
Adding texture can elevate a simple jar into a statement piece. Wrapping the jar with materials like lace, burlap, or fabric scraps can add softness and charm. For a more intricate look, you can use a hot glue gun to create raised patterns on the glass before painting over it, giving the surface a 3D effect. Gluing on embellishments like imitation pearls, wooden beads, or even pistachio shells can create unique, tactile designs that catch the eye. These techniques allow for endless creativity, turning a plain jar into a personalized work of art.
Tips for a Perfect Arrangement
Arranging flowers in a wide-'mouthed' jar can be challenging,' as stems tend to splay outwards.' One simple trick is to create a grid across the mouth of the jar using clear tape.' This creates small sections that help hold stems in place.' Another option is to place a smaller vase or container inside the larger jar to provide more support.' For clear jars,' filling the bottom with glass gems or small pebbles can help anchor the stems while adding a decorative touch.' When arranging,' start with your largest,' most prominent flowers to create a focal point,' then fill in the gaps with smaller blooms and greenery,' turning the jar as you work to ensure a balanced look from all angles.