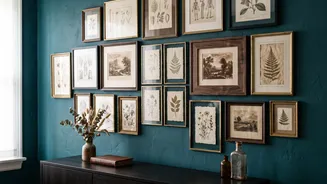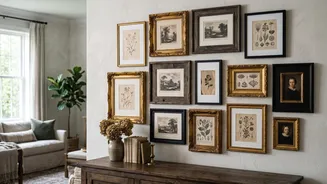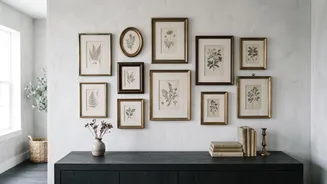

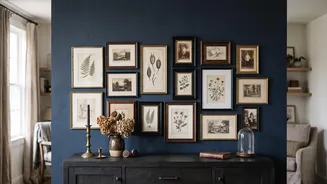
Choose Your Focal Wall
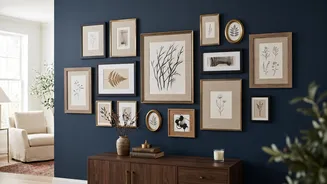
Every great design needs an anchor, and in this case, it’s your chosen wall. A focal point is the first thing that draws the eye when you enter a room, giving it structure and a sense of purpose. Often, the ideal wall is the one furthest from the entrance
or the one behind a significant piece of furniture, like a sofa, bed, or console table. Selecting one wall to host your gallery prevents the art from feeling scattered and instead consolidates its impact, creating a single, powerful composition that guides the feel of the entire room.
Define Your Vintage Theme
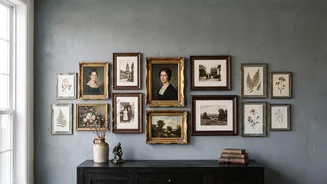
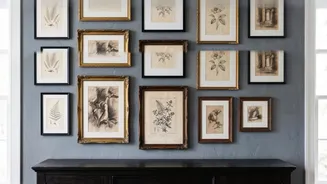
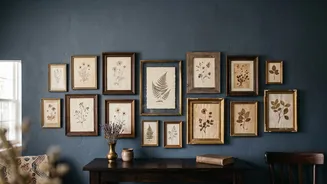
Before you start hunting for art, decide on a mood. Do you envision a collection of moody landscapes in ornate gilt frames, or are you drawn to simpler botanical prints and sketches? Establishing a loose theme or color palette—like sepia tones, muted earth colors, or classic black and white—helps unify the collection. The goal isn't perfect matching, but cohesion. This consistent point of view ensures your wall feels curated and personal, whether you are mixing different eras, subjects, or frame styles.
The Art of the Hunt
Sourcing your art is part of the creative journey. Flea markets, antique malls, and thrift stores are treasure troves for original paintings and unique frames at affordable prices. Online, websites like Etsy, Vintage Supply, and Chairish offer everything from digital downloads you can print yourself to original oil paintings. Digital prints are a budget-friendly way to achieve a high-end look; for an authentic feel, always print on matte paper. Don't overlook personal items, either—heirloom photos, handwritten notes, or even pressed flowers can add a deeply personal layer to your collection.
Curate and Mix Your Collection
The most compelling gallery walls feel collected over time. The key is to mix, not match. Combine different frame materials, like aged wood, brass, and black lacquer, but stick to two or three main colors to keep it from looking chaotic. Vary the art itself by pairing portraits with landscapes, or prints with original paintings. You can even incorporate small mirrors, decorative plates, or textiles for added texture and dimension. This intentional contrast is what gives a gallery wall its soulful, layered character.
Master the Layout Before Hanging
To avoid unnecessary nail holes, always plan your layout first. A popular method is to trace each frame onto paper, cut them out, and tape the templates to the wall. This allows you to play with the arrangement until it feels right. Start with your largest piece, or 'anchor', placing it slightly off-center at eye level. Then, build outwards with your medium and smaller pieces, leaving a relatively consistent space of about 2 to 4 inches between frames. The goal is visual balance, not perfect symmetry.
Hang With Precision
Once your paper layout is perfected, it’s time to hang your art. Use a level to ensure each piece is straight, as crooked frames can detract from the overall effect. For heavier pieces, be sure to use appropriate wall anchors. Place your nail directly through the paper template before tearing it away; this ensures perfect placement. Step back frequently as you work to check the balance of the arrangement from a distance. Remember, a gallery wall can evolve over time, so don't be afraid to swap pieces or add new finds in the future.